 Wrap Vinyl | All Products
 Paint Protection Film
 Automotive Window Film
 Headlight Tint
 Print Films | All Products
 Tools, Supplies & Care | All Products
See this wrap on your vehicle
Upload a photo of your vehicle or enter a vehicle name, and we'll create a preview using this exact wrap.


🥇 Have photos of this product? Share and earn...
AVERY DENNISON SW900 SUPREME SATIN ENERGETIC YELLOW METALLIC VINYL WRAP | 261-S

Learn More
Notify me when available
Choose how you'd like to be notified when the selected size is back in stock.
Estimate Shipping
Enter your destination to see the shipping services currently available for the selected product and quantity.
See it first

Essential Bundle for Car Wrap Projects
Pairs well with
From Instawraps Community
Unsure about the color?
Order Vinyl Samples in a bundle and find your perfect fit in one go. Bundle savings included, and everything is in one place.
Explore SamplesLooking for training material?
Order pre-cut rolls (1 ft and 2 ft) for practice, testing, and small projects. Bundle options available, discounted, and all in one place.
Explore Pre-Cut Rolls⚠️ Warning This product can expose you to chemicals including Vinyl Chloride, which is known to the State of California to cause cancer, and Toluene, which is known to the State of California to cause birth defects or other reproductive harm. For more information, please visit www.P65Warnings.ca.gov.
Why 1,000,000+ Customers trust Instawraps
If you have any questions, you are always welcome to contact us. We'll get back to you as soon as possible, within an hour during business days and up-to 48 hours on weekends. See Policies
-
Fulfilment Information
Our inventory is updated in real time. If an item can be added to your cart, it is in stock. Orders ship within 1–3 business days, depending on the selected shipping method at checkout.
-
Pickup Information
Curbside pickup is available at our Vaughan, Ontario location. Orders placed before 11 AM on a business day are eligible for free same-day pickup after email confirmation. Orders placed after 11 AM require paid same-day pickup service or will be ready the next business day.
-
Customer Support
At Instawraps, we offer prompt and expert support for orders, products, installation, and more. Whether you need assistance with shipping, returns, or custom requests, our team is ready to help. Contact us anytime via live chat, email, or phone.
-
Find quick answers to common questions about orders, shipping, returns, installation, and more in our FAQ section. For further assistance, feel free to reach out via live chat, email, or phone.
Product Details
Product Description
Satin Energetic Yellow Metallic
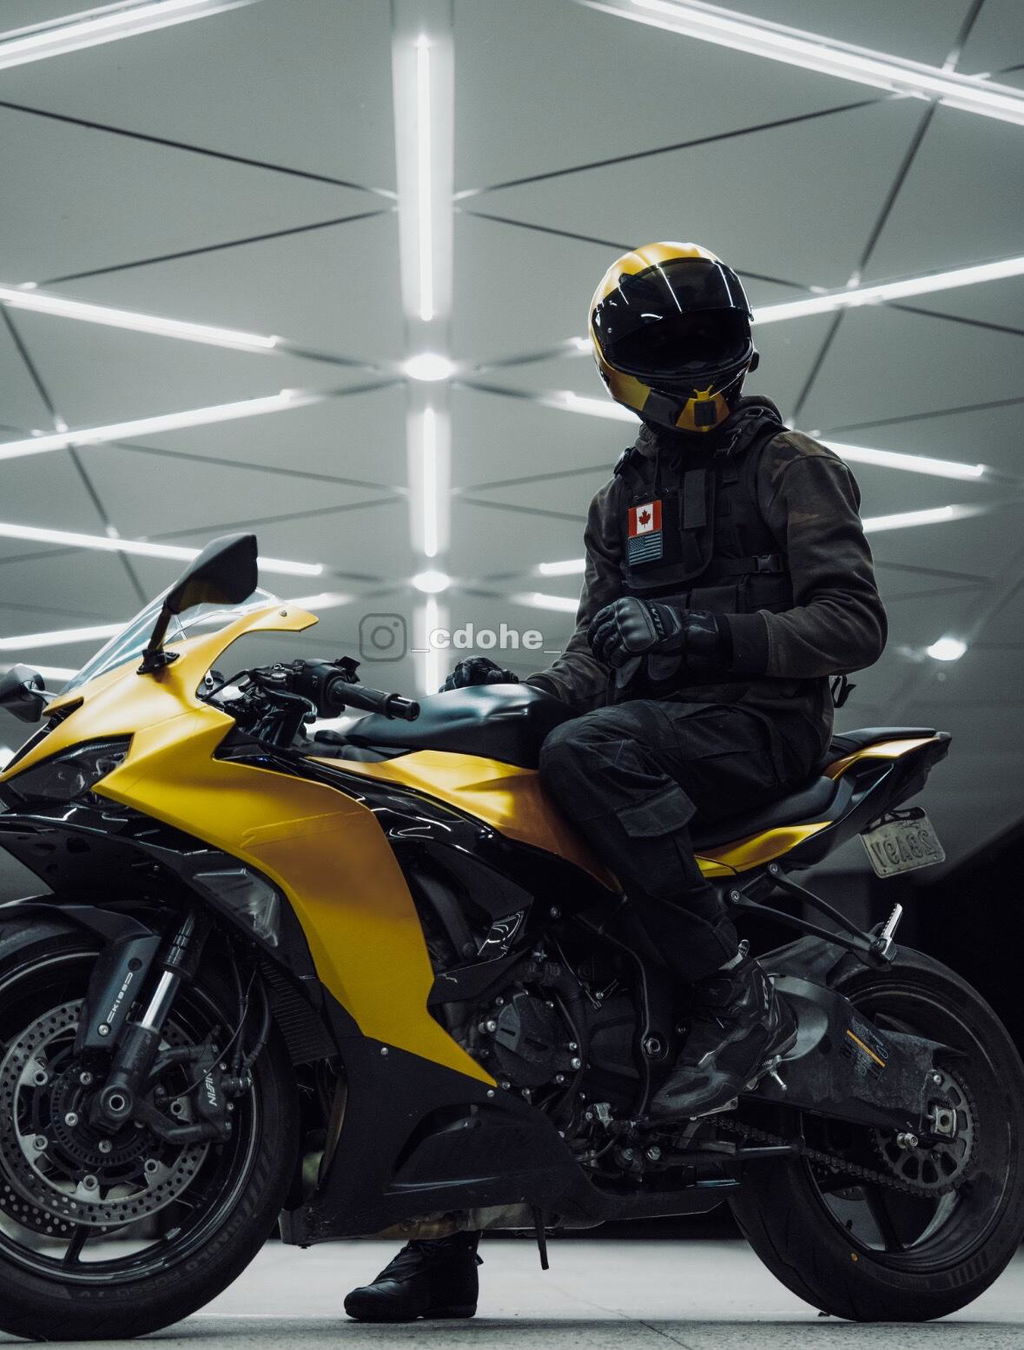
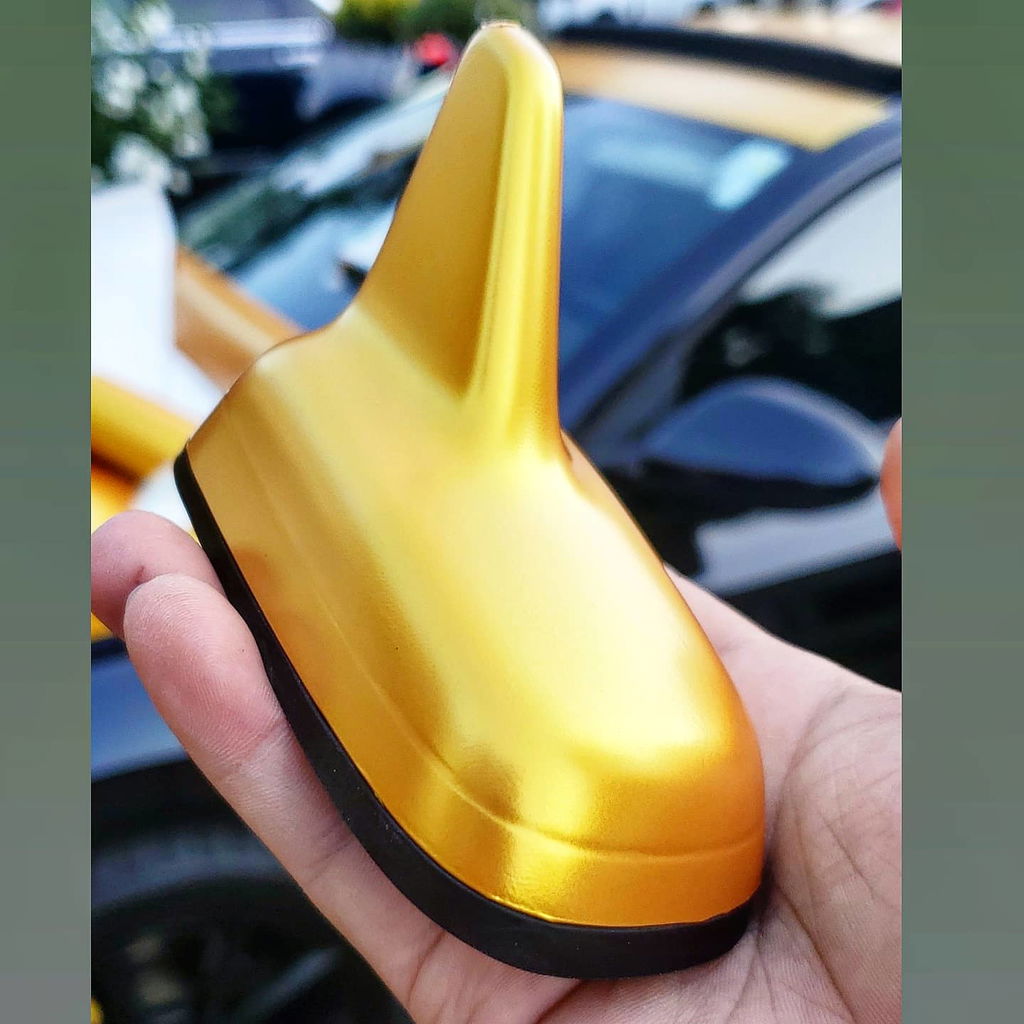
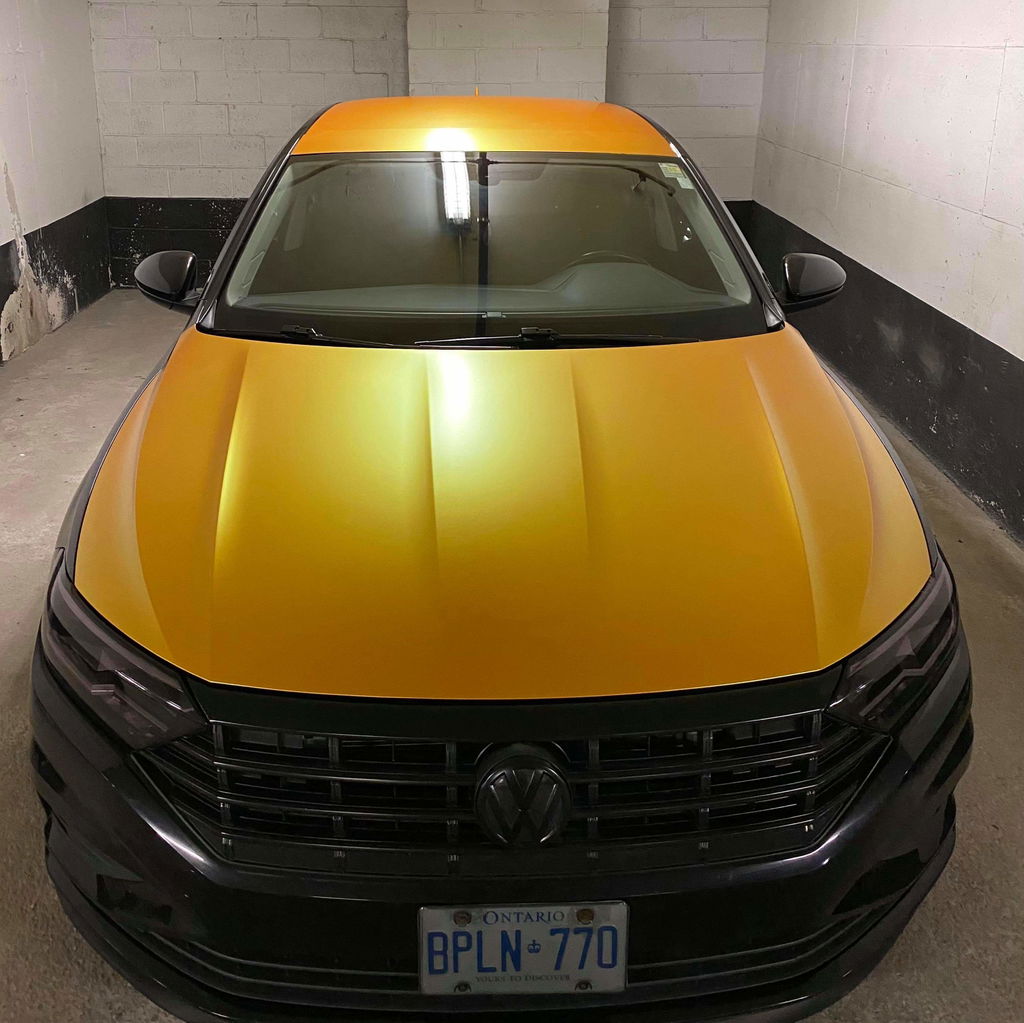
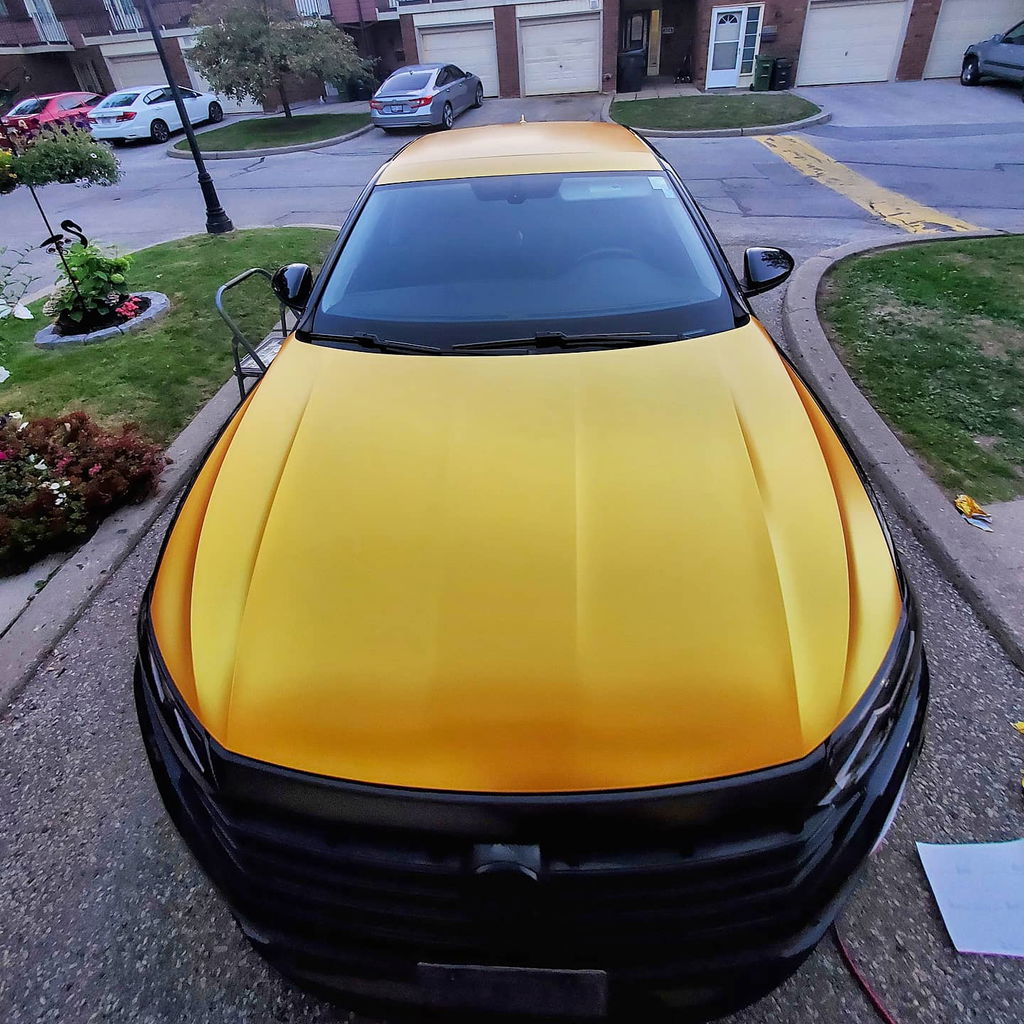
Give your vehicle a bright and unmistakably energetic transformation with Avery Dennison® Supreme Wrapping Film™ Satin Energetic Yellow SW900-261-S . Its saturated yellow foundation, smooth satin surface and fine gold-flake effect create a vivid special-effect finish that appears warm and concentrated in shade while revealing brighter golden-yellow highlights under direct illumination.
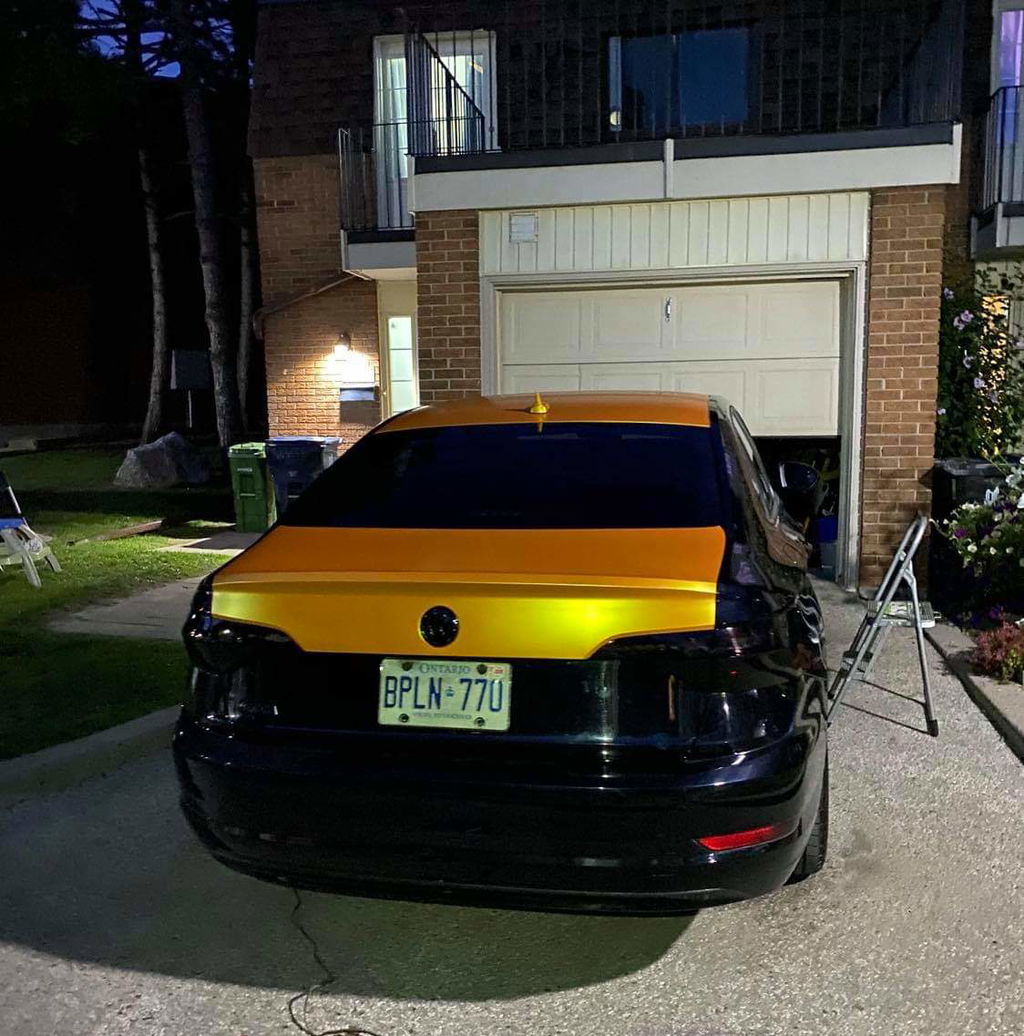
Digital colors are shown for general reference. Actual yellow depth, warmth, gold-flake visibility and satin sheen may vary with lighting, viewing angle, surrounding reflections, vehicle paint color and screen settings.
A bright energetic finish with smooth satin depth and subtle gold flake
Satin Energetic Yellow 261-S combines a highly visible yellow foundation with a smooth satin surface and fine gold-flake particles. In shade or softer indoor lighting, the color can appear warmer and more concentrated. Under bright natural light, clearer golden-yellow highlights and additional surface dimension may become more noticeable.
The satin surface gently diffuses sharp reflections rather than producing the intense shine associated with gloss film. This helps preserve the shape of body lines, curves and creases while creating a modern, refined finish that remains visually bold.
Fine gold-flake particles introduce controlled depth without turning the surface into an excessively sparkling metallic. The result makes a strong statement on performance vehicles, show builds, promotional cars, motorcycles and distinctive daily drivers.
Optimistic, fearless and high-energy with warm golden character.
Satin Energetic Yellow pairs especially well with gloss-black or satin-black trim, exposed carbon fibre, smoked lighting and black, gunmetal, silver, bronze or polished wheels. White, charcoal, red, dark blue and purple details can create a strong custom contrast.
Special-effect color with professional wrap-film performance
SW900 combines premium cast-film construction with Avery Dennison® Easy Apply™ RS adhesive technology to help experienced installers position the material, manage trapped air and create smooth vehicle transformations.
Satin surface with fine flake
The smooth satin finish softens glare while fine gold-flake particles introduce controlled depth across curves and sculpted vehicle panels.
Slide and reposition
Easy Apply™ RS technology provides slideability and repositionability, allowing the installer to align the film before applying final pressure.
Air-egress adhesive
The adhesive and liner system helps trapped air escape during application, reducing the risk of wrinkles and bubbles during professional installation.
Conformable cast construction
Premium cast film is designed for suitable compound curves, corrugations, channels and recessed areas when installed using Avery Dennison’s recommended techniques.
Seam-minimizing 60-inch width
The full-width format allows many hoods, roofs, doors and large body panels to be covered with one piece of material, helping reduce visible seams.
Long-term removable adhesive
The acrylic adhesive is designed to support professional removal during the applicable durability period, subject to substrate, installation, exposure and maintenance conditions.
Create a complete energetic-yellow transformation or a vivid accent
It is intended primarily for vehicle personalization and visual transformation. It should not be represented as providing the impact, puncture, self-healing or stone-chip protection of a dedicated polyurethane paint protection film.
Technical details and professional installation notes
Technical specifications
Important installation considerations for 261-S
- Inspect the physical color before cutting. Review Satin Energetic Yellow in sunlight, shade and indoor lighting to confirm that its yellow tone, gold-flake visibility and satin sheen meet the project requirements.
- Maintain one panel direction. Special-effect particles can produce visible appearance differences when adjoining panels are rotated. Keep each panel oriented consistently with the direction in which it was cut from the roll.
- Mark the roll direction. Mark the top or production direction on the liner before separating panels to prevent accidental rotation during installation.
- Use material from the same production lot. Slight color differences can occur between rolls or lots. Use one roll per vehicle whenever possible and avoid mixing lots on adjoining panels.
- Apply using a dry method only. Do not use water, soap solution or another wet-application process with Supreme Wrapping Film™.
- Prepare the substrate thoroughly. Apply only to a clean, dry, smooth and sound surface. Remove wax, grease, silicone, road contamination and cleaning residue using Avery Dennison’s recommended preparation procedure.
- Check substrate colour and opacity. Bright yellow films may reveal stronger visual differences over contrasting repairs, paint lines or dissimilar substrate colours. Test the material on the actual vehicle before installation.
- Use clean professional tools. A clean felt-edged squeegee helps reduce scratches, polished marks and unwanted changes in the satin surface.
- Distribute stretching across a wider area. Excessive localized stretching can reduce opacity or alter the yellow color, flake orientation and satin appearance.
- Use controlled heat. Excessive or concentrated heat may affect color consistency, particle orientation and surface sheen.
- Post-heat critical areas. Recesses, channels, edges, seams and stretched sections must be finished according to Avery Dennison’s current installation instructions.
- Cut safely. Use vehicle-safe cutting methods and cutting tape wherever practical to reduce the risk of damaging the underlying paint.
- Evaluate the substrate. Do not apply over uncured or damaged paint, peeling clear coat, corrosion, stainless steel, rough surfaces or unsuitable low-surface-energy plastics.
- Avoid detailed sign cutting. SW900 is designed primarily as wrapping film. Sign-cut letters and detailed graphics are not recommended.
Care, cleaning and removal
- Allow the wrap to settle before washing. Do not wash or clean the newly wrapped vehicle during the first 48 hours following installation.
- Wash regularly using clean water, a mild automotive detergent with a pH between 5 and 9, and a soft microfiber towel, cloth or non-abrasive sponge.
- Hand washing is ideal. Avoid automatic car washes that use rotating brushes because they can scratch the satin surface or catch exposed edges.
- Use caution with waxes and polishes. Incompatible waxes, protection products or polishing compounds can create uneven shiny areas or alter the intended satin appearance.
- Test every new cleaner or protection product in an inconspicuous area before applying it across the complete wrapped surface.
- Avoid abrasive compounds, hard brushes, aggressive scrubbing, acids, ammonia, chlorine, petroleum distillates and strong incompatible solvents.
- Bird droppings, insects, tree sap, fuel and road tar should be spot-cleaned promptly because contamination and staining may be especially noticeable on a bright yellow surface.
- Avoid repeatedly scrubbing one small area. Uneven pressure can polish the surface and create a visibly shinier spot.
- Use caution with pressure washing. Avoid excessive pressure, hot water and directing the nozzle toward seams, edges or damaged areas.
- Covered or indoor parking can help preserve the energetic-yellow color, fine flake and satin appearance by reducing prolonged UV exposure and environmental contamination.
- Professional removal is recommended. Removal results depend on material age, substrate condition, paint adhesion, installation, maintenance and environmental exposure.
Warranty and durability information
- Avery Dennison’s current North American colour guide lists Satin Energetic Yellow SW900-261-S within the Special Effects collection.
- Avery Dennison’s current SW900 data sheet specifically identifies Satin Energetic Yellow as a color containing gold flake.
- Qualifying gold-flake SW900 films are listed at up to three years for Zone 1 vertical exposure.
- Vertical exposure means the face of the graphic is positioned between approximately 0 and 10 degrees from vertical.
- Qualifying Zone 1 horizontal and non-vertical applications are listed at up to one year because those surfaces receive greater direct environmental exposure.
- Qualifying Zone 2 coverage is listed at up to 2.4 years for vertical exposure and six months for horizontal or non-vertical exposure.
- Qualifying Zone 3 coverage is listed at up to 1.5 years for vertical exposure and four months for horizontal or non-vertical exposure.
- Actual warranty eligibility depends on the geographic zone, application angle, substrate, surface preparation, production lot, installation, maintenance and compliance with Avery Dennison’s current instructions.
- Abrasion and gradual changes in color, flake appearance or satin sheen are considered ordinary wear and are not covered as manufacturing defects.
- Damage caused by accidents, road debris, stone impacts, overstretching, incorrect installation, improper cleaning or ordinary wear is not the same as a manufacturing defect.
Have more questions or need help planning your project?
Our team can help with product selection, sizing, color samples, compatible tools, order questions and general installation guidance. Choose the most convenient way to reach us.
*Product specifications, available dimensions, installation recommendations and warranty terms are subject to change and may vary by production lot, geographic zone, application angle, substrate and installation conditions. Avery Dennison’s current SW900 data sheet identifies SW900-261 Satin Energetic Yellow as a gold-flake color within the up-to-three-year qualifying Zone 1 vertical durability tier. Horizontal, non-vertical and warmer-climate exposure receive shorter coverage. The approximately 3.2 mil face-film value is a typical-construction inference; the current product data sheet and physical roll information govern. Colors displayed digitally are approximate. This product is decorative color-change vinyl and is not paint protection film. Consistent panel orientation, same-lot material and professional installation are recommended. Avery Dennison, Supreme Wrapping Film, Easy Apply and StaFlat are trademarks of Avery Dennison Corporation or its affiliates.
Application Guide
Vinyl Wrap Application Guide
A successful wrap begins long before the film touches the surface. Follow this practical guide to prepare, position, apply, trim and finish your vinyl with greater control and a cleaner, more professional result.
A clean result comes from patience, preparation and controlled technique
Vinyl wrap is designed to conform to smooth surfaces, but the film can only perform as well as the surface underneath it. Dirt, wax, oil, loose paint, rough repairs and hidden moisture may affect adhesion or become visible through the installed material.
Before beginning, inspect the panel, plan your material direction and decide where seams, relief cuts and finishing edges will be located. Measure twice, cut with enough working allowance and avoid pulling the film tighter than needed.
Position first. Apply pressure second. Add heat only when needed.
Working gradually gives you more control. It helps reduce trapped air, unnecessary stretching, distorted finishes and weak edges caused by rushing.
Seven steps from surface preparation to final inspection
Review the complete process before starting. Each step supports the next, so skipping preparation or finishing work may affect the final appearance and long-term adhesion.
Prepare the surface
Wash, degrease, dry and inspect the panel so the adhesive can contact a smooth, stable and contaminant-free surface.
Measure and pre-cut
Measure the coverage area carefully and cut the film slightly oversized to leave enough material for positioning and edge finishing.
Position and apply
Anchor the film, expose the adhesive gradually and use overlapping squeegee strokes while working in manageable sections.
Heat and conform
Use controlled heat to soften the vinyl for curves and irregular shapes, stretching only as much as the area requires.
Trim and finish edges
Trim carefully, avoid cutting into the substrate and finish edges with firm pressure before tucking them into suitable seams.
Post-heat critical areas
Heat-set stretched areas, recesses, curves and edges according to the exact instructions for the film being installed.
Inspect, correct and allow the adhesive to set
Check every edge, seam and contour. Correct remaining bubbles carefully, then avoid washing or harsh exposure for approximately 24–48 hours while the adhesive develops its bond.
Open each step when you are ready to work through it
These expandable instructions keep the page easy to navigate while giving you the important details needed at every stage of the installation.
1. Prepare the surface
Adhesion begins with the condition of the panel. Do not apply film over wax, grease, dust, loose paint, rust, moisture or unstable repairs.
- Clean thoroughly. Wash the area using mild soap or an automotive-grade cleaner to remove dirt, road film and surface contaminants.
- Remove wax, polish and grease. Use an appropriate automotive degreaser where needed, following its directions carefully.
- Complete the final wipe. Many installers use isopropyl alcohol and clean, lint-free towels to remove remaining oils or residue.
- Let the panel dry completely. Pay special attention to seams, trim, handles and panel gaps where moisture can remain hidden.
- Inspect the substrate. Scratches, dents, chips, rust, rough bodywork or loose paint may show through the film or weaken adhesion.
- Repair imperfections first. Vinyl conforms best to smooth, sound surfaces. Complete necessary filling, sanding and curing before wrapping.
2. Measure and cut the vinyl
- Measure the complete coverage area. Include curves, returns, recessed areas and the material needed to finish each edge.
- Add a working allowance. Leave several extra inches on each side whenever practical so the film can be positioned without pulling.
- Pre-cut slightly larger than required. It is generally easier and safer to trim extra film than to recover from a piece cut too small.
- Plan film direction and seams. Confirm grain, pattern, metallic orientation or color-flop direction before cutting multiple panels.
- Keep the liner and film clean. Place cut material on a clean surface where dust and debris cannot contaminate the adhesive.
3. Position and apply the vinyl
- Dry-fit the film first. Hold the sheet in position and confirm that there is enough material around every edge.
- Create an anchor point. Peel back only a small section of liner and attach one controlled area before exposing more adhesive.
- Work in small sections. Remove only as much backing paper as you can manage to reduce premature contact and contamination.
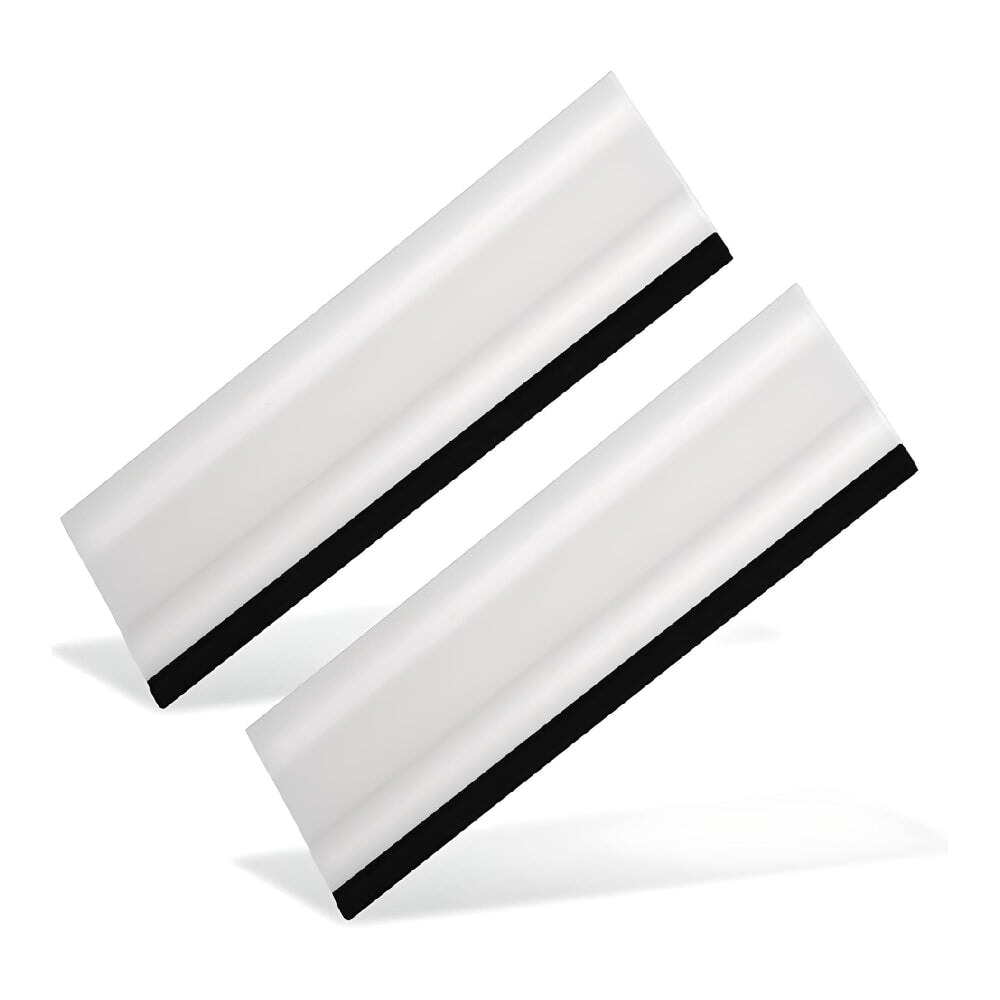
- Use a clean felt-edged squeegee. Apply firm, overlapping strokes from the centre toward an open edge to help move trapped air outward.
- Lift and reposition when needed. Do not force wrinkles flat. Release the affected area, remove tension and reapply it more gradually.
- Avoid unnecessary stretching. Use positioning, panel shape and controlled relief before relying on heat and tension.
4. Heat and stretch for curves or irregular surfaces
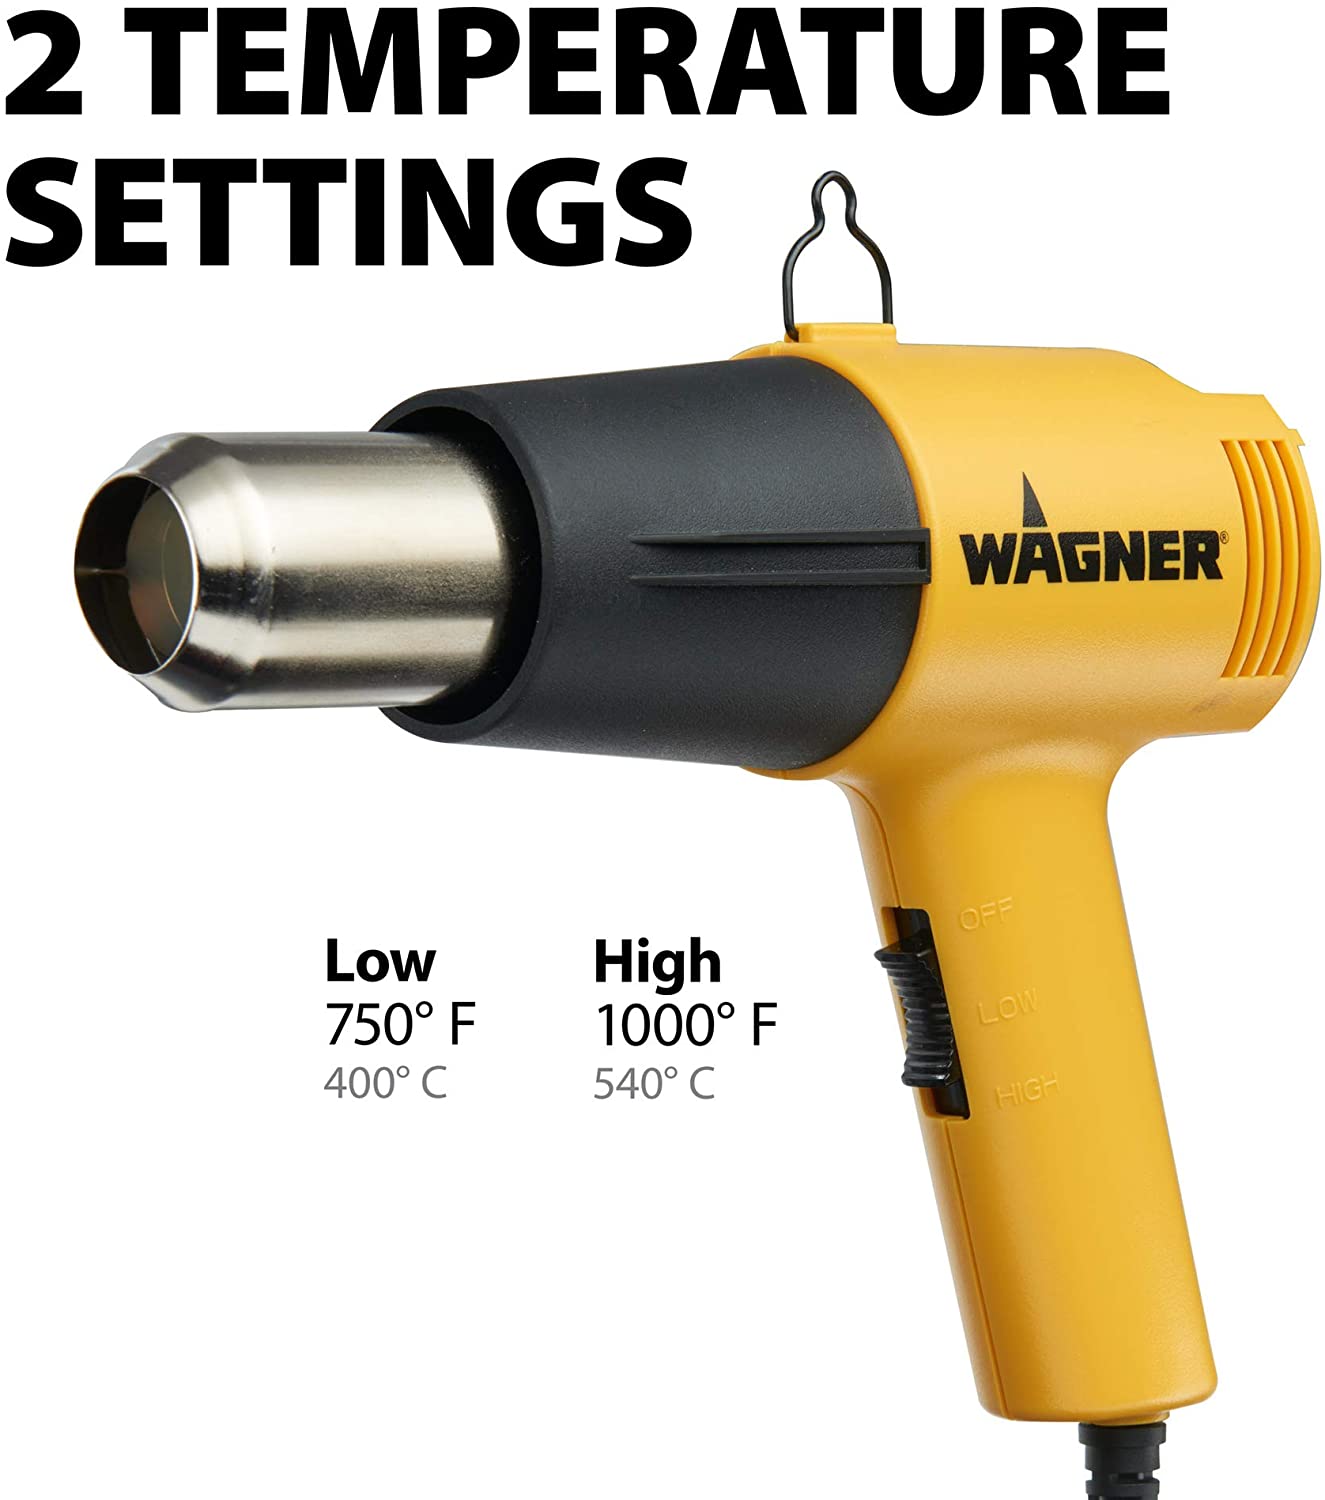
- Use a heat gun on a controlled setting. Low to medium heat can make the film more pliable without exposing it to sudden, concentrated heat.
- Heat a broad area evenly. Keep the heat source moving and avoid creating a single overheated spot.
- Stretch gently. Conform the vinyl over curves using only the amount of tension required for the shape.
- Watch for visual distortion. Excessive stretching may alter color, gloss, texture, printed graphics or adhesive performance.
- Use relief and repositioning. For difficult compound curves, lifting and redistributing the film is usually safer than forcing one area.
- Let the film cool before final trimming. Confirm that the material remains stable after tension and heat are released.
5. Trim excess material and seal the edges
- Use a sharp blade. A fresh, controlled blade requires less pressure and produces a cleaner edge than a dull one.
- Protect the surface underneath. Use very light pressure and avoid cutting directly into paint, plastic, glass, rubber or trim.
- Use knifeless tape whenever appropriate. It can create a clean cut without placing a blade directly against the vehicle surface.
- Leave enough material for the edge. Do not trim so closely that the film cannot wrap, tuck or finish securely around the panel boundary.
- Press edges firmly. Use the correct squeegee pressure and finishing tool to activate the adhesive along edges, corners and seams.
- Tuck only where appropriate. Do not force excess film into gaps where it may bunch, bridge or interfere with moving parts.
6. Post-heat stretched areas, curves and edges
Post-heating helps stabilize areas that were stretched or formed under tension. The required temperature differs by product, finish, manufacturer and application.
- Identify critical areas. Focus on recesses, deep curves, stretched corners, body lines, seams, returns and finished edges.
- Use an infrared thermometer. Do not estimate post-heat temperature by touch alone.
- Follow the exact manufacturer requirement. Some wrap films may call for post-heating in the approximate range of 200–250°F / 93–121°C, but the current technical bulletin for the specific film must be followed.
- Heat evenly and continuously. Keep the heat gun moving to avoid scorching, gloss changes, texture damage or adhesive failure.
- Recheck after cooling. Confirm that edges remain down and stretched areas do not lift or shrink back.
7. Complete the final inspection and finishing touches
- Inspect under strong lighting. Review the panel from several angles for bubbles, wrinkles, contamination, lifting edges or uneven tension.
- Correct air carefully. Small isolated bubbles may sometimes be released with a proper air-release tool or fine pin, then smoothed gently.
- Recheck all edges and seams. Confirm that adhesive contact is complete and that no section is bridging over a gap or contour.
- Clean the finished surface gently. Use a vinyl-safe product and a clean microfiber towel to remove fingerprints and installation residue.
- Allow the adhesive to build its bond. Avoid washing, heavy rain, harsh chemicals or severe conditions for approximately 24–48 hours when possible.
- Perform a follow-up inspection. Recheck critical edges and recesses after the film has rested, especially on complex installations.
Prepare the right tools before the liner comes off
Clean, suitable tools improve control and help protect the film. Organize everything before starting so the installation does not need to stop midway.
- Felt-edged squeegee
- Sharp utility knife
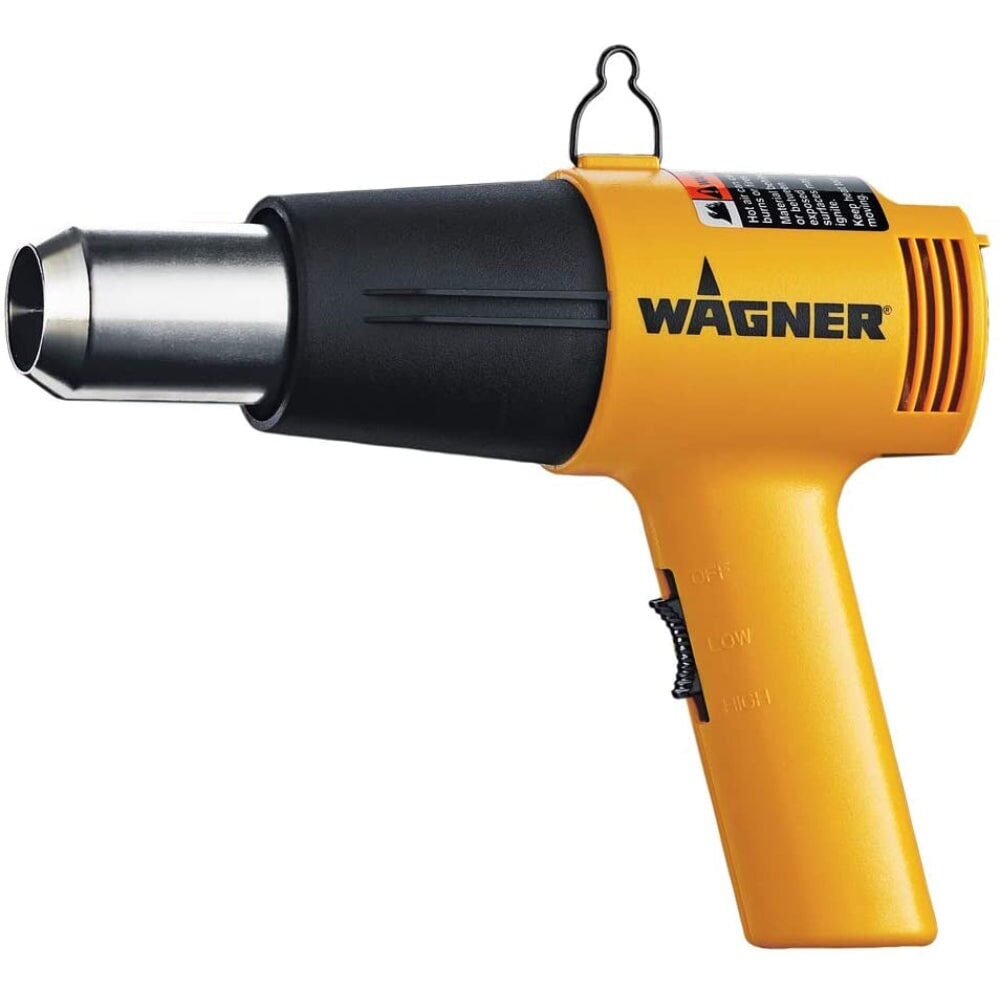
- Heat gun
- Measuring tape or ruler
- Infrared thermometer
- Isopropyl alcohol, 70% or higher
- Lint-free or microfiber towels
- Automotive-grade degreaser
- Mild automotive cleaner
- Clean detailing brushes
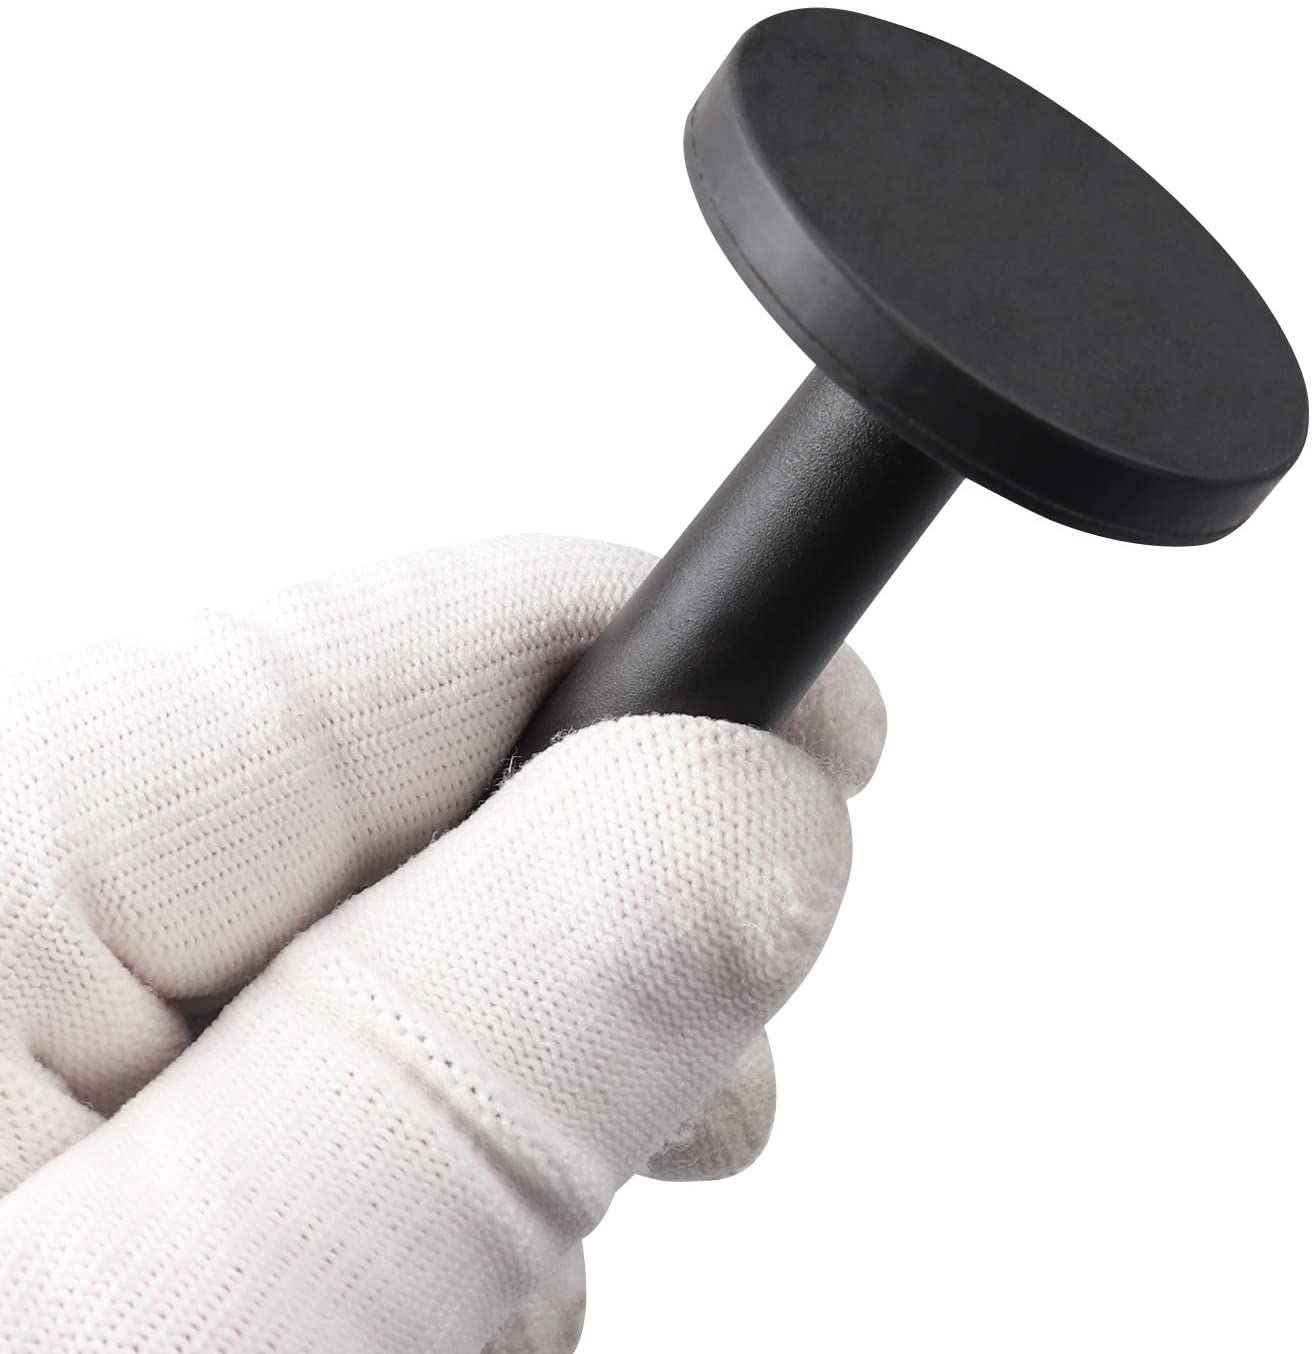
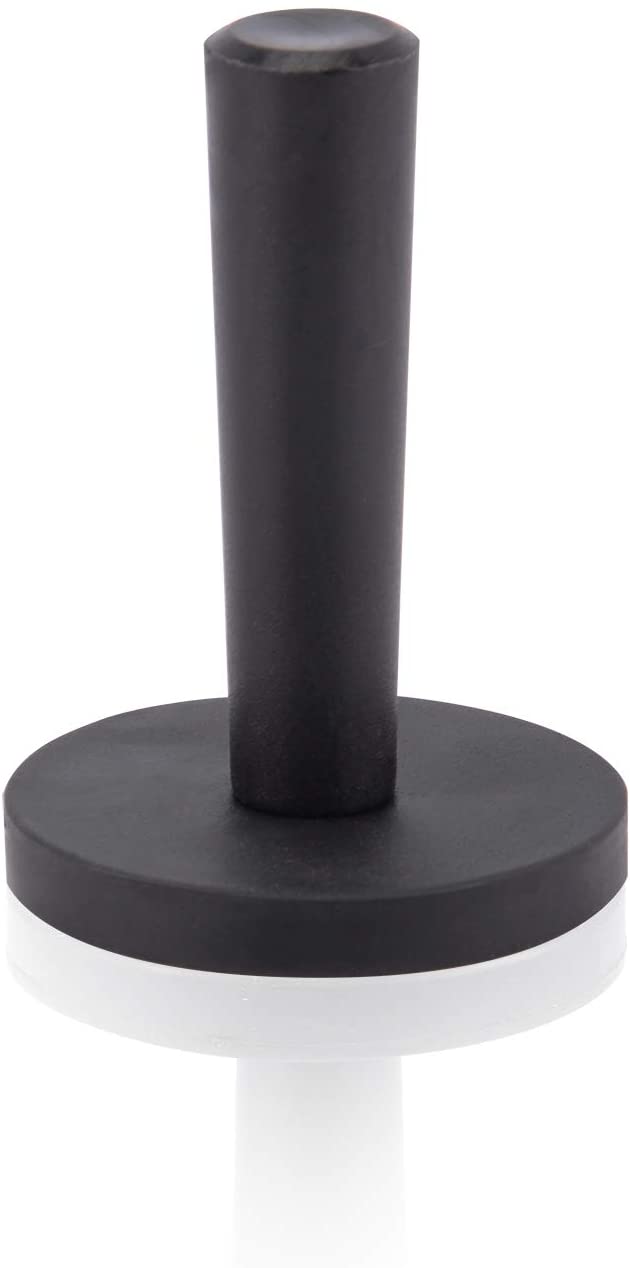
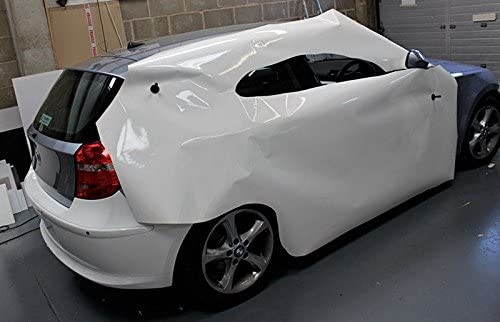
- Wrap magnets
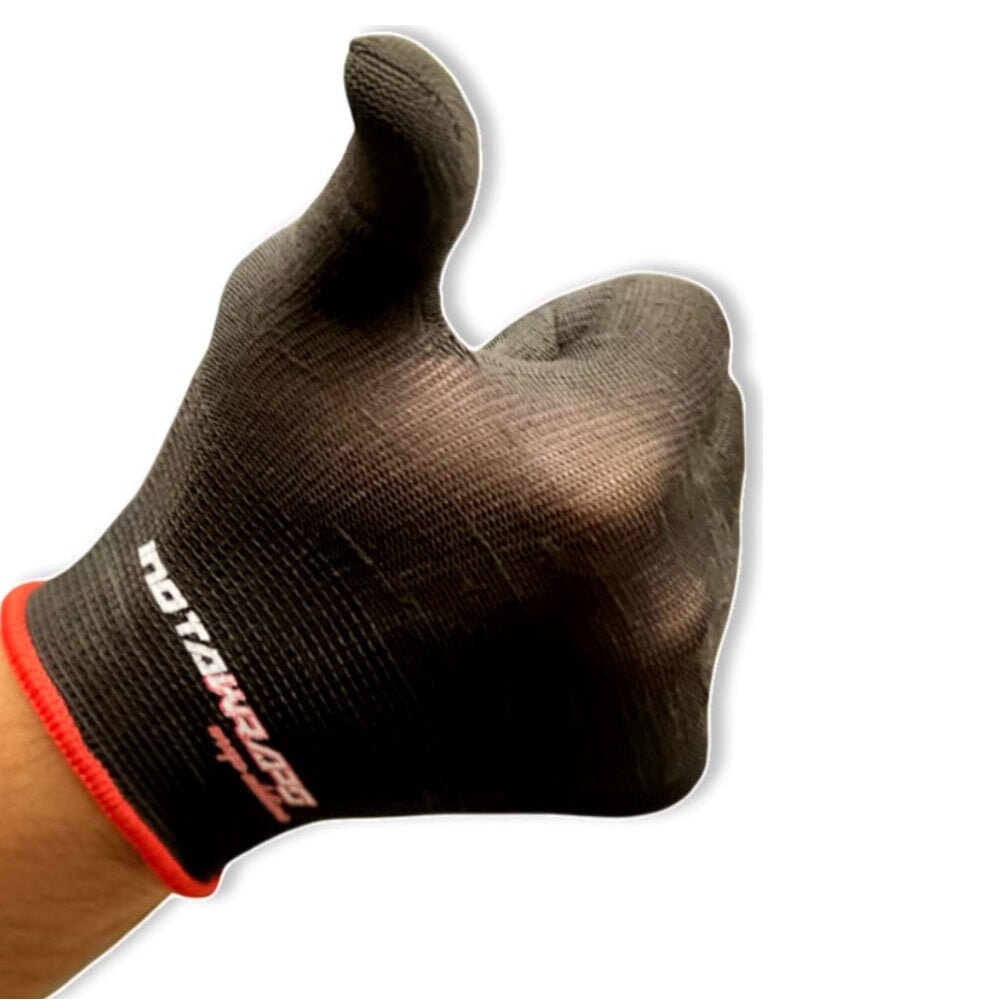
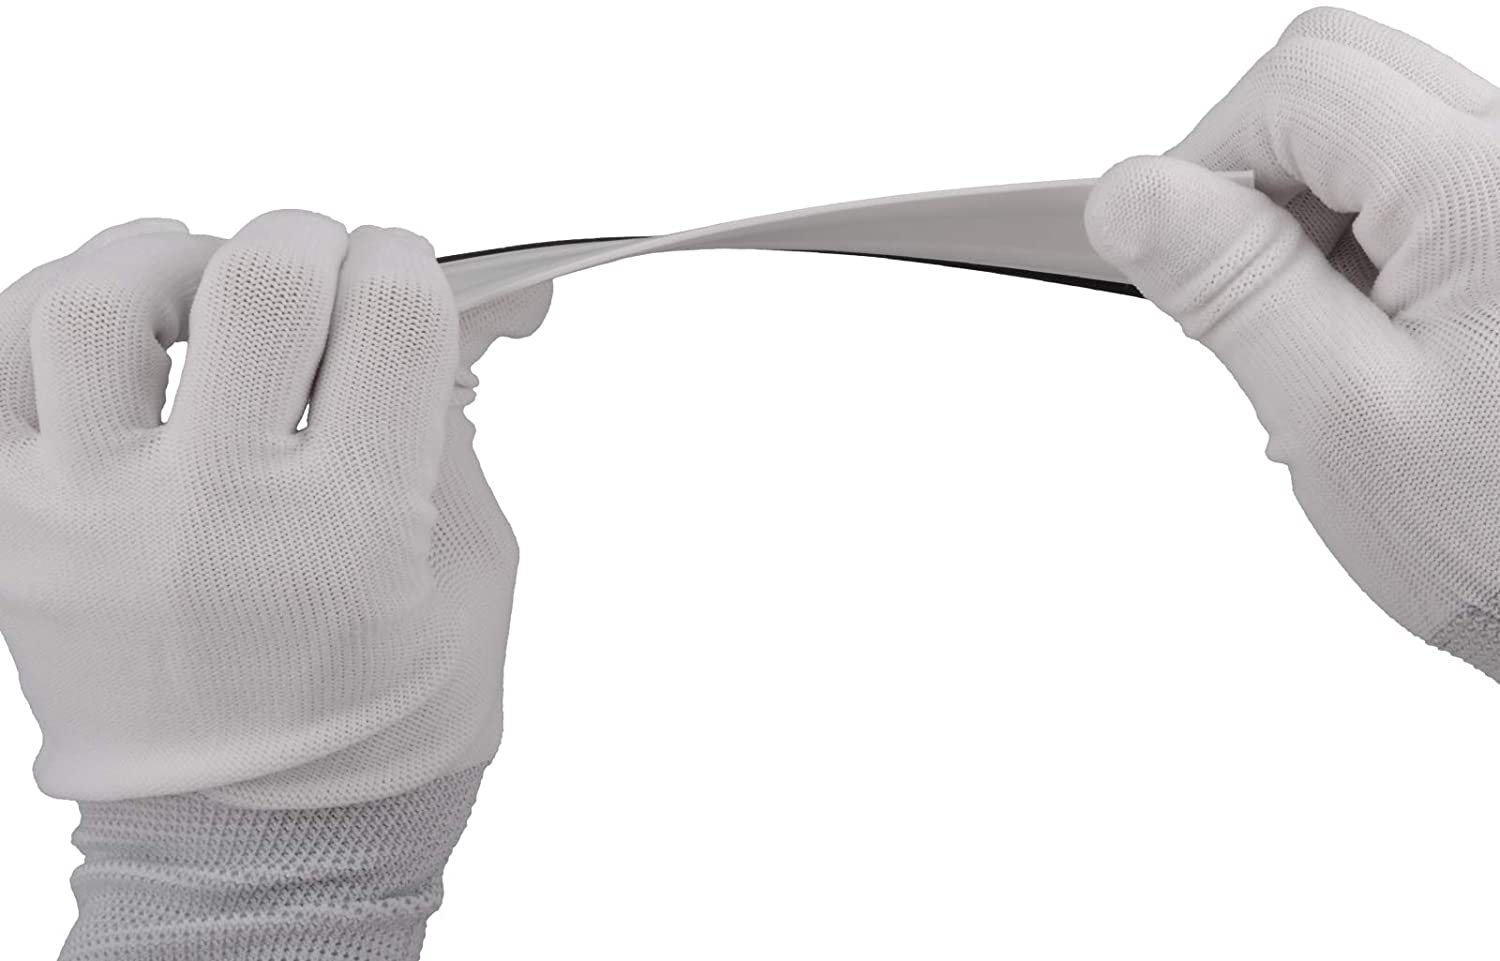
- Soft wrap glove
- Air-release pen
- Masking tape
- Knifeless tape
- Edge finishing tools
- Edge-seal tape where approved
- Vinyl-safe finishing spray
- Clean microfiber towels
- Manufacturer-approved care products
A heat gun provides more controlled heat. Excessive temperature may damage vinyl, distort the finish, affect adhesive performance or harm the substrate.
Knifeless tape helps create clean cuts without cutting directly on the surface
What is knifeless tape?
Knifeless tape is positioned underneath the vinyl before application. A thin internal filament is then pulled through the film, creating a guided cut without placing a knife blade directly against the painted surface.
- Safer for the substrate: helps reduce the risk of blade marks.
- Useful for curves: supports stripes, shapes and flowing designs.
- Cleaner finishing: creates a controlled edge when used correctly.
How to use knifeless tape
- Plan the cut line. Clean the area and apply the tape exactly where the finished edge should be.
- Lay the vinyl over the tape. Apply and squeegee the film without disturbing the tape underneath.
- Expose and start the filament. Follow the tape manufacturer’s method for creating the starting pull.
- Pull the filament steadily. Keep the pull controlled so the filament cuts through the vinyl along the planned line.
- Remove the remaining tape. Carefully pull away the tape carrier from below the cut vinyl.
- Finish the edge. Press the newly cut edge down firmly using the appropriate squeegee or finishing tool.
Important knifeless tape tips
- Use the tape product designed for the type of line, curve, seam or gap you are creating.
- Do not pull the filament aggressively or at an uncontrolled angle.
- Practice on a test panel or scrap material before using it on a customer vehicle.
- Confirm that both the vinyl and tape are compatible with the planned application.
- Follow the tape manufacturer’s current instructions for overlap, turns and filament activation.
Commonly used for curved cuts, flowing shapes, striping and intricate design work.
Commonly used for straight or gently curved cuts and clean finishing near panel edges.
Designed to span gaps or seams while supporting a controlled cut through the applied vinyl.
Complete one final quality-control check
Final installation checklist
- The surface was cleaned, degreased and completely dried before installation.
- No loose paint, rust, wax, trapped moisture or unstable repairs remain beneath the film.
- The material was applied without excessive stretching or visible distortion.
- All bubbles, wrinkles and areas of trapped contamination were addressed.
- Edges, corners, seams, recesses and returns are fully adhered.
- Critical stretched areas were post-heated to the manufacturer’s specified temperature.
- The completed wrap was inspected under strong lighting from multiple angles.
- The customer understands the recommended initial curing period and ongoing care requirements.
Common mistakes to avoid
- Applying film over wax, grease, silicone, moisture, rust or failing paint.
- Cutting the film too small and trying to recover the missing coverage by stretching.
- Removing too much liner at once and allowing uncontrolled adhesive contact.
- Heating one small area too aggressively or overheating textured and specialty finishes.
- Using excessive tension through deep recesses, corners or compound curves.
- Cutting directly into the vehicle surface with heavy blade pressure.
- Skipping post-heating on stretched, recessed or high-tension areas.
- Washing or exposing the installation to harsh conditions immediately after completion.
Need help choosing vinyl, tools or the right amount of material?
Our team can help with product selection, sizing, compatible application tools, order questions and general installation guidance. Choose the most convenient way to reach us.
This guide provides general educational information and does not replace the current technical bulletin, installation instructions, warranty terms or safety guidance issued by the film, tape, tool or chemical manufacturer. Product behavior, compatible surfaces, application temperature, post-heat temperature and finishing requirements vary. Test unfamiliar products and substrates before installation. Professional installation is recommended for full vehicles, complex curves and high-value surfaces. Knifeless is a trademark of 3M.
Transparency is the Key
The product is showing out of stock. When will it be back in stock?
When a product is unavailable, it most likely means that it is in the production process. We will update our inventory as soon as we have it back in stock.
In the meantime, visit the product page on our website, select any out-of-stock size, and click the "Notify me" button to receive an alert with it's available again.
How many feet of material would I need to wrap my car?
Great question. Please use our special Size Chart to match the amount of material needed.
When will my order be fulfilled?
Instawraps aims to fulfill all orders on the same day they are received. Orders placed before 11:00 AM EST are typically shipped the same day. Orders placed after 11:00 AM EST may be shipped the next business day.
For customers in Ontario, Canada, we offer a same-day local delivery option. Orders placed between 10:00 AM and 3:00 PM EST are dispatched within 1 hour and are expected to arrive before 5:00 PM EST. Order placed outside these hours or on non-business days will be dispatched the next next business day after 10:00 AM EST. Express shipping options are also available at checkout, with express orders received before 11:00 AM EST generally shipped the same day.
Is there a cut-off time for same day curbside pickup orders?
Yes, the cut-off time for same-day curbside pickup orders is 11:00 AM EST. Orders placed before this time will typically be ready for pickup by the end of the day.
If an order is placed after 11:00 AM EST and same-day pickup is needed, customers can pay a $25 fee at checkout for expedited same-day pickup. Otherwise, orders placed after the cut-off time will likely be ready the next business day.
Please note, curbside pickup is only available at our Ontario location.
What payment methods do you accept?
We accept all major credit cards.
Canadian customers can also pay via E-transfer, and U.S. customers via Zelle.
Additionally, we offer a partial payment plan through Sezzle, which lets you split your purchase into four equal, interest-free payments. The first payment is due at checkout, with the remaining payments automatically deducted every two weeks.
How can I request to return an item?
Please send a message to an email >> support@instawraps.ca within 30 days of purchase. Or reply to the order confirmation, explain the reason for return request and provide all necessary info / photos, if applicable.