Cut-off time for Pickup Orders is 11:00AM EST

Why 1,000,000+ Customers trust Instawraps

10/10 quality + look

Wrapped two bikes in this yellow and never once regretted it.
Charles D

Great Product

Received quickly and in good condition. product is easy to...
Roman T.

Love the color

Reasonable shipping time. Product nicely packaged...
Cody D.

Prompt service

I received my parcel in a timely manner.
Mark R.

Amazing service, top notch products

Quick, and reliable service...
Kim Lefebvre

Product Details

Product Description
3M Protection Wrap Film Product Code PWF-G12 Colored PPF

Gloss Black Protection Wrap Film

Transform and help protect the vehicle in a single application with 3M Protection Wrap Film Color Series PWF-G12 Gloss Black . This approximately 0.2 mm polyurethane film combines a deep, mirror-like black finish with protection against rock chips, scratches, stains and environmental exposure.

Gloss black colour change Polyurethane protection film Self-healing technology Wet or dry installation
3M finish Gloss Black
Film category Colored PPF / PWF

Digital images cannot reproduce the physical black depth, surface clarity or mirror-like gloss precisely. Appearance varies with lighting, panel shape, surrounding colours, paint condition, installation quality and screen settings. Inspect a physical sample before selecting project material.

Official colour Gloss Black G12
Material Polyurethane
Film thickness Approx. 0.2 mm / 8 mil
Adhesive technology Controltac + Comply
Full roll width 60 in / 1.52 m
Consumer warranty 10 Years*
Colour change plus protection

Deep gloss black styling with the built-in protection of polyurethane paint protection film

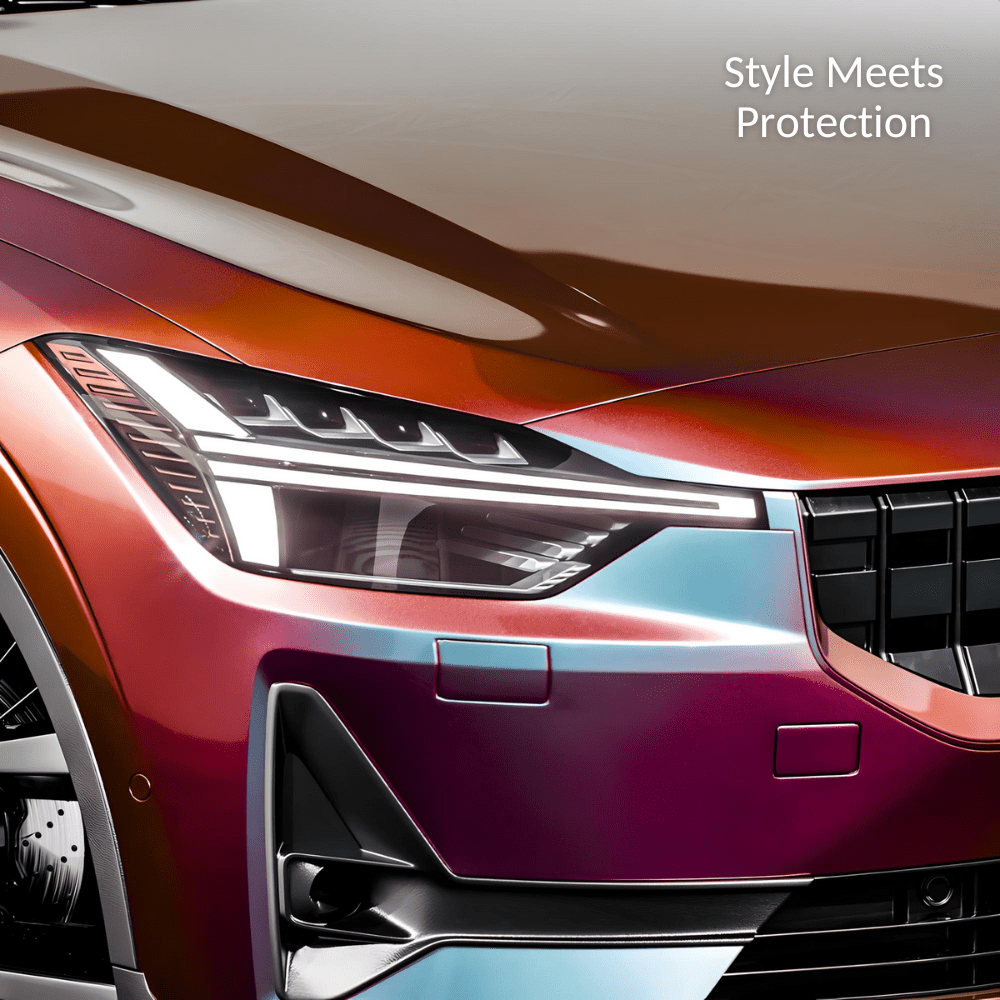
3M PWF-G12 Gloss Black is designed for vehicle owners who want more than a conventional colour-change wrap. Its pigmented polyurethane construction replaces the visible paint colour while adding a thicker protective layer intended to help safeguard painted body panels against chips, scratches, stains and everyday environmental exposure.

The gloss black surface creates a deep, reflective appearance that can resemble professionally finished paint when applied over a properly prepared vehicle. A clear cap sheet helps protect gloss colours during handling and installation and must be removed before final inspection and post-heating.

3M Controltac technology supports sliding, tacking, snap-up and repositioning, while 3M Comply air-release channels allow trapped air to move toward the film edge. Current 3M documentation permits wet, dry or combined installation methods, allowing a trained professional to select the process best suited to the panel and working environment.

Design and protection profile

Timeless gloss black colour, paint-like visual depth and a substantial polyurethane barrier in one professionally installed film.

Gloss Black works across complete colour changes, two-tone layouts, roofs, hoods, rocker panels, chrome-delete details and contrasting accents. The final result depends heavily on the original paint condition, paint correction, cleanliness, panel preparation and installer technique.

3M PWF technology

Engineered to combine vehicle personalization, impact resistance and professional installation control

Protection Wrap Film is substantially thicker than typical colour change vinyl and is engineered as a protective polyurethane system. PWF-G12 combines a gloss black face, pressure-sensitive repositionable adhesive, air-release channels, self-healing polymer technology and a removable cap sheet for professional vehicle applications.

01

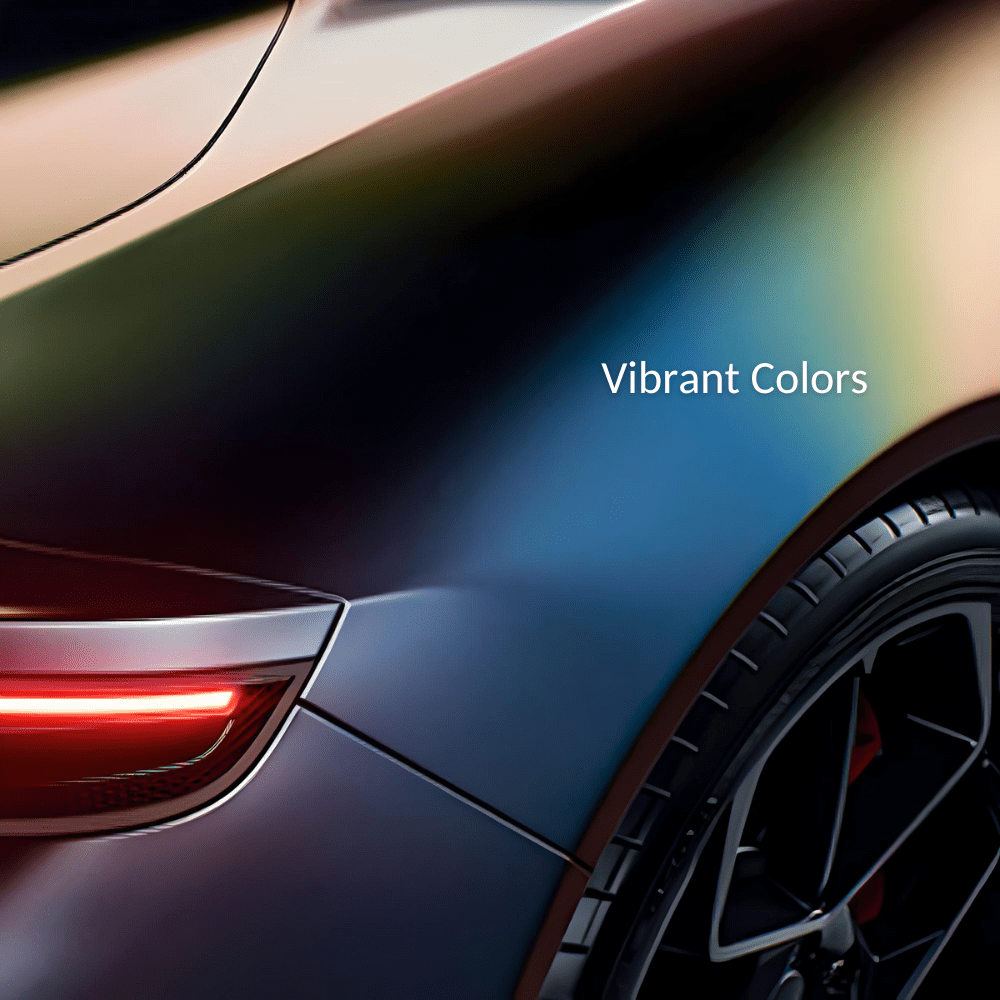
Paint-like gloss black finish

The rich black colour and reflective surface are designed to create a smooth, mirror-like appearance across properly prepared vehicle panels.

02

Protection against everyday hazards

The polyurethane film helps protect painted surfaces against rock chips, scratches, stains and environmental exposure. It cannot prevent every impact, dent or paint failure.

03

Self-healing polymer technology

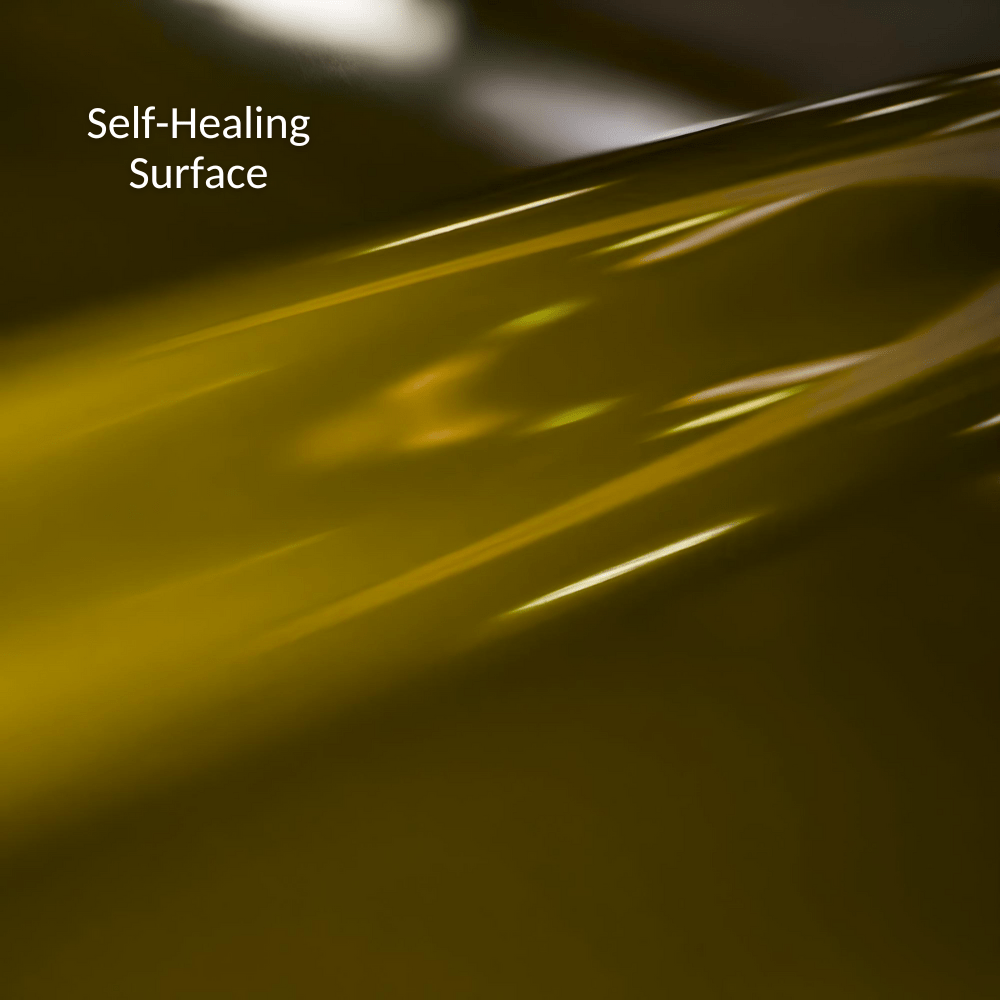
Minor surface scratches can diminish when suitable heat is applied to the film. Deep cuts, punctures, gouges and impact damage are not self-healing.

04

3M Controltac technology

Reduced initial contact supports sliding, temporary finger tacking, snap-up and repositioning before firm installation pressure activates the adhesive bond.

05

3M Comply air release

Non-visible air-release channels help move trapped air toward the nearest film edge for a faster, cleaner and more controlled application.

06

Thicker protective construction

At approximately 0.2 mm, PWF-G12 is about 1.7 times thicker than typical 3M Wrap Film Series 2080, providing more substantial protection than standard colour-change vinyl.

Coverage possibilities

Select complete colour change, strategic impact-zone protection or distinctive gloss black accents

Full Vehicle Coverage Complete gloss black colour changes with protective film coverage across compatible painted body panels.
High-Exposure Panels Hoods, roofs, rocker panels, lower doors and other compatible areas exposed to frequent road and environmental contact.
Accents & Two-Tone Designs Roofs, mirrors, racing stripes, chrome-delete details and selected contrasting panels.
Specialty Vehicle Styling Compatible painted automotive surfaces requiring both gloss black personalization and added film protection.

Professional installation and a safe, clean working environment are required.

Removing the liner can create a static-electricity discharge capable of producing sparks and igniting flammable vapours. Use the film only in a safe environment and follow 3M safety guidance. 3M recommends misting the liner and cap sheet with water to help reduce static. Never install film over vehicle sensors, radar equipment or autonomous-driving hardware.

Product information

Technical specifications, professional installation and long-term care

Technical specifications
Manufacturer:
3M
Product code:
PWF-G12
Official product:
3M Protection Wrap Film Color Series
Storefront title:
Gloss Black Colored PPF / PWF
Colour:
Black
Finish:
Glossy
Film category:
Colored paint protection and protection wrap film
Recommended end use:
Vehicle colour change, accents, partial coverage and full vehicle coverage
Material:
Polyurethane
PWF-G12 thickness:
Approximately 0.2 mm / 8 mil
Series thickness range:
0.19 to 0.23 mm / 7.5 to 9 mil with adhesive, depending on colour
Protective cap sheet:
Clear polyester, approximately 0.05 mm / 2 mil
Release liner:
Polyethylene-coated PET, approximately 0.16 mm / 6.4 mil
Adhesive:
Clear pressure-sensitive adhesive, repositionable with air-release channels
Positioning technology:
3M Controltac technology
Air-release technology:
3M Comply technology
Typical 20-minute adhesion:
9.3 N/25 mm on a painted panel
Application surfaces:
Compatible painted surfaces
Application method:
Wet, dry or a combination of both methods
Application temperature:
16°C to 30°C / 60°F to 85°F
Optimal installation:
18°C to 24°C / 65°F to 75°F
Recommended stretch limit:
Do not stretch more than 15%
Post-heat temperature:
93°C to 107°C / 200°F to 225°F at corners and edges
Self-healing:
Minor scratches may diminish when heat is applied
Protection profile:
Helps protect against rock chips, scratches, stains and environmental exposure
Printing:
Not intended for printing or additional graphic processing
Knifeless compatibility:
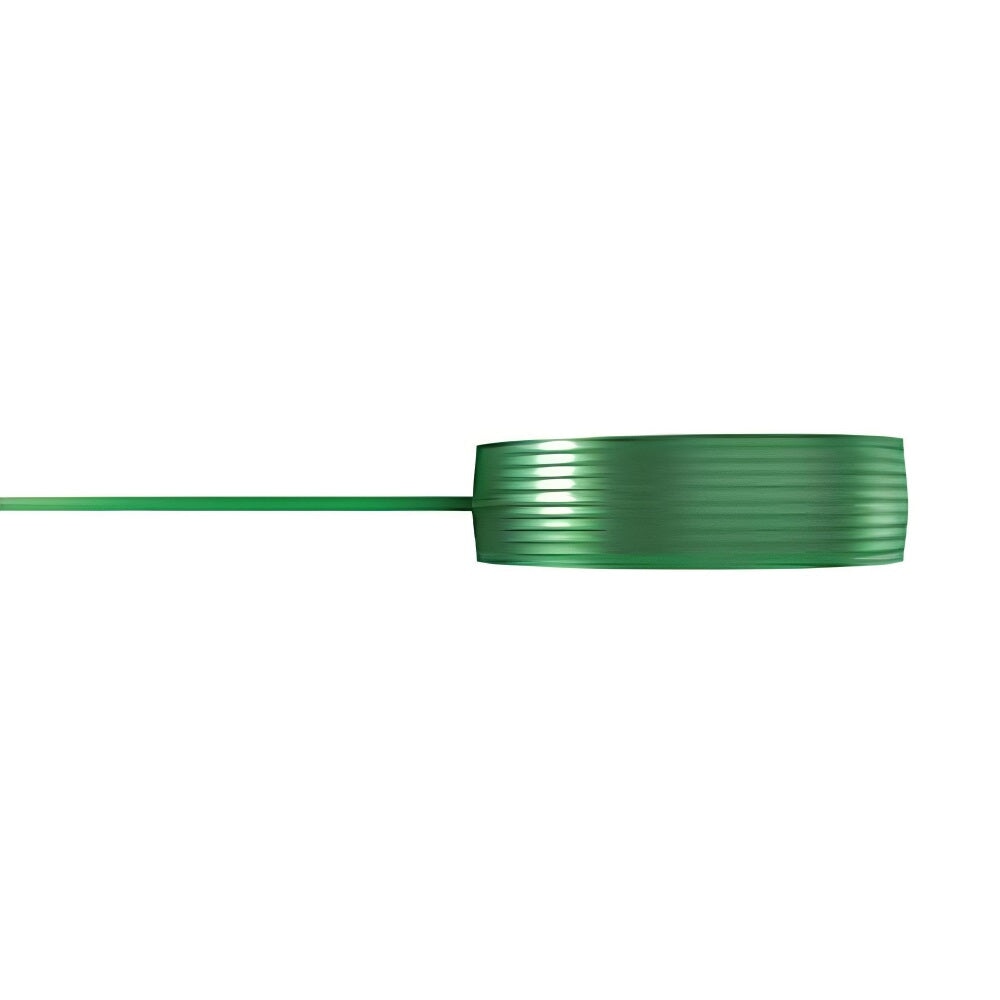
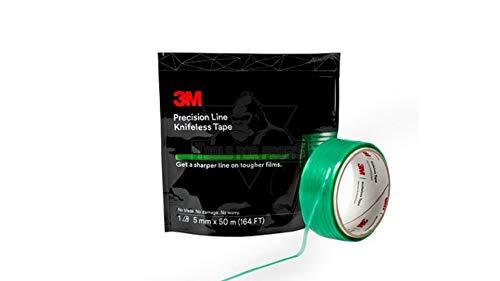
3M Knifeless Tape Precision Line for dry application
Full roll width:
60 in / 1.52 m
Full roll length:
75 ft / 25 yd / 22.86 m
Instawraps sample:
2.5 × 4 in
Instawraps listed cuts:
5 ft wide × 1, 2, 5, 8, 10, 15, 20, 25, 30, 40, 50, 60 or 75 ft
Shelf life:
Three years from the date of manufacture on the original box
Storage temperature:
16°C to 30°C / 60°F to 85°F
Storage conditions:
Clean, dry, out of sunlight, in the original container
Unused roll storage:
Tape tightly and store horizontally with end caps replaced
Stainless steel:
Not recommended or warranted by 3M
Powder or water-based paint:
Adhesion must be evaluated before full installation
Sensor coverage:
Do not apply over sensors, radar or autonomous equipment
Consumer warranty:
10-year limited warranty in the United States and Canada, subject to complete terms
Professional installation requirements
  • Professional installation is required. 3M states that all Protection Wrap Film installations should be completed by a professional installer.
  • Confirm the product before cutting. Verify PWF-G12, Gloss Black, the roll width, lot number, cap sheet, liner condition and available quantity.
  • Use one lot number for a complete installation. Slight lot-to-lot colour differences are possible even though large variations are uncommon.
  • Inspect a physical sample. Confirm the black depth, reflectivity and surface appearance under the intended lighting before ordering project material.
  • Evaluate the vehicle before installation. The best results are achieved over a like-new original equipment manufacturer paint finish.
  • Paint defects can remain visible. Scratches, dents, bubbling, pitting, fisheyes, orange peel and other imperfections can telegraph through the gloss film.
  • Correct excessive orange peel first. High-gloss PWF can reproduce the texture of the underlying clear coat if professional paint correction is not completed.
  • Do not install over failing paint. Rust, bubbling, poor paint adhesion and unstable repairs can damage the film or cause premature failure.
  • Allow refinished paint to cure fully. Follow the paint manufacturer's complete curing requirements before applying film.
  • Prepare body-filled repairs correctly. Repaired areas should be sanded, epoxy primed and finished with a compatible automotive paint or clear coat.
  • Remove ceramic coating before installation. Work with a qualified paint-correction specialist or automotive detailer and follow the applicable 3M coating-removal procedure.
  • Do not use ceramic coating or ceramic boost as installation preparation. These products may interfere with film adhesion when present beneath the film.
  • Work in an exceptionally clean environment. Gloss black can reveal dust, fibres, hair and contamination beneath the installed film.
  • Keep floors, tools, work surfaces and clothing free of loose dust and debris.
  • Lint-free clothing and hair coverings may be necessary for high-quality gloss-film results.
  • Install the film immediately after the prepared panel has been cleaned.
  • Remove wax, tar, sealant and adhesive residue. Use compatible professional products and follow all chemical safety instructions.
  • Clean with non-detergent soap and use automotive detailing clay where necessary to remove bonded surface contamination.
  • Complete final preparation with the current 3M-recommended surface preparation system.
  • Wipe the panel using a clean lint-free microfiber cloth and complete a final inspection before applying film.
  • Current 3M documentation permits wet or dry application. A trained installer may also combine methods within one project according to the panel, material and installation environment.
  • Limit wet tack solution strength. Do not exceed 15% isopropyl alcohol in deionized water.
  • When wet-applying a large panel, remove all fluid thoroughly and dry the edges before wrapping and post-heating.
  • Use 3M Knifeless Tape only with the dry method. Follow the current 3M compatibility and cutting instructions.
  • Avoid excessive stretch. 3M recommends that Protection Wrap Film not be stretched more than 15%.
  • Overstretching can crack the film's clear coat, distort the gloss or create adhesive markings in complex areas.
  • Cold-form broad corners whenever practical and distribute tension across a large area.
  • Heat may be used when forming the film into deep recesses, but uncontrolled heating and concentrated stretching should be avoided.
  • Preserve Controltac repositionability. Complete alignment before applying firm squeegee or tool pressure.
  • Snap-up and repositioning are lost after firm pressure is applied.
  • Repositioning can also be lost when the application temperature exceeds 38°C / 100°F, even when only light finger pressure has been used.
  • Do not remove film from its original liner and then reapply it to the same or another liner.
  • Protect the Comply channels. Changing or reapplying liners can damage the non-visible air-release structure.
  • Work from the centre of the panel toward the film edges so trapped air has a clear route out.
  • Use overlapping squeegee strokes and controlled pressure to establish consistent adhesive contact.
  • Lubricate or sleeve the squeegee according to the current 3M installation procedure to protect the film surface.
  • Manage the cap sheet correctly. Gloss colours include a removable cap sheet that may remain in place during appropriate flat-panel installation steps.
  • Remove the cap sheet before curved-surface finishing when necessary.
  • The cap sheet must be removed before final squeegeeing, final inspection and any post-heating.
  • Be aware of static discharge. Removing the liner can create sparks capable of igniting flammable vapours.
  • Use only in a safe installation environment and mist the liner and cap sheet with water when appropriate to help reduce static.
  • Use controlled heat for adhesive markings. Follow the current installation guide rather than overheating or forcing the marked area.
  • Post-heating is critical. Heat-set corners and edges to 93°C to 107°C / 200°F to 225°F.
  • Use a calibrated infrared thermometer to confirm that required post-heating temperatures are reached.
  • Fold the film beneath compatible vehicle edges where the panel design permits secure finishing.
  • Reinspect every edge, corner and recessed area before returning the vehicle to service.
  • Primer 94 may be used selectively. 3M recommends it for corners or edges requiring more stretch than normal. Follow product instructions and air-quality regulations.
  • Do not apply to stainless steel. Protection Wrap Film is not recommended or warranted for stainless steel substrates.
  • Test adhesion before covering powder-coated or water-based paint systems.
  • Never cover sensors or radar equipment. Film must not interfere with autonomous, safety or driver-assistance systems.
  • Vehicle owners and manufacturers are responsible for validating compatibility with all sensors and related equipment.
  • Do not print on the film. Protection Wrap Film is intended to be used in its supplied colour and finish without additional printing.
  • Document the product code, lot number, installation date, vehicle details, installer information and completed warranty records.
Care, cleaning, self-healing and removal
  • Do not wash the vehicle for at least 72 hours. The adhesive requires time to develop an appropriate bond after installation.
  • Hand washing is recommended. Use clean wash media, a neutral automotive shampoo and non-abrasive methods.
  • Select a wet, non-abrasive and solvent-free cleaner with a pH between 6 and 8.
  • Avoid strongly acidic, strongly alkaline and high-alcohol cleaners that may permanently damage the film.
  • Pre-rinse loose dirt and grit before touching the gloss surface.
  • Wash using gentle overlapping passes and rinse all shampoo residue completely.
  • Dry with a clean lint-free microfiber towel to reduce spotting and avoid unnecessary surface friction.
  • Avoid brush car washes. Brushes can dull or scratch the finish and may lift film edges.
  • Use a touchless automatic wash only when hand washing is not practical.
  • Inspect the complete installation after washing and return to the installer if an edge has lifted.
  • Clean fuel spills immediately. Wipe away the fuel, then hand wash and dry the affected area as soon as possible.
  • Remove bird droppings, insects, road tar and other contaminants promptly to reduce the risk of staining or surface damage.
  • Soften difficult tree sap or similar contamination with hot, soapy water before gentle removal.
  • Do not use rough scrubbing, abrasive pads, hard brushes or scratching tools.
  • Wait approximately one week before waxing. This allows the film to build an appropriate level of adhesion.
  • A compatible 3M-recommended wax or hydrophobic detailer may be used according to current care guidance.
  • Do not use wax containing dyes, abrasive polish or rubbing compound.
  • Remove wax buildup from film edges using a clean lint-free cloth.
  • Compatible ceramic products may be applied over the film. Current 3M guidance identifies 3M Ceramic Coating 39901 and 3M Ceramic Boost Spray 39905 as compatible options.
  • Ceramic coating may be used after installation but must not be used beneath the film as surface preparation.
  • Test any third-party coating, cleaner or wax in an inconspicuous area before treating visible film.
  • Self-healing is limited to minor surface scratches. Heat can help minor marks diminish, but the technology does not repair cuts, punctures, gouges, tears or impact dents.
  • Do not use uncontrolled heat in an attempt to repair damage. Consult the installer when the correct treatment is uncertain.
  • Store the wrapped vehicle indoors, under cover or in shade when practical to reduce prolonged heat and ultraviolet exposure.
  • Keep covers and the vehicle surface clean to avoid trapping abrasive contamination against the gloss film.
  • Inspect high-impact areas, edges, seams and recessed sections regularly for damage or lifting.
  • Professional removal is recommended. An experienced installer can better manage heat, adhesive release and the risk of paint damage.
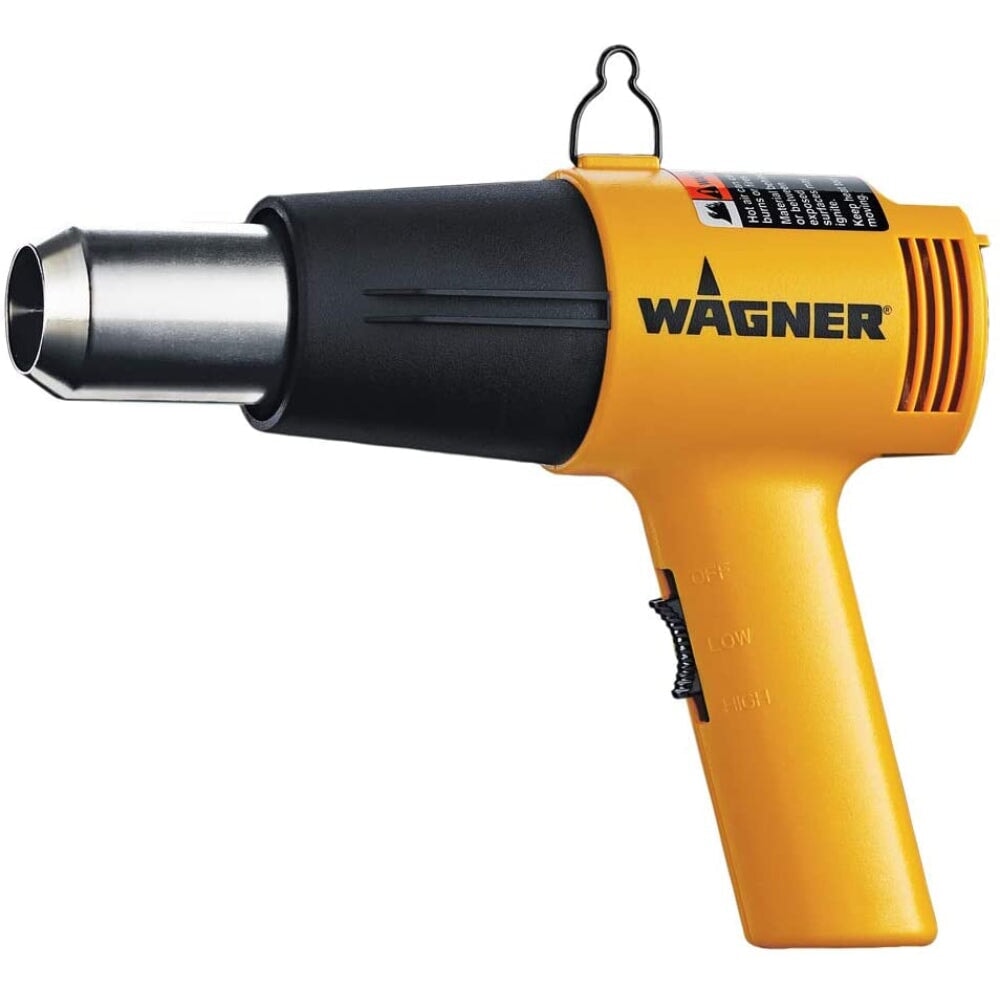
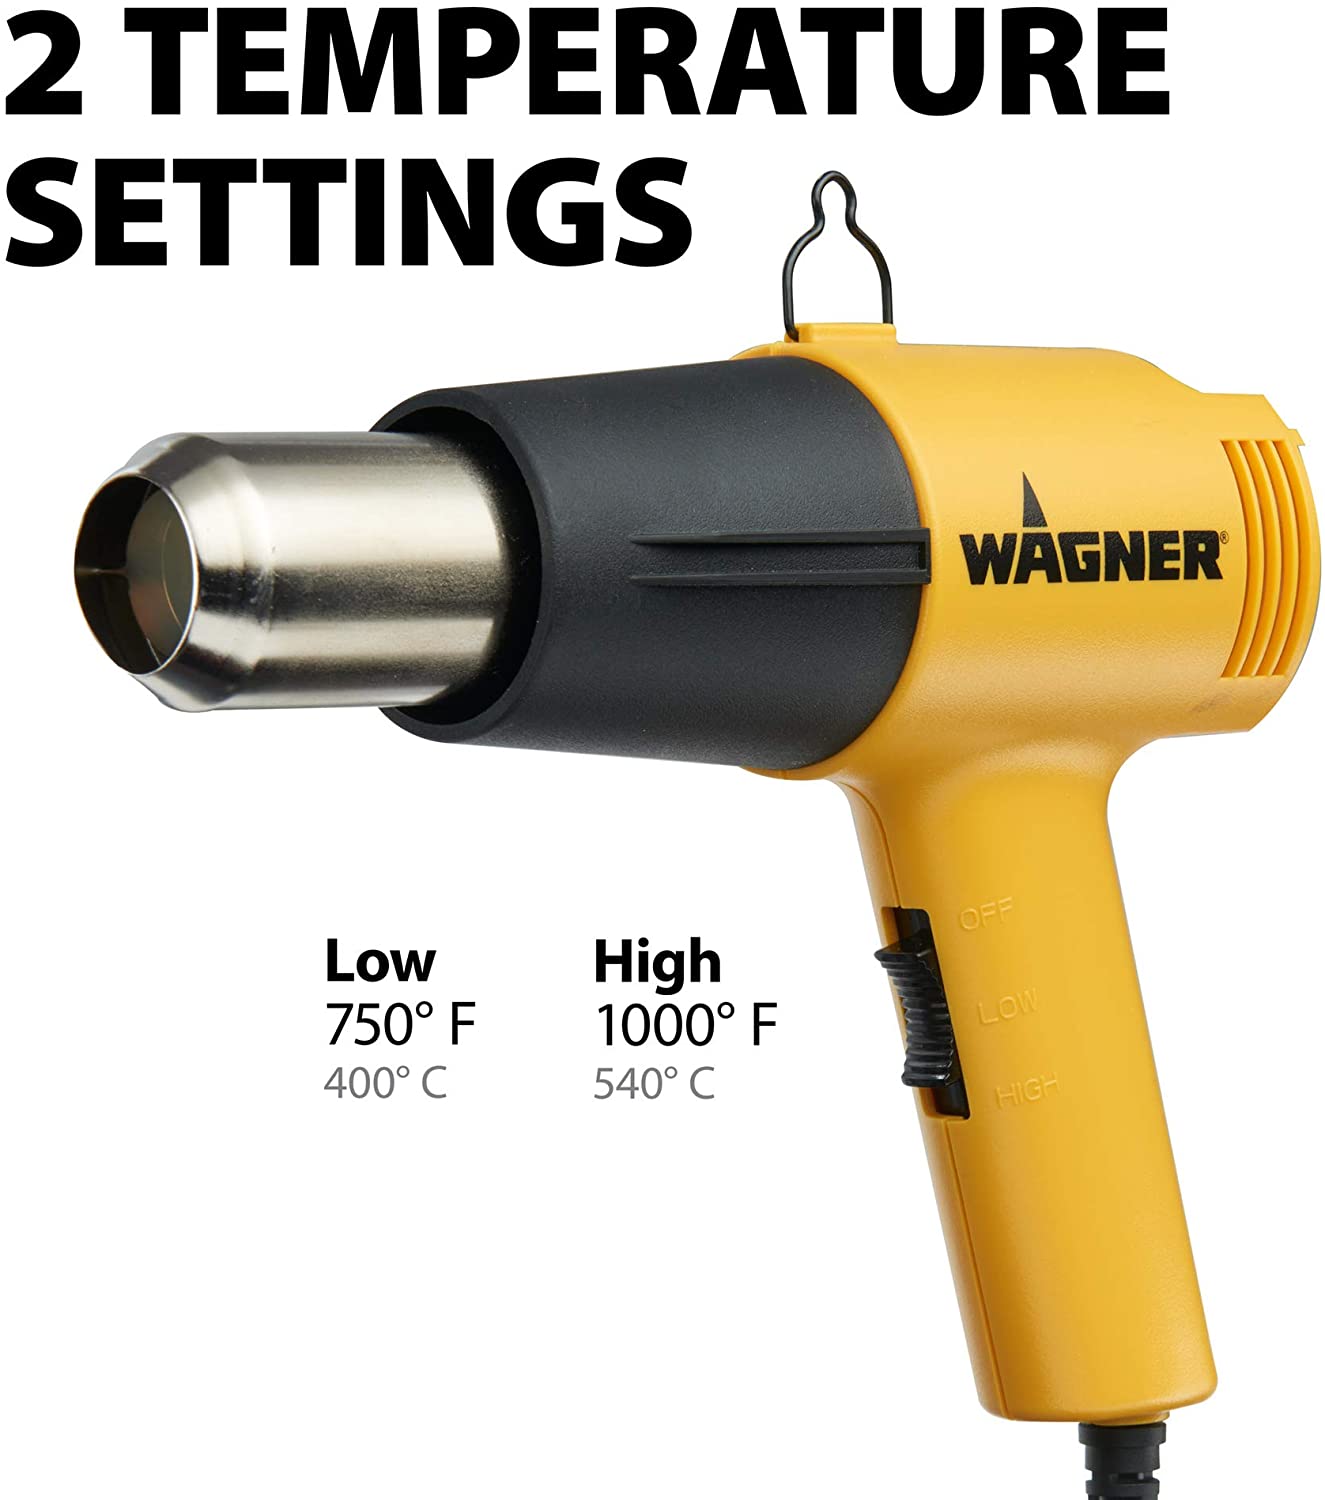
  • Use a heat gun or steamer to assist removal according to current 3M instructions.
  • Remove the film at an angle of approximately 30 to 60 degrees relative to the painted surface.
  • Work slowly in manageable sections and stop if paint lifting or abnormal resistance occurs.
  • Removal performance depends on paint condition, repair history, installation, age, exposure and the strength of the paint-to-panel bond.
Warranty and protection limitations
  • 10-year consumer limited warranty: Current 3M warranty literature provides ten years of coverage in the United States and Canada, subject to complete conditions.
  • The warranty is intended to cover qualifying product defects involving yellowing, bubbling and cracking.
  • Warranty coverage begins from the documented installation or purchase date stated in the applicable warranty record.
  • The warranty applies only to the original consumer. It is not transferable to a later vehicle owner.
  • The installation record must be completed for the warranty to be valid.
  • Keep the completed warranty card and original invoice for future warranty service.
  • The warranty is limited to approved painted application surfaces identified in the current 3M Product Bulletin.
  • Stainless steel applications are not recommended or covered.
  • Impact protection has limits. The film helps protect against rock chips and scratches but cannot prevent all damage.
  • Dents caused by the physical impact of rocks or road debris are excluded from warranty coverage.
  • Damage caused by misuse, accident, misapplication or ordinary wear is excluded.
  • Warranty coverage does not include paint pull during the film removal process.
  • Defects caused by failure to follow 3M cleaning, care and maintenance guidance are excluded.
  • Original paint condition and paint-to-substrate adhesion can materially affect installation, appearance and removal.
  • Repaired paint, body filler, oxidation, rust, bubbling and improperly cured finishes require careful evaluation before installation.
  • The warranty does not guarantee that every scratch, impact or stain will be prevented.
  • Self-healing technology does not cover deep damage, punctures, tears, cuts, gouges or dents.
  • Film performance is affected by substrate preparation, surface texture, application method, sun exposure, environmental conditions, cleaning and maintenance.
  • Shelf life is not the same as installed warranty coverage.
  • The current Product Bulletin lists a three-year shelf life from the manufacturing date shown on the original box.
  • For warranty service, contact the original installer first.
  • In Canada, contact 3M at 1-800-364-3577 if the installer is no longer available.
  • In the United States, contact 3M at 1-800-328-1684 if the installer is no longer available.
  • If a claim is covered, available remedies may include replacement or refund of the non-conforming film quantity.
  • 3M may also arrange removal and reapplication through a 3M-selected installer when applicable under the warranty.
  • An installer may independently offer additional coverage, but that separate promise is not part of the 3M limited warranty.
  • Review the complete current warranty card, Product Bulletin, installation guide and maintenance FAQ before relying on warranty coverage.

Inspect the actual Gloss Black finish before ordering project material

A screen cannot accurately show black depth, gloss clarity, reflectivity or how the film responds to the condition of the underlying paint. Select the 2.5 × 4-inch sample option above and review the physical film in sunlight, shade, indoor lighting and beside the vehicle's existing finishes before ordering project material.

2.5 × 4 in sample available
Instawraps product support

Have questions about coloured PPF, sizing or professional installation?

Our team can help with product selection, sizing, physical samples, compatible installation tools, order questions and general technical guidance. Choose the most convenient way to reach us.

*Current 3M Protection Wrap Film Product Bulletin Revision C, January 2026, describes polyurethane film with adhesive ranging from 0.19 to 0.23 mm, depending on colour, clear pressure-sensitive repositionable adhesive with air-release channels, wet or dry application, an application range of 16°C to 30°C and optimal installation from 18°C to 24°C. 3M identifies PWF-G12 as Gloss Black with approximately 0.2 mm film thickness. The ten-year consumer limited warranty is subject to complete United States and Canada warranty terms, approved surfaces, professional installation, documentation, maintenance requirements and exclusions. Protection Wrap Film helps protect paint but cannot prevent every chip, scratch, dent, impact or paint failure. 3M, Controltac, Comply and Knifeless are trademarks of 3M.

Current manufacturer documentation and the physical roll label govern.

Application Guide

Colored Paint Protection Film (PPF / PWF) Application Guide

1. Prepare the Surface

  • Clean Thoroughly: Wash the surface with an automotive-grade soap to remove dust, dirt, and grease. Avoid using wax or silicone-based cleaners, as they can interfere with adhesion.
  • Inspect for Imperfections: Check for scratches, dust, or paint defects. Address these issues before application, as imperfections may show through the film.

2. Measure and Cut the Film

  • Measure Carefully: Accurately measure the area to be wrapped, allowing extra material for trimming.
  • Pre-Cut if Necessary: For large or complex areas, consider pre-cut templates for easier installation and precise fitment.

3. Dry Application Process

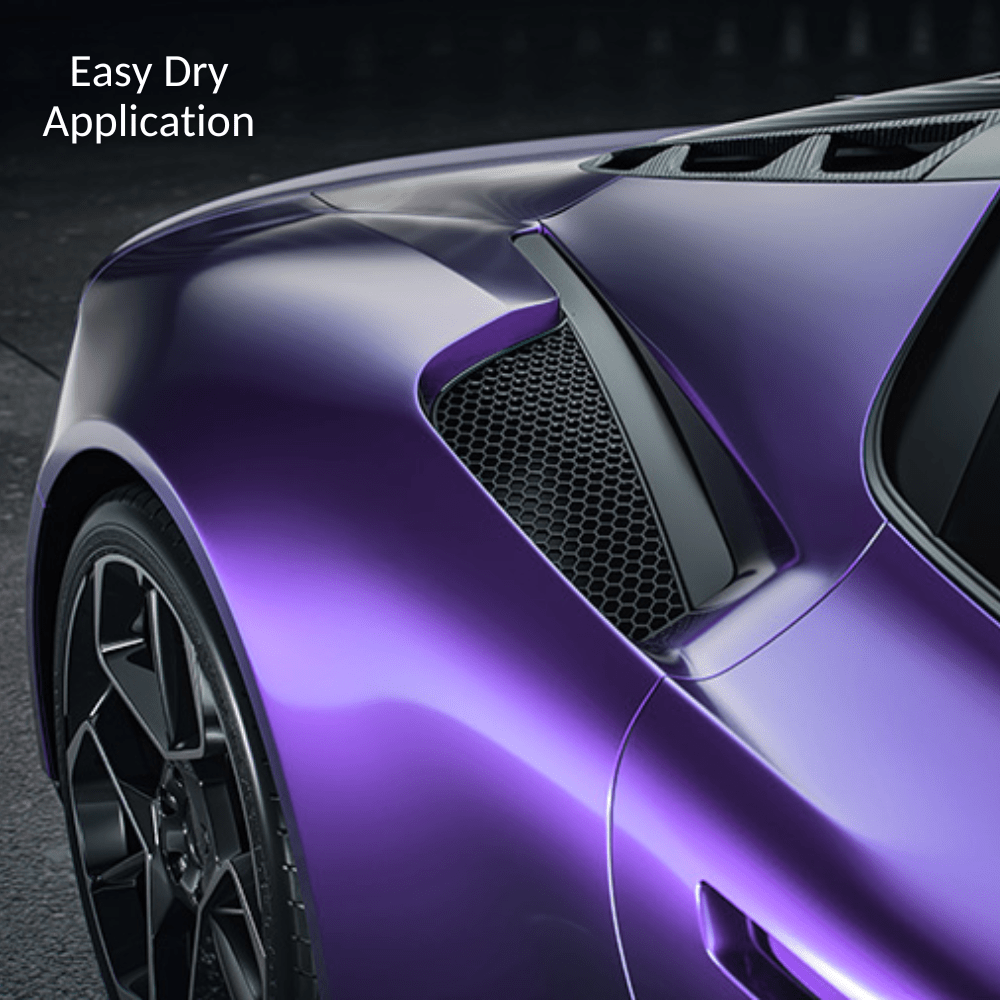
Unlike traditional wet application PPF films, 3M PWF Colored PPF is installed using a dry application method. This requires precise handling and positioning.

Positioning the Film

  • Peel and Align: Remove the backing liner and gently position the film on the surface without applying pressure.
  • Use Wrap Magnets: These help hold the film in place while adjusting alignment, particularly for large panels.

Applying the Film

  • Start from the Center: Use a soft, non-marring squeegee to press the film onto the surface, starting from the middle and working outward.
  • Apply Even Pressure: Use firm, overlapping strokes to remove air pockets and ensure strong adhesion.
  • Use Heat for Curves: Apply gentle heat (90-120°F) using a heat gun or infrared heater to conform the film around complex curves and recesses.
  • Work in Sections: To maintain control, divide the application into manageable sections and complete one area at a time.

4. Removing Air Bubbles and Wrinkles

  • Squeegee Technique: Use a felt-edge or soft squeegee to press out bubbles while ensuring even pressure.
  • Air Release Tool: If small air bubbles remain, use an air release tool (or a fine pin) to carefully puncture the bubble and smooth it out.

5. Trimming and Finishing

  • Trim Excess Film: Use a precision utility knife or 3M Precision Line Knifeless Tape to achieve clean, accurate cuts. Avoid applying excessive pressure to prevent damage to the paint.

Edge Sealing

  • Use PPF Edge Seal Tape on areas prone to lifting, such as edges, corners, and high-impact zones.
  • Apply firm pressure along the edges to ensure proper adhesion.

6. Final Inspection and Curing

  • Inspect for Imperfections: Check for any lifting edges, bubbles, or wrinkles. Reheat and reapply pressure where needed.
  • Allow to Cure: Let the film fully cure for 24-48 hours before washing or exposing it to extreme conditions.

Handy Tools and Supplies for Dry Application PPF

1. Essential Tools

  • Soft Squeegee: Prevents scratches while ensuring proper adhesion.
  • Utility Knife: For precise trimming.
  • Wrap Magnets: Holds the film in place during positioning.
  • Heat Gun or Infrared Heater: Helps contour the film around curves.

2. Surface Preparation Supplies

  • Cleaning Solution with Water
  • Lint-Free Cloths: Ensures a clean surface without leaving fibers.

3. Finishing Tools

  • 3M Precision Line Knifeless Tape: Provides clean, precise cuts without using a blade.
  • Edge Seal Tape: Prevents film lifting in high-stress areas.
  • Microfiber Towels: Keeps the film clean and free of fingerprints during installation.

3M Precision Line Knifeless Tape for Dry PPF Application

Why Use Knifeless Tape?

  • Safe Cutting: Prevents accidental damage to the vehicle’s paint.
  • Precise Edges: Achieves sharp, clean cuts on complex contours.
  • Seamless Integration: Ideal for multi-panel installations and custom designs.

How to Use It

  1. Apply the Tape: Position the knifeless tape along the desired cut line before laying down the PPF film.
  2. Install the Film: Apply the film as usual, ensuring it conforms to the tape’s placement.
  3. Pull the Filament: Once the film is secured, pull the embedded filament to cut the film cleanly along the tape’s path.
  4. Remove the Tape: Carefully peel off the knifeless tape, leaving a precise edge without the need for a blade.

By following these steps and using the recommended tools, you can achieve a clean, professional, and durable installation of 3M PWF Dry Application Colored PPF Film.

Transparency is the Key

FAQs

Quick Web Links: FAQ Page | Policies

The product is showing out of stock. When will it be back in stock?

When a product is unavailable, it most likely means that it is in the production process. We will update our inventory as soon as we have it back in stock.

In the meantime, visit the product page on our website, select any out-of-stock size, and click the "Notify me" button to receive an alert with it's available again.

How many feet of material would I need to wrap my car?

Great question. Please use our special Size Chart to match the amount of material needed.

When will my order be fulfilled?

Instawraps aims to fulfill all orders on the same day they are received. Orders placed before 11:00 AM EST are typically shipped the same day. Orders placed after 11:00 AM EST may be shipped the next business day.

For customers in Ontario, Canada, we offer a same-day local delivery option. Orders placed between 10:00 AM and 3:00 PM EST are dispatched within 1 hour and are expected to arrive before 5:00 PM EST. Order placed outside these hours or on non-business days will be dispatched the next next business day after 10:00 AM EST. Express shipping options are also available at checkout, with express orders received before 11:00 AM EST generally shipped the same day.

Is there a cut-off time for same day curbside pickup orders?

Yes, the cut-off time for same-day curbside pickup orders is 11:00 AM EST. Orders placed before this time will typically be ready for pickup by the end of the day.

If an order is placed after 11:00 AM EST and same-day pickup is needed, customers can pay a $25 fee at checkout for expedited same-day pickup. Otherwise, orders placed after the cut-off time will likely be ready the next business day.

Please note, curbside pickup is only available at our Ontario location.

What payment methods do you accept?

We accept all major credit cards.

Canadian customers can also pay via E-transfer, and U.S. customers via Zelle.

Additionally, we offer a partial payment plan through Sezzle, which lets you split your purchase into four equal, interest-free payments. The first payment is due at checkout, with the remaining payments automatically deducted every two weeks.

How can I request to return an item?

Please send a message to an email >> support@instawraps.ca within 30 days of purchase. Or reply to the order confirmation, explain the reason for return request and provide all necessary info / photos, if applicable.

Didn’t find your answer?

Don't hestitate to contact us