Cut-off time for Pickup Orders is 11:00AM EST

Why 1,000,000+ Customers trust Instawraps

10/10 quality + look

Wrapped two bikes in this yellow and never once regretted it.
Charles D

Great Product

Received quickly and in good condition. product is easy to...
Roman T.

Love the color

Reasonable shipping time. Product nicely packaged...
Cody D.

Prompt service

I received my parcel in a timely manner.
Mark R.

Amazing service, top notch products

Quick, and reliable service...
Kim Lefebvre

Product Details

Product Description
3M™ Protection Wrap Film Color Series Product Code PWF-M12

Matte Black Paint Protection Film

Transform the vehicle with a deep, low-reflection black finish while adding the durable protective performance of polyurethane film. 3M™ Protection Wrap Film Matte Black PWF-M12 combines complete colour change with protection against everyday rock chips, scratches and stains in one professionally installed system.

Matte black colour change Polyurethane protection film Wet or dry installation 10-year consumer warranty*
Finish Matte Black
Product type Coloured PPF / PWF

PWF-M12 is the Matte Black colour in the 3M™ Protection Wrap Film Color Series. It is a coloured polyurethane protection film developed for accents, partial coverage and complete vehicle colour changes. Screen images cannot reproduce the exact black depth, surface texture or matte sheen of the physical film.

Colour Matte Black
Finish Low-Reflection Matte
Material Polyurethane
Series thickness 7.5 to 9 mil*
Application Wet or Dry
Consumer warranty Up to 10 Years*
Matte-black style with built-in protection

A stealth-inspired colour transformation backed by polyurethane protective performance

3M Protection Wrap Film Matte Black PWF-M12 creates a deep black appearance with reduced surface reflection and a smooth matte character. The finish softens sharp highlights across doors, fenders, quarter panels and sculpted body lines, giving the vehicle a controlled, purpose-built appearance.

Unlike conventional colour-change vinyl, Protection Wrap Film is constructed from polyurethane and is developed to provide colour customization together with durable protection against rock chips, scratches and stains. It can be used for complete vehicle coverage, partial colour changes or coordinated protective accents.

The film incorporates self-healing polymer technology that allows minor surface scratches to diminish when suitable heat is applied. 3M™ Controltac™ technology supports sliding, tacking and repositioning, while 3M™ Comply™ technology provides air-release channels for efficient professional installation.

Finish personality

Stealthy, technical and refined with a deep black appearance and controlled matte sheen.

Matte Black pairs naturally with gloss black, carbon fibre, gunmetal, brushed metal, silver, bronze and exposed chrome. Red, yellow, lime, blue, white or metallic accents can create a stronger performance-inspired contrast.

3M Protection Wrap Film technology

Advanced colour customization, conformability and protective performance in one film

PWF-M12 is part of a polyurethane film system developed specifically for professional vehicle personalization, from small accents and partial coverage to complete colour changes.

01

Colour change and protection

Matte Black transforms the vehicle’s appearance while helping protect painted surfaces against everyday chips, scratches, stains and environmental exposure.

02

Self-healing polymer technology

Minor surface scratches can diminish when appropriate heat is applied to the film. Deep cuts, punctures and severe damage are not self-healing.

03

3M™ Controltac™ technology

The pressure-activated adhesive minimizes initial contact for sliding, finger tacking, snap-up and repositioning before firm application pressure is applied.

04

3M™ Comply™ technology

Non-visible air-release channels allow trapped air to move toward the film edge, supporting efficient bubble-free installation when the material is applied correctly.

05

Cold-stretch capability

The polyurethane construction is flexible and conformable with minimal heat, while controlled heat remains important for deep recesses, corrections and final edge setting.

06

Wet, dry or hybrid workflow

Current 3M guidance permits wet and dry installation methods, allowing trained installers to select the workflow appropriate for the panel, material and installation environment.

Coverage possibilities

Protect and transform a complete vehicle or selected high-impact areas

Full Vehicle Coverage Complete matte-black colour change with polyurethane protective coverage across properly prepared painted panels.
Hoods, Roofs & Trunks Partial coverage for broad painted panels where matte styling and protective performance are both desired.
Mirrors & Rocker Panels Protective accents for compatible painted surfaces exposed to regular road debris and everyday contact.
Stripes & Styling Accents Racing stripes, chrome-delete styling and custom accent layouts completed with approved cutting methods.

This is polyurethane Protection Wrap Film with genuine paint protection capability, not conventional colour-change vinyl.

All installations should be completed by a professional installer. The film helps protect against common road and environmental hazards but cannot prevent every chip, impact, cut, puncture or paint-related failure.

Product information

Technical details and professional installation notes

Technical specifications
Manufacturer:
3M
Official product series:
3M™ Protection Wrap Film Color Series
Colour name:
Matte Black
Product code:
PWF-M12
Product category:
Coloured polyurethane paint protection wrap film
Finish:
Matte
Material:
Polyurethane
Film and adhesive thickness:
0.19 mm to 0.23 mm / 7.5 mil to 9 mil, depending on colour
Release-liner thickness:
0.16 mm / 6.4 mil
Gloss-film cap sheet:
Clear polyester cap sheets are used on gloss colours; Matte Black is a matte finish
Adhesive:
Clear pressure-sensitive adhesive, repositionable with air-release channels
Adhesive technologies:
3M™ Controltac™ and 3M™ Comply™ technologies
Typical 20-minute adhesion:
9.3 N/25 mm on a painted panel
Recommended substrate:
Properly prepared painted vehicle surfaces
Powder-coated or water-based paint:
Test adhesion before full installation
Stainless steel:
Not recommended or warranted by 3M
Application method:
Wet, dry or approved hybrid installation
Application temperature:
16°C to 30°C / 60°F to 85°F
Optimal installation range:
18°C to 24°C / 65°F to 75°F
Maximum recommended stretch:
Do not stretch more than 15%
Required post-heat:
Corners and edges: 93°C to 107°C / 200°F to 225°F
Self-healing:
Minor surface scratches can diminish when suitable heat is applied
Knifeless Tape compatibility:
Approved for 3M™ Knifeless™ Tape Precision Line with the dry installation method
Printing:
Not intended for printing or further graphic processing
Maximum material width:
60 in / 1524 mm / 5 ft
Available cuts:
5 ft wide x 1, 2, 5, 8, 10, 15, 20, 25, 30, 40, 50, 60 or 75 ft
Sample size:
2.5 x 4 in
Maximum roll length:
75 ft / 25 yd
Shelf life:
Three years from the manufacture date shown on the original box
Storage temperature:
16°C to 30°C / 60°F to 85°F
Storage conditions:
Clean, dry, out of sunlight and in the original container
Partial-roll storage:
Tape the roll tightly, replace the end caps and store horizontally
Consumer warranty:
Up to 10 years when applicable warranty requirements are met*
Professional installation:
Required by current 3M product guidance
Primary coverage options:
Accents, partial coverage and full vehicle coverage
Professional installation requirements
  • Professional installation is required. 3M states that all Protection Wrap Film installations should be conducted by a professional installer.
  • Begin with paint in excellent condition. The film should be applied to a like-new, properly bonded vehicle finish for the best appearance and warranty eligibility.
  • Inspect the complete vehicle before cutting. Rust, bubbling, scratches, dents, pitting, fisheyes, orange peel, body-filler edges and paint defects may remain visible through the film or contribute to premature failure.
  • Allow new or repaired paint to cure fully. Follow the paint manufacturer’s curing instructions before installing Protection Wrap Film.
  • Evaluate repainted panels carefully. Warranty performance depends on the bond between the paint and the underlying vehicle substrate.
  • Test powder-coated or water-based paint. Adhesion must be confirmed before full installation.
  • Do not install on stainless steel. Current 3M documentation states that this film is not recommended or warranted for stainless-steel applications.
  • Clean the surface thoroughly. Remove wax, silicone, oil, grease, adhesive residue, road film and all other contamination using procedures approved by 3M.
  • Use a controlled installation environment. Maintain a clean, dry workspace and install the film promptly after final surface preparation.
  • Install within the approved temperature range. Air and substrate should be between 16°C and 30°C, with 18°C to 24°C recommended for optimal application.
  • Wet and dry methods are permitted. The selected method must follow the current 3M installation guide and be appropriate for the panel and shop environment.
  • Control wet-installation chemistry. Tack solution must not exceed 15% isopropyl alcohol in deionized water.
  • Control hybrid solution concentration. Current 3M guidance limits baby shampoo to 0.5 ml per litre of tack solution.
  • Remove all installation fluid. Wet-installed areas must be squeegeed thoroughly, with edges dried before wrapping and final heat setting.
  • Do not exceed 15% stretch. Excessive stretching can crack the film’s clear-coat layer or create adhesive marking in complex areas.
  • Use cold forming wherever practical. The material is flexible without heat, while heat is recommended for deep recesses and controlled corrections.
  • Distribute stretch across the panel. Avoid concentrating tension into corners, narrow edges or one small section of film.
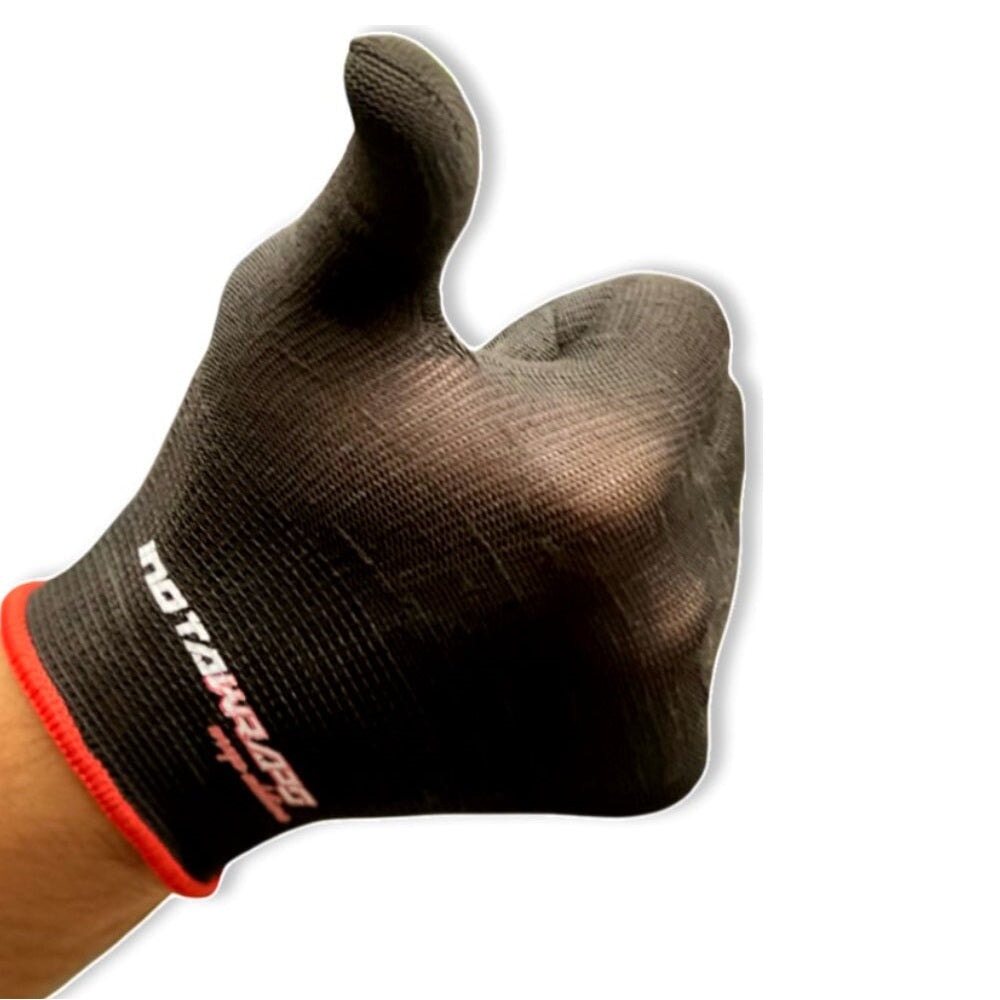
  • Protect the matte surface. Use clean gloves, soft squeegee protection and lint-free materials to avoid contamination, scuffs and pressure marks.
  • Work from the centre toward the edges. This allows trapped air to travel through the 3M™ Comply™ channels and exit at the film perimeter.
  • Do not remove or replace the liner. Reapplying the original liner or changing liners can damage the air-release channels.
  • Firm pressure activates the adhesive. Sliding and repositioning characteristics reduce after firm squeegee pressure is applied.
  • Avoid excessive application heat. Repositioning characteristics can be lost at temperatures above 38°C / 100°F, even when only light finger pressure has been used.
  • Post-heat every corner and edge. Heat-set these areas to 93°C to 107°C using an infrared thermometer to verify the surface temperature.
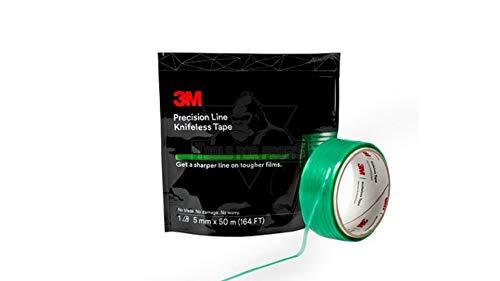
  • Use approved cutting systems. 3M™ Knifeless™ Tape Precision Line is approved for dry installation. Avoid cutting directly into vehicle paint.
  • Keep material from the same lot together. Slight colour variation can occur between manufacturing lots. Use the same lot number for the complete vehicle whenever possible.
  • Do not cover sensors or radar equipment. 3M recommends never applying the film over vehicle sensors, radar or autonomous-driving equipment.
  • Validate electronic compatibility. The vehicle owner and vehicle manufacturer are responsible for confirming that the completed installation does not interrupt equipment signals or functionality.
  • Control static electricity. Removing the liner can create static discharge and sparks. Work only in a safe environment away from flammable vapours and follow current 3M safety instructions.
  • Review all current documentation. The latest 3M product bulletin, installation guide, warranty terms and physical roll label govern the installation.
Matte-finish care, cleaning and removal
  • Do not wash the vehicle for at least 72 hours. This allows the adhesive system time to build the required bond after installation.
  • Hand washing is preferred. Use clean water, a neutral automotive shampoo and soft, non-abrasive wash materials.
  • Use a cleaner with a pH between 6 and 8. The cleaner should be wet, non-abrasive and free from solvents.
  • Pre-rinse the vehicle to remove loose dirt and grit before touching the film.
  • Wash from the top downward using light pressure and clean tools.
  • Rinse the film thoroughly so shampoo and cleaning residue do not dry on the matte surface.
  • Dry the vehicle with clean, soft, lint-free microfiber towels to reduce water spotting and streaking.
  • Matte finishes may show fingerprints. Fingerprints can be removed using a clean lint-free towel with a mixture of 70% isopropyl alcohol and 30% water, followed by drying with a clean towel.
  • Remove fuel spills immediately. Wipe away the spill, then hand wash and dry the affected area as soon as possible.
  • Remove bird droppings, insects, tar and tree sap promptly. Extended contact can cause staining or surface damage.
  • Difficult contaminants may be softened using hot soapy water, followed by gentle rinsing and drying.
  • Never scrub aggressively. Rough tools, abrasive pads and stiff brushes can permanently alter the matte surface.
  • Do not polish or machine-buff the film. Friction can create uneven gloss patches and permanently change the finish.
  • Avoid abrasive waxes and compounds. Do not use waxes containing dyes, abrasive polish or rubbing compound.
  • Test any compatible detailing product in an inconspicuous area before treating the complete vehicle.
  • Avoid strongly acidic, alkaline or incompatible chemical cleaners.
  • A touchless car wash may be used when hand washing is not practical. Avoid brush-style automatic washes.
  • Pressure washing requires strict control. Use a wide spray pattern, suitable pressure, safe temperature and adequate distance from the film.
  • Never direct pressurized water toward an exposed edge, seam, corner or area showing signs of lifting.
  • Inspect the entire installation after washing for lifting, damage or contamination around the edges.
  • Store the vehicle indoors, in shade or clean beneath a suitable cover whenever practical to reduce heat and ultraviolet exposure.
  • Self-healing has practical limits. Heat may reduce minor surface scratches, but deep cuts, punctures, severe abrasions and impact damage may require film replacement.
  • Professional removal is recommended. Use suitable heat from a heat gun or steamer and remove the film at approximately a 30-degree to 60-degree angle relative to the painted surface.
  • Removal results depend on paint condition, installation quality, film age, environmental exposure and the removal procedure.
  • Stop removal if paint, clear coat or the underlying substrate begins to lift or separate.
Protection, warranty and performance information
  • 3M™ Protection Wrap Film combines vehicle customization with durable protection against rock chips, scratches and stains.
  • The film is developed for accents, partial coverage and complete vehicle colour changes.
  • The polyurethane construction is substantially thicker than conventional 3M colour-change wrap film.
  • Current 3M technical data lists the Protection Wrap Film series at 0.19 mm to 0.23 mm, or 7.5 mil to 9 mil, including adhesive, depending on colour.
  • The exact construction and thickness shown on the physical PWF-M12 roll label govern.
  • Self-healing polymer technology can allow minor scratches to diminish when suitable heat is applied.
  • Self-healing does not repair deep cuts, punctures, torn film, severe abrasions or damaged vehicle paint.
  • Paint protection film reduces exposure to common road hazards but cannot make vehicle paint impact-proof or damage-proof.
  • The actual performance life depends on substrate selection, preparation, surface texture, installation method, sun exposure, environmental conditions, cleaning and maintenance.
  • The 10-year consumer warranty is subject to the complete applicable 3M warranty terms.
  • 3M directs consumers to a 3M authorized installer or the applicable warranty card for complete coverage details.
  • Warranty eligibility can depend on professional installation, paint condition, surface preparation, maintenance and installation documentation.
  • Paint must have an excellent bond to the vehicle substrate for applicable warranty coverage.
  • Existing rust, bubbling, peeling paint, unstable repairs and improperly cured finishes are not corrected by covering them with film.
  • Film installed over paint defects may reproduce those defects in the finished appearance and may fail prematurely.
  • Product selection and suitability must be evaluated for the specific vehicle, surface and intended use.
  • 3M Commercial Branding and Transportation products are not tested against every automotive manufacturer specification.
  • Film should not be installed over sensors, radar or autonomous equipment unless compatibility and uninterrupted functionality have been validated.
  • Slight colour differences may occur between physical samples, digital images and separate manufacturing lots.
  • Use material from the same lot number across the complete vehicle whenever possible.
  • The physical film should be inspected before cutting or installing the complete order.
  • The current manufacturer product bulletin, installation guide, maintenance guidance, warranty documentation and physical roll label govern.

View the actual Matte Black finish before ordering

Matte Black can appear different depending on surrounding light, vehicle contours, surface condition and nearby gloss components. Digital screens may also display black tones and matte sheen differently. Select the 2.5 x 4-inch sample option and inspect the physical film outdoors, indoors and beside the intended vehicle colour before ordering material for the complete project.

2.5 x 4 in sample available
Instawraps product support

Have more questions or need help planning your PPF project?

Our team can help with product selection, sizing, colour samples, compatible application tools, order questions and general product guidance. Choose the most convenient way to reach us.

*3M identifies M12 as Matte Black within the 3M™ Protection Wrap Film Color Series. Current 3M Protection Wrap Film Product Bulletin Revision C, January 2026, lists a polyurethane film-and-adhesive construction ranging from 0.19 mm to 0.23 mm, or 7.5 mil to 9 mil, depending on colour. The product uses a clear pressure-sensitive repositionable adhesive with air-release channels and 3M™ Controltac™ and 3M™ Comply™ technologies. Current guidance permits wet, dry and approved hybrid installation, specifies an application range of 16°C to 30°C with 18°C to 24°C recommended for optimal installation, limits stretch to 15%, and requires post-heating of corners and edges to 93°C to 107°C. 3M states that all installations should be completed by a professional installer. The consumer warranty may extend up to 10 years when all applicable warranty requirements are met. Protection against chips, scratches and stains does not make the film or vehicle paint immune to damage. Actual performance depends on substrate condition, surface preparation, installation, exposure, cleaning and maintenance. Use material from the same lot number across the complete installation whenever possible. PWF-M12 should not be installed over stainless steel, vehicle sensors, radar or autonomous equipment contrary to current 3M instructions. Professional removal is recommended. 3M, Comply, Controltac and Knifeless are trademarks of 3M.

Current 3M manufacturer documentation, applicable warranty terms and the physical roll label govern.

Application Guide

Colored Paint Protection Film (PPF / PWF) Application Guide

1. Prepare the Surface

  • Clean Thoroughly: Wash the surface with an automotive-grade soap to remove dust, dirt, and grease. Avoid using wax or silicone-based cleaners, as they can interfere with adhesion.
  • Inspect for Imperfections: Check for scratches, dust, or paint defects. Address these issues before application, as imperfections may show through the film.

2. Measure and Cut the Film

  • Measure Carefully: Accurately measure the area to be wrapped, allowing extra material for trimming.
  • Pre-Cut if Necessary: For large or complex areas, consider pre-cut templates for easier installation and precise fitment.

3. Dry Application Process

Unlike traditional wet application PPF films, 3M PWF Colored PPF is installed using a dry application method. This requires precise handling and positioning.

Positioning the Film

  • Peel and Align: Remove the backing liner and gently position the film on the surface without applying pressure.
  • Use Wrap Magnets: These help hold the film in place while adjusting alignment, particularly for large panels.

Applying the Film

  • Start from the Center: Use a soft, non-marring squeegee to press the film onto the surface, starting from the middle and working outward.
  • Apply Even Pressure: Use firm, overlapping strokes to remove air pockets and ensure strong adhesion.
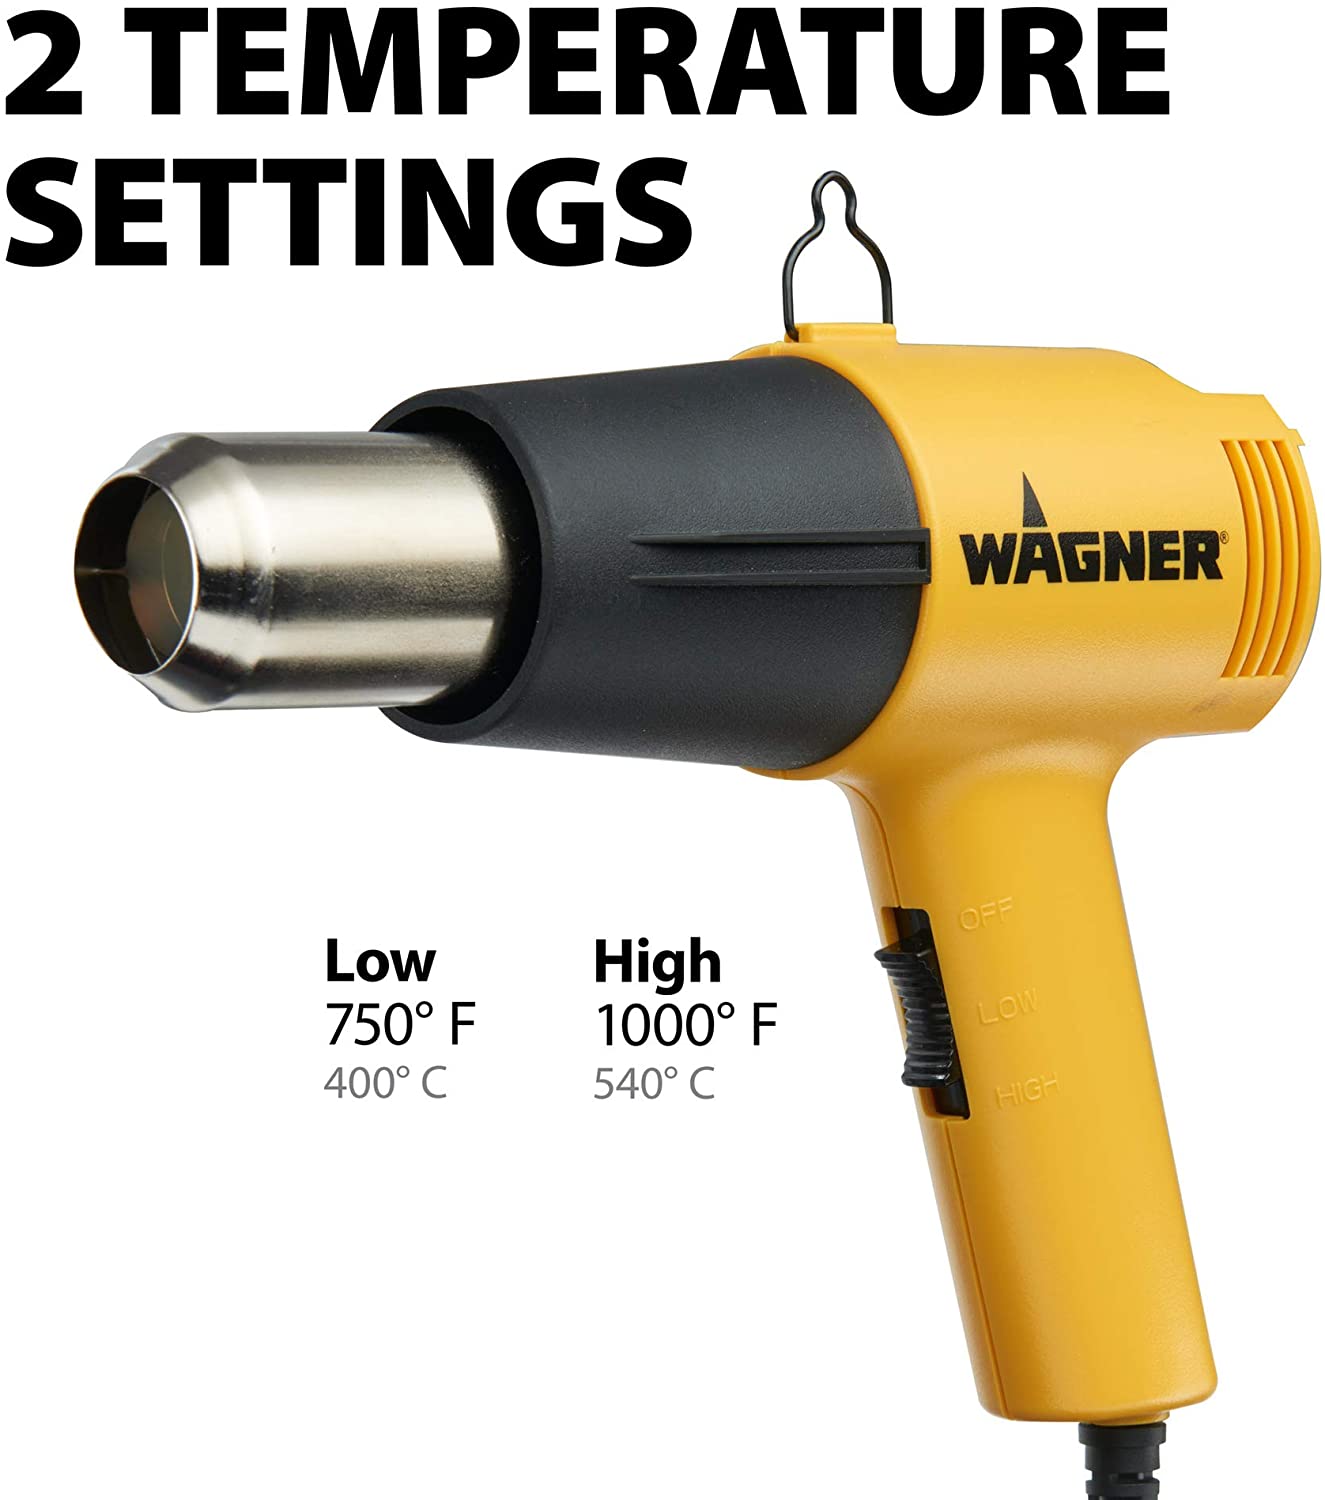
  • Use Heat for Curves: Apply gentle heat (90-120°F) using a heat gun or infrared heater to conform the film around complex curves and recesses.
  • Work in Sections: To maintain control, divide the application into manageable sections and complete one area at a time.

4. Removing Air Bubbles and Wrinkles

  • Squeegee Technique: Use a felt-edge or soft squeegee to press out bubbles while ensuring even pressure.
  • Air Release Tool: If small air bubbles remain, use an air release tool (or a fine pin) to carefully puncture the bubble and smooth it out.

5. Trimming and Finishing

  • Trim Excess Film: Use a precision utility knife or 3M Precision Line Knifeless Tape to achieve clean, accurate cuts. Avoid applying excessive pressure to prevent damage to the paint.

Edge Sealing

  • Use PPF Edge Seal Tape on areas prone to lifting, such as edges, corners, and high-impact zones.
  • Apply firm pressure along the edges to ensure proper adhesion.

6. Final Inspection and Curing

  • Inspect for Imperfections: Check for any lifting edges, bubbles, or wrinkles. Reheat and reapply pressure where needed.
  • Allow to Cure: Let the film fully cure for 24-48 hours before washing or exposing it to extreme conditions.

Handy Tools and Supplies for Dry Application PPF

1. Essential Tools

  • Soft Squeegee: Prevents scratches while ensuring proper adhesion.
  • Utility Knife: For precise trimming.
  • Wrap Magnets: Holds the film in place during positioning.
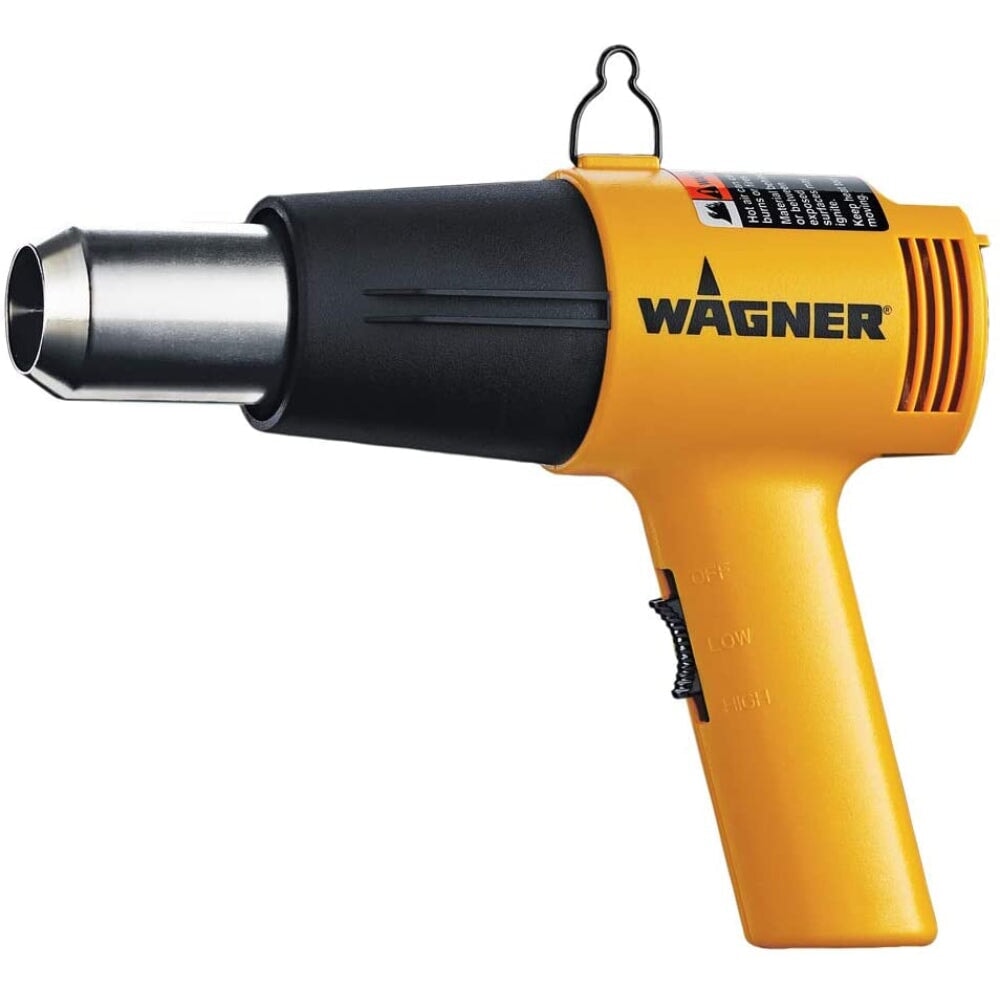
  • Heat Gun or Infrared Heater: Helps contour the film around curves.

2. Surface Preparation Supplies

  • Cleaning Solution with Water
  • Lint-Free Cloths: Ensures a clean surface without leaving fibers.

3. Finishing Tools

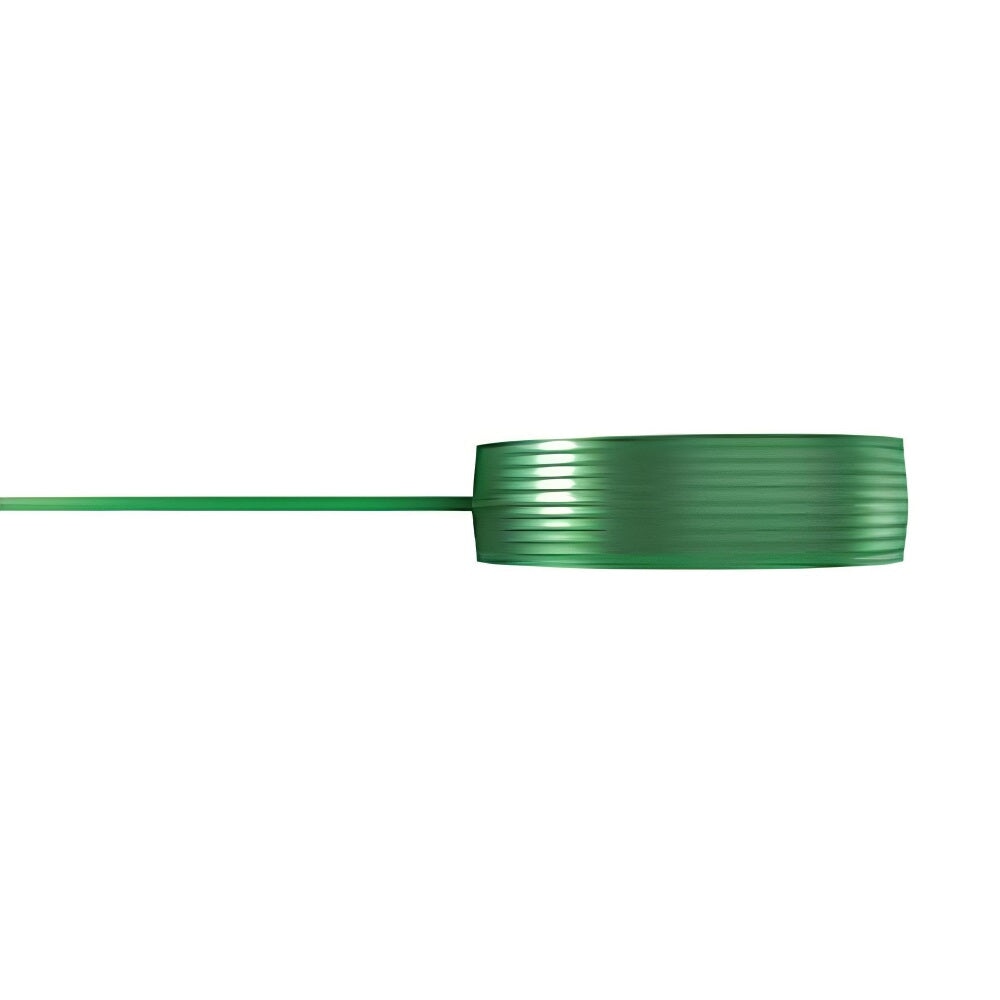
  • 3M Precision Line Knifeless Tape: Provides clean, precise cuts without using a blade.
  • Edge Seal Tape: Prevents film lifting in high-stress areas.
  • Microfiber Towels: Keeps the film clean and free of fingerprints during installation.

3M Precision Line Knifeless Tape for Dry PPF Application

Why Use Knifeless Tape?

  • Safe Cutting: Prevents accidental damage to the vehicle’s paint.
  • Precise Edges: Achieves sharp, clean cuts on complex contours.
  • Seamless Integration: Ideal for multi-panel installations and custom designs.

How to Use It

  1. Apply the Tape: Position the knifeless tape along the desired cut line before laying down the PPF film.
  2. Install the Film: Apply the film as usual, ensuring it conforms to the tape’s placement.
  3. Pull the Filament: Once the film is secured, pull the embedded filament to cut the film cleanly along the tape’s path.
  4. Remove the Tape: Carefully peel off the knifeless tape, leaving a precise edge without the need for a blade.

By following these steps and using the recommended tools, you can achieve a clean, professional, and durable installation of 3M PWF Dry Application Colored PPF Film.

Transparency is the Key

FAQs

Quick Web Links: FAQ Page | Policies

The product is showing out of stock. When will it be back in stock?

When a product is unavailable, it most likely means that it is in the production process. We will update our inventory as soon as we have it back in stock.

In the meantime, visit the product page on our website, select any out-of-stock size, and click the "Notify me" button to receive an alert with it's available again.

How many feet of material would I need to wrap my car?

Great question. Please use our special Size Chart to match the amount of material needed.

When will my order be fulfilled?

Instawraps aims to fulfill all orders on the same day they are received. Orders placed before 11:00 AM EST are typically shipped the same day. Orders placed after 11:00 AM EST may be shipped the next business day.

For customers in Ontario, Canada, we offer a same-day local delivery option. Orders placed between 10:00 AM and 3:00 PM EST are dispatched within 1 hour and are expected to arrive before 5:00 PM EST. Order placed outside these hours or on non-business days will be dispatched the next next business day after 10:00 AM EST. Express shipping options are also available at checkout, with express orders received before 11:00 AM EST generally shipped the same day.

Is there a cut-off time for same day curbside pickup orders?

Yes, the cut-off time for same-day curbside pickup orders is 11:00 AM EST. Orders placed before this time will typically be ready for pickup by the end of the day.

If an order is placed after 11:00 AM EST and same-day pickup is needed, customers can pay a $25 fee at checkout for expedited same-day pickup. Otherwise, orders placed after the cut-off time will likely be ready the next business day.

Please note, curbside pickup is only available at our Ontario location.

What payment methods do you accept?

We accept all major credit cards.

Canadian customers can also pay via E-transfer, and U.S. customers via Zelle.

Additionally, we offer a partial payment plan through Sezzle, which lets you split your purchase into four equal, interest-free payments. The first payment is due at checkout, with the remaining payments automatically deducted every two weeks.

How can I request to return an item?

Please send a message to an email >> support@instawraps.ca within 30 days of purchase. Or reply to the order confirmation, explain the reason for return request and provide all necessary info / photos, if applicable.

Didn’t find your answer?

Don't hestitate to contact us