Cut-off time for Pickup Orders is 11:00AM EST

Why 1,000,000+ Customers trust Instawraps

10/10 quality + look

Wrapped two bikes in this yellow and never once regretted it.
Charles D

Great Product

Received quickly and in good condition. product is easy to...
Roman T.

Love the color

Reasonable shipping time. Product nicely packaged...
Cody D.

Prompt service

I received my parcel in a timely manner.
Mark R.

Amazing service, top notch products

Quick, and reliable service...
Kim Lefebvre

Product Details

Product Description
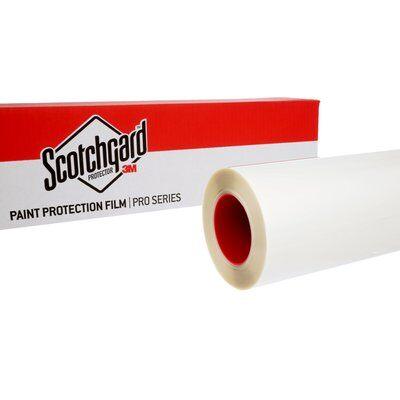
3M Pro Series 200 Clear Paint Protection Film Gloss Finish

Pro Series 200 Clear / Gloss Paint Protection Film

Help preserve vulnerable painted surfaces with 3M Pro Series 200 Clear / Gloss Paint Protection Film . This transparent polyurethane film combines a high-gloss, optically clear appearance with protection against stone chips, scratches, bug damage, road tar, automotive fluid stains and outdoor weathering.

Transparent polyurethane High-gloss clarity Improved anti-yellowing Wet application
3M series Pro Series 200
Film category Clear Gloss PPF

This updated version features improved anti-yellowing technology. A slight blue hue may be visible initially, which is described as normal and expected to fade as the film settles and cures. Final appearance is optically clear.

Appearance Transparent Gloss
Material Polyurethane
Film thickness 7.9 mil / 0.20 mm
Application Wet Only
Elongation 290%
Consumer warranty 10 Years*
Nearly invisible protection

Preserve the depth and gloss of automotive paint while shielding vulnerable surfaces from everyday road hazards

3M Pro Series 200 Clear / Gloss Paint Protection Film is a transparent polyurethane film designed to help protect automotive paint and other vulnerable surfaces from stone chips, scratches, bug damage, road tar stains, automotive fluid stains and punishing outdoor weathering, including ultraviolet exposure.

This is the updated version of 3M PPF 200 Series Gloss and features improved anti-yellowing technology for long-term clarity and durability. The film may initially display a slight blue hue. This is described as normal and is expected to fade as the film settles and cures, leaving an optically clear final appearance.

Its high-gloss finish, excellent clarity, smooth top surface and low orange peel help the film remain visually discreet over compatible OEM painted surfaces. Hydrophobic surface features support easier maintenance by helping reduce the amount of dirt and water that remain on the protective layer.

Finish personality

Clear, polished and discreet, with a high-gloss surface designed to preserve paint depth and reflection without creating an obvious protective-film appearance.

Clear gloss PPF is suited to owners who want protection while maintaining the original painted colour and shine. Paint condition, texture, repairs, lighting and installation quality can influence the final appearance.

Pro Series 200 technology

Engineered for optical clarity, controlled repositioning and professional bulk or pattern-based installation

Pro Series 200 Gloss combines clear polyurethane construction, hydrophobic surface features, improved anti-yellowing technology, a removable protective cap sheet and optimized adhesive for compatible OEM painted surfaces.

01

High-gloss optical clarity

A transparent gloss finish helps preserve paint colour, depth and reflection while maintaining a nearly invisible protective layer.

02

Improved anti-yellowing technology

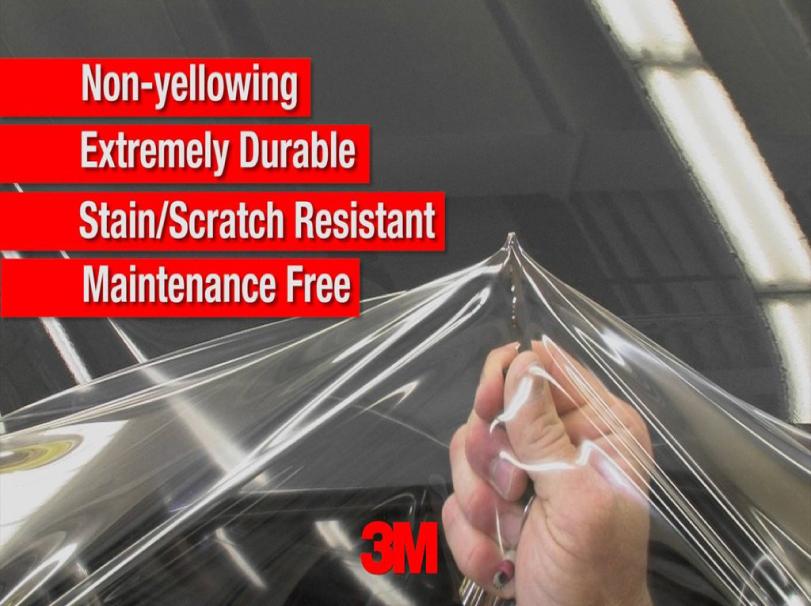
The updated version is designed to support long-term clarity and durability while reducing visible yellowing over time.

03

Hydrophobic, low-orange-peel surface

The smooth top surface supports gloss clarity while helping water and common contamination release more easily during maintenance.

04

Optimized repositionable adhesive

Clear pressure-activated adhesive supports alignment while helping minimize lift lines and visible adhesive marks.

05

Self-healing technology

Minor scratches and surface marks can diminish when controlled heat is applied to the film surface.

06

Pattern and bulk installation capable

The film can stretch for bulk applications and is approved for use with the 3M Pattern and Solutions Center.

Recommended applications

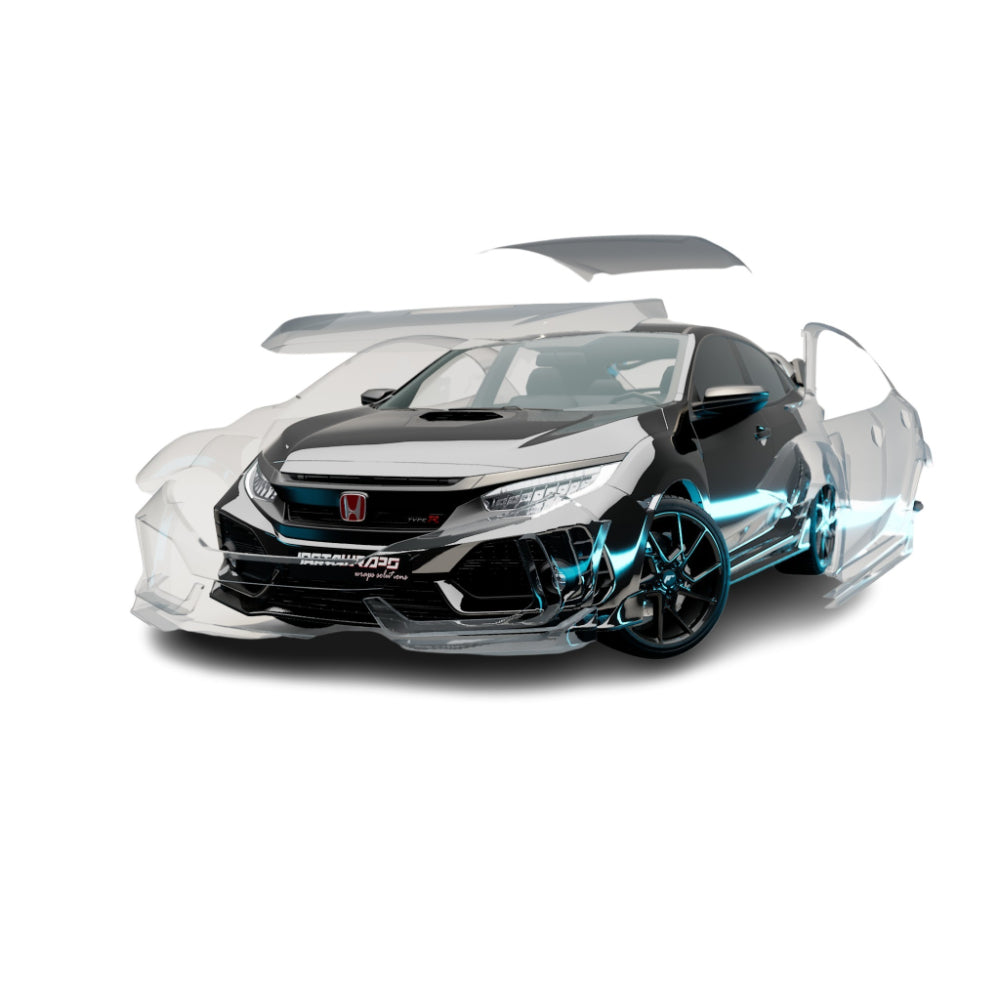
Protect high-impact vehicle surfaces across passenger, performance, motorcycle and marine applications

Cars, Trucks & SUVs Protection for compatible OEM painted surfaces on passenger cars, trucks, minivans and sport utility vehicles.
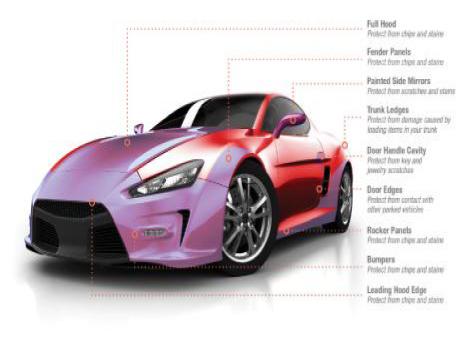
High-Impact Panels Hoods, bumpers, fenders, mirror caps, rocker panels and other areas commonly exposed to road debris.
Luxury & Performance Vehicles Nearly invisible protection for premium, sports and performance vehicles with compatible gloss-painted surfaces.
Motorcycle & Marine Selected compatible painted surfaces on motorcycles, boats and jet skis requiring clear protective coverage.

Professional wet installation is strongly recommended.

This film is specified for wet application only. Correct slip solution, surface preparation, stretching, squeegee pressure, alignment, edge finishing and moisture removal are essential for appearance and performance. Paint protection film helps reduce damage from common hazards but cannot prevent every chip, scratch, puncture, dent or impact.

Product information

Technical specifications, wet-installation guidance, care and warranty information

Technical specifications
Manufacturer:
3M
Product series:
Pro Series 200 Clear / Gloss
Product category:
Clear paint protection film
Version:
Updated version with improved anti-yellowing technology
Material:
Polyurethane
Colour:
Transparent
Finish:
Clear / high gloss
Final appearance:
Optically clear after settling and curing
Initial appearance note:
A slight blue hue may initially be present and is expected to fade over time
Film with adhesive:
7.9 mil / 0.20 mm
Liner thickness:
3.0 mil / 0.08 mm
Cap sheet thickness:
1.0 mil / 0.025 mm
Adhesive type:
Acrylic, pressure-activated
Adhesive appearance:
Clear
Initial adhesion:
3.8 lbs/in / 6.6 N/cm after 20 minutes at room temperature
24-hour adhesion:
4.5 lbs/in / 7.9 N/cm after 24 hours at room temperature
Elongation at break:
290%
Tensile strength:
1,6 PSI / 11 MPa, as listed in the supplied specifications
Liner material:
Polyester
Application method:
Wet only
Substrate type:
OEM painted surfaces
Application temperature:
60°F to 85°F / 16°C to 30°C
Surface features:
Hydrophobic, smooth, high gloss and low orange peel
Self-healing:
Minor scratches or marks can diminish with applied heat
Installation compatibility:
Bulk installation and 3M Pattern and Solutions Center
Consumer warranty:
10 years, subject to applicable terms
Protective purpose:
Helps resist stone chips, scratches, bug damage, road tar, automotive fluid stains and outdoor weathering
Wet installation considerations
  • Use wet application only. Follow the recommended slip and tack solution process for the specific panel and installation conditions.
  • Prepare the paint thoroughly. Install only over clean, smooth, dry and properly prepared compatible OEM painted surfaces.
  • Inspect the paint before installation. Existing chips, scratches, repairs, texture and contamination may remain visible beneath the transparent film.
  • Install within the stated temperature range. The supplied specification lists 60°F to 85°F, or 16°C to 30°C.
  • Use the adhesive for controlled positioning. The optimized pressure-activated adhesive supports repositioning while helping reduce lift lines and adhesive marks.
  • Use controlled stretch. The film can stretch for bulk installations, but excessive tension may affect edges, gloss consistency and long-term appearance.
  • Protect the gloss surface during installation. Keep the cap sheet in place during appropriate handling and squeegee stages, then remove it carefully.
  • Remove installation moisture. Work solution and trapped moisture toward the nearest edge using professional PPF squeegee techniques.
  • Expect a possible initial blue hue. The updated film may display a slight blue hue before it settles and cures.
  • Allow the optical appearance to develop. Final clarity is expected after the film settles, cures and installation moisture dissipates.
  • Inspect edges and contours. Confirm that edges, corners, recesses and stretched areas are secure before returning the vehicle to service.
  • Use approved patterns where appropriate. The film is approved for use with the 3M Pattern and Solutions Center to support tested patterns and reduced material waste.
Care, clarity and self-healing guidance
  • Allow the film to settle and cure. A temporary blue hue or installation moisture may affect the initial appearance before final optical clarity develops.
  • Use gentle automotive cleaning methods. Wash with suitable products and soft tools that will not scratch or damage the gloss top surface.
  • Remove contamination promptly. Clean bug residue, road tar, bird droppings, fuel and automotive fluids before they remain on the film for extended periods.
  • Avoid harsh abrasive compounds. Aggressive polishing may create haze, swirl marks or uneven gloss on the protective surface.
  • Hydrophobic features support maintenance. Water and contamination may release more easily, but regular cleaning is still required.
  • Self-healing applies to minor marks. Light scratches or surface marks may diminish when controlled heat is applied.
  • Deep damage will not self-heal. Cuts, punctures, tears, gouges and heavy impact damage may require panel replacement.
  • Use controlled heat only. Excessive heat may damage the film, affect its clarity or harm the underlying paint.
  • Inspect high-impact areas regularly. Review leading edges, lower panels, bumper areas and seams for damage or lifting.
  • Use professional removal. Experienced removal is recommended, especially on repaired, refinished or condition-sensitive paint.
Protection, warranty and technical resources
  • 10-year consumer warranty: Coverage is subject to the current 3M warranty program, eligible installation conditions and applicable terms.
  • The updated version features improved anti-yellowing technology intended to support long-term clarity and durability.
  • The film is designed to help protect against stone chips, scratches, bug damage, road tar, automotive fluid stains and outdoor weathering.
  • Paint protection film cannot prevent every chip, scratch, puncture, dent or severe impact.
  • Self-healing technology is intended for minor scratches and surface marks, not deep or structural film damage.
  • Initial appearance can include a slight blue hue that is expected to fade as the film settles and cures.
  • Final appearance and performance depend on surface preparation, installation quality, exposure, maintenance and paint condition.
  • Approved compatibility with the 3M Pattern and Solutions Center supports access to quality-tested installation patterns.
  • Always review current manufacturer documentation before installation, care, warranty submission or removal.

Review the physical clear gloss film on the intended vehicle paint before installation

Paint colour, surface texture, repairs, lighting and installation moisture can affect the initial appearance. A slight blue hue may be visible at first and is expected to fade as the film settles and cures, leaving an optically clear finish.

Physical film review recommended
Instawraps product support

Have questions about PPF sizing, installation tools or product selection?

Our team can help with product selection, sizing, compatible tools, order questions and general installation guidance. Choose the most convenient way to reach us.

*The supplied product information describes 3M Pro Series 200 Clear / Gloss Paint Protection Film as an updated transparent polyurethane film with improved anti-yellowing technology, high-gloss clarity, hydrophobic surface features, low orange peel, clear pressure-activated adhesive, self-healing technology, wet-only application, 7.9 mil film-with-adhesive thickness, 290% elongation and a 10-year consumer warranty. A slight blue hue may be visible initially and is expected to fade as the film settles and cures. Final appearance is described as optically clear. Warranty coverage, performance and eligibility are subject to current 3M terms, installation requirements, paint condition, exposure and maintenance. Paint protection film helps reduce damage from common road hazards but cannot prevent every impact, puncture, dent or deep abrasion. 3M is a trademark of 3M.

Current manufacturer documentation and the physical roll label govern.

Application Guide

Paint Protection Film (PPF) Application Guide

1. Prepare the Surface

  • Clean Thoroughly: Begin by washing the surface thoroughly. Use an automotive-grade soap to remove dirt, wax, and grease.
  • Degrease: Once cleaned, some installers may apply an isopropyl alcohol solution to remove any remaining oils or residues. Let the surface dry completely for proper adhesion.
  • Check for Imperfections: Inspect the area for any imperfections such as scratches, dust, or chips. Correct any issues as PPF will adhere best to smooth, clean surfaces.

2. Measure and Cut the Film

  • Measure Carefully: Measure the area to ensure the film covers the entire surface. Add a little extra for trimming later, especially on larger sections.
  • Pre-Cut the Film: For larger surfaces, consider pre-cut templates if available. This reduces the need for on-the-spot trimming and ensures a better fit.

3. Prepare Your Installation Solution

  • Slip Solution: Mix a few drops of baby shampoo or PPF installation gel with water in a spray bottle. This solution helps you position the film on the surface without it sticking immediately.
  • Tack Solution (Optional): For more adhesive power on tricky edges, mix a small amount of isopropyl alcohol with water in another spray bottle. The tack solution makes the film adhere more securely on curves or edges.

4. Apply the Film

  • Spray the Surface: Spray the surface liberally with the slip solution. This layer of solution will allow you to slide the film into position.
  • Peel and Position: Peel the backing off the film and lay it onto the wet surface. Adjust it to fit precisely, smoothing out large bubbles as you go.
  • Activate the Adhesive with Tack Solution: For difficult edges or corners, use the tack solution. Spray a little solution on the area and press down on the film to ensure a firm grip.

5. Remove Air Bubbles and Smooth the Film

  • Use a Squeegee: Starting from the center, use a squeegee to press out the solution and air bubbles, moving toward the edges. Wipe excess solution away as you go to avoid streaks or water spots.
  • Work in Sections: Divide the area into smaller sections for better control. Apply steady pressure to ensure the film is smooth and bubble-free.

6. Trim Excess Film

  • Careful Trimming: Use a sharp utility knife to trim the film along the edges. Be gentle to avoid cutting into the paint underneath.
  • Edge Sealing: Press down on all edges firmly. For a cleaner finish, use edge seal tape on areas exposed to high stress, such as door edges or bumpers.

7. Final Inspection and Curing

  • Inspect for Imperfections: If you see small air bubbles, gently lift the film in that section, spray a little slip solution, and squeegee it out.
  • Allow to Set: Allow the film to fully cure for 24-48 hours before washing or exposing it to extreme conditions.

Handy Tools and Supplies for PPF Application

1. Essential Tools

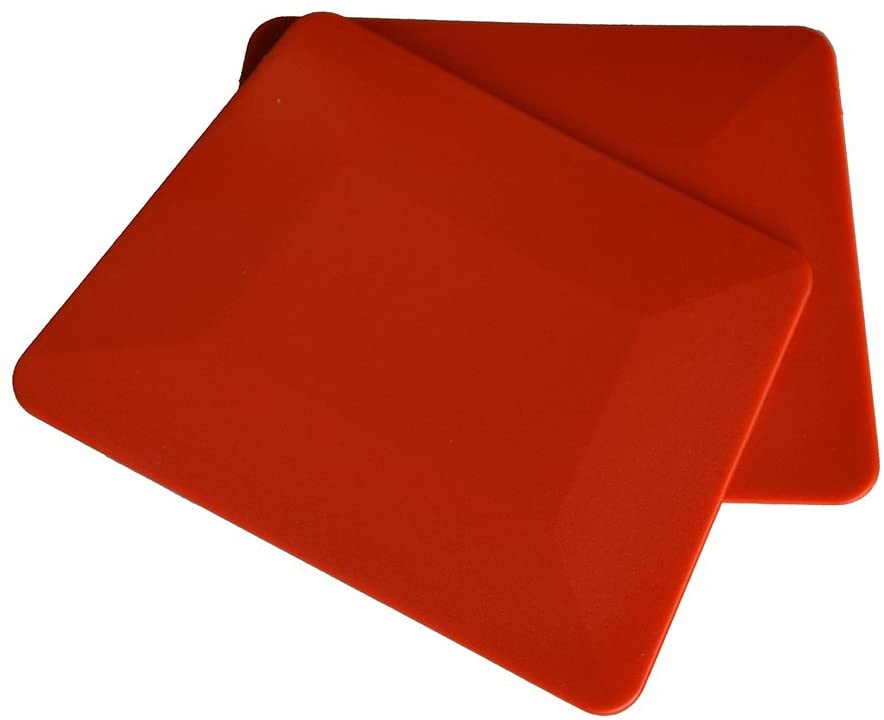
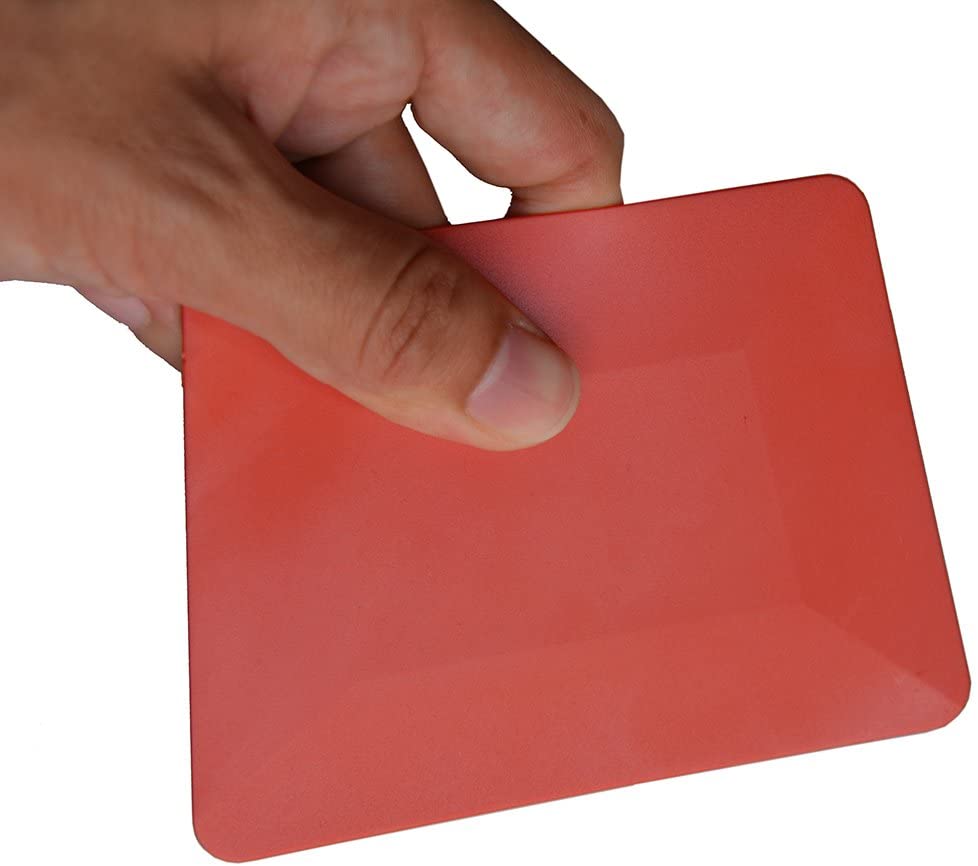
  • Squeegee: Essential for smoothing out the film and removing air bubbles. Opt for a soft squeegee to avoid scratching the film.
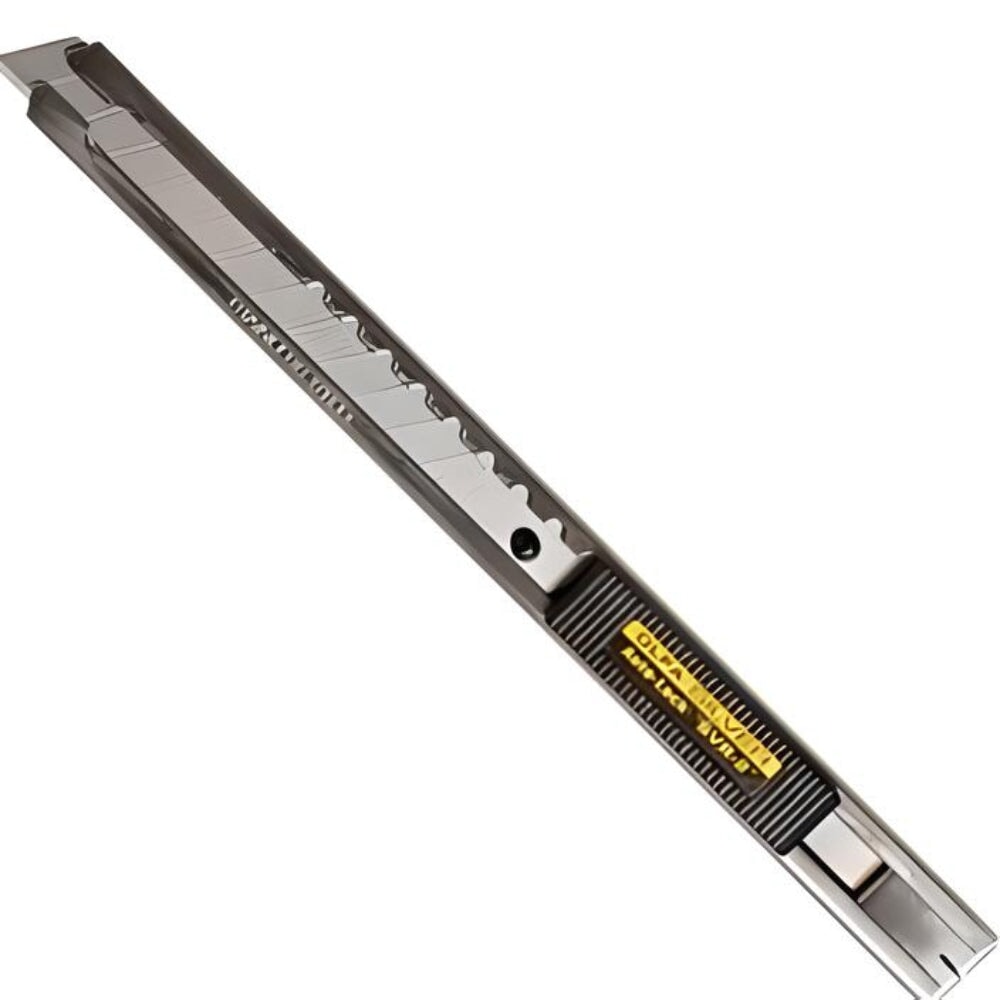
  • Utility Knife: A sharp knife is essential for precise trimming of excess film. Use a light touch to avoid cutting into the paint beneath.
  • Spray Bottles: Use separate bottles for slip solution and tack solution. Clearly label them to avoid confusion during application.

2. Cleaning and Preparation Supplies

  • Isopropyl Alcohol (70% or Higher): Removes oils and residues that may prevent the film from adhering properly.
  • Lint-Free Cloths or Microfiber Towels: For cleaning the surface without leaving fibers that could get trapped under the film.
  • PPF Installation Gel (Optional): Provides extra slip during application, especially on large panels.

3. Tools for Removing Air Bubbles and Wrinkles

  • Edge Seal Tape: Secures the film on high-stress edges like doors and wheel wells to prevent peeling or lifting.
  • Air Release Tool: For tiny air bubbles that can’t be smoothed out, use an air release tool to prick the bubble and press it flat.

4. Application Helpers for Curved Surfaces

  • Wrap Magnets: Help hold the film in place, making it easier to apply large sections without needing extra hands.
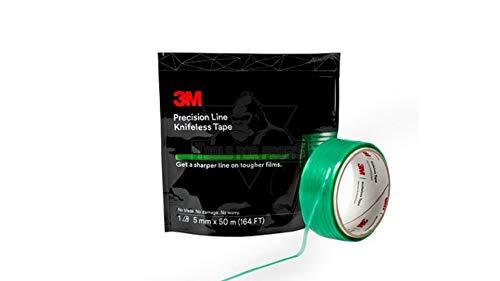
  • Contouring Tape (Knifeless Tape): Allows precise cuts without a blade, useful for working around curves and edges.

5. Post-Installation Tools

  • Finishing Spray or Detailer: Maintains the film’s glossy appearance and adds protection from dust and scratches. Choose a PPF-safe product.

Knifeless Tape: 3M Precision Line For PPF

What is Knifeless Tape?

  • Knifeless tape includes a thin filament that allows for safe cutting of PPF without risking paint damage.
  • Simply position it along the desired cut line, apply the film, and pull the filament to make a clean, precise cut.

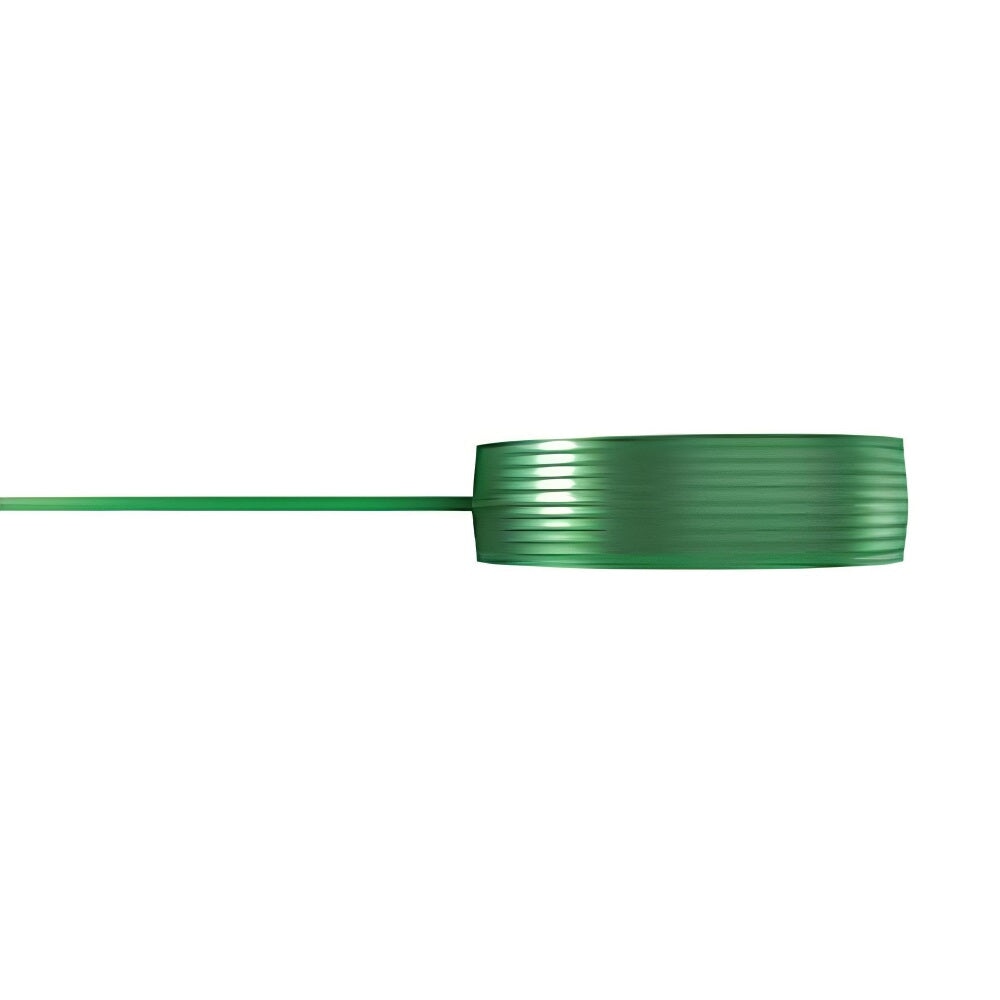
3M™ Precision Line Knifeless Tape is an essential tool for achieving clean, precise cuts in paint protection film (PPF) installations without the risk of damaging the underlying surface.

This tape features an ultra-fine, ultra-sharp filament embedded within a semi-transparent green carrier. It's specifically designed to cut through challenging films.

Benefits of Using 3M™ Precision Line Knifeless Tape:

  • Safe Cutting: Eliminates the need for blades, reducing the risk of nicks and cuts on the vehicle's surface.
  • Precision: Allows for sharp, clean edges, even on complex curves and contours.
  • Versatility: Suitable for single or multiple vinyl layer applications, making it ideal for intricate designs and seamless butt joints.

How to Use 3M™ Precision Line Knifeless Tape in PPF Installation:

  1. Apply the Tape: Position the knifeless tape along the desired cut line on the vehicle's surface. Ensure it's firmly adhered and follows the contours accurately.
  2. Install the PPF: Apply the paint protection film over the tape, smoothing it out as per standard installation procedures.
  3. Cut the Film: Once the film is in place, pull the embedded filament through the film to achieve a clean cut along the tape's path.
  4. Remove the Tape: Carefully peel away the knifeless tape, leaving a precisely cut edge on the PPF.

Incorporating 3M™ Precision Line Knifeless Tape into your PPF application process enhances precision and safety, ensuring a professional finish without the hazards associated with traditional cutting methods.

Transparency is the Key

FAQs

Quick Web Links: FAQ Page | Policies

The product is showing out of stock. When will it be back in stock?

When a product is unavailable, it most likely means that it is in the production process. We will update our inventory as soon as we have it back in stock.

In the meantime, visit the product page on our website, select any out-of-stock size, and click the "Notify me" button to receive an alert with it's available again.

How many feet of material would I need to wrap my car?

Great question. Please use our special Size Chart to match the amount of material needed.

When will my order be fulfilled?

Instawraps aims to fulfill all orders on the same day they are received. Orders placed before 11:00 AM EST are typically shipped the same day. Orders placed after 11:00 AM EST may be shipped the next business day.

For customers in Ontario, Canada, we offer a same-day local delivery option. Orders placed between 10:00 AM and 3:00 PM EST are dispatched within 1 hour and are expected to arrive before 5:00 PM EST. Order placed outside these hours or on non-business days will be dispatched the next next business day after 10:00 AM EST. Express shipping options are also available at checkout, with express orders received before 11:00 AM EST generally shipped the same day.

Is there a cut-off time for same day curbside pickup orders?

Yes, the cut-off time for same-day curbside pickup orders is 11:00 AM EST. Orders placed before this time will typically be ready for pickup by the end of the day.

If an order is placed after 11:00 AM EST and same-day pickup is needed, customers can pay a $25 fee at checkout for expedited same-day pickup. Otherwise, orders placed after the cut-off time will likely be ready the next business day.

Please note, curbside pickup is only available at our Ontario location.

What payment methods do you accept?

We accept all major credit cards.

Canadian customers can also pay via E-transfer, and U.S. customers via Zelle.

Additionally, we offer a partial payment plan through Sezzle, which lets you split your purchase into four equal, interest-free payments. The first payment is due at checkout, with the remaining payments automatically deducted every two weeks.

How can I request to return an item?

Please send a message to an email >> support@instawraps.ca within 30 days of purchase. Or reply to the order confirmation, explain the reason for return request and provide all necessary info / photos, if applicable.
Didn’t find your answer?

Don't hestitate to contact us