 Wrap Vinyl | All Products
 Paint Protection Film
 Automotive Window Film
 Headlight Tint
 Print Films | All Products
 Tools, Supplies & Care | All Products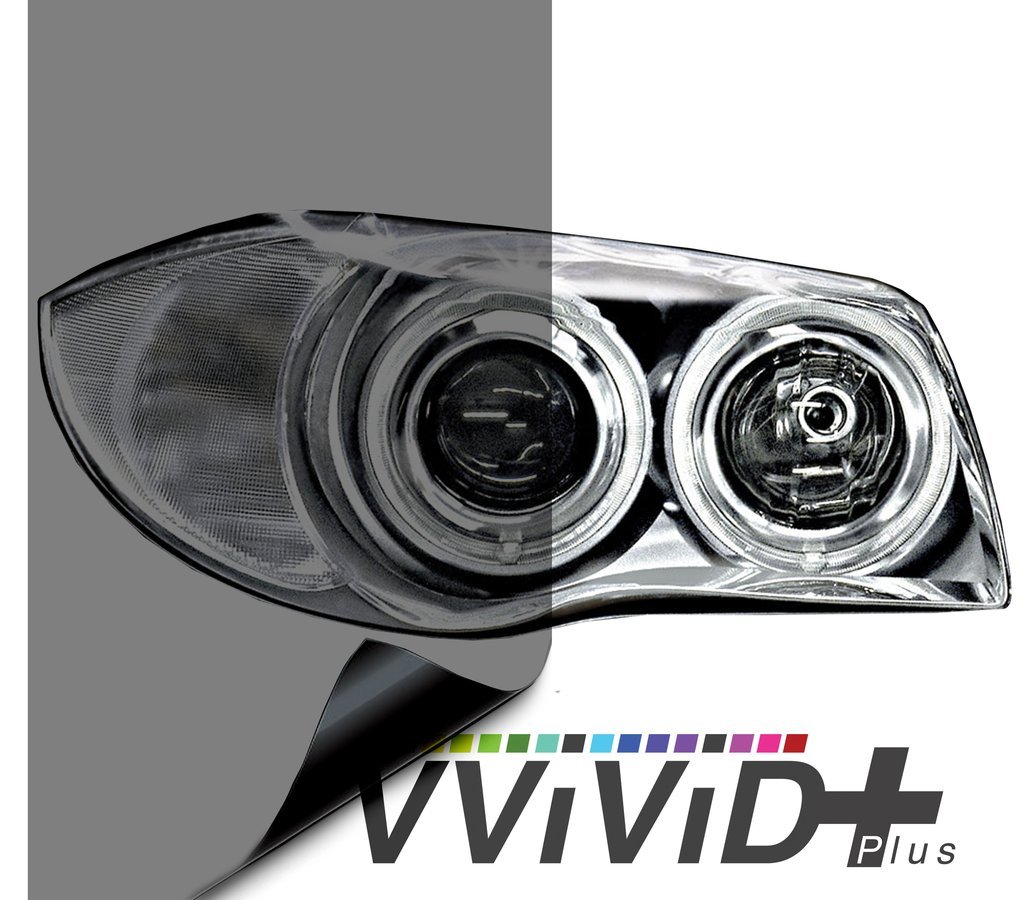
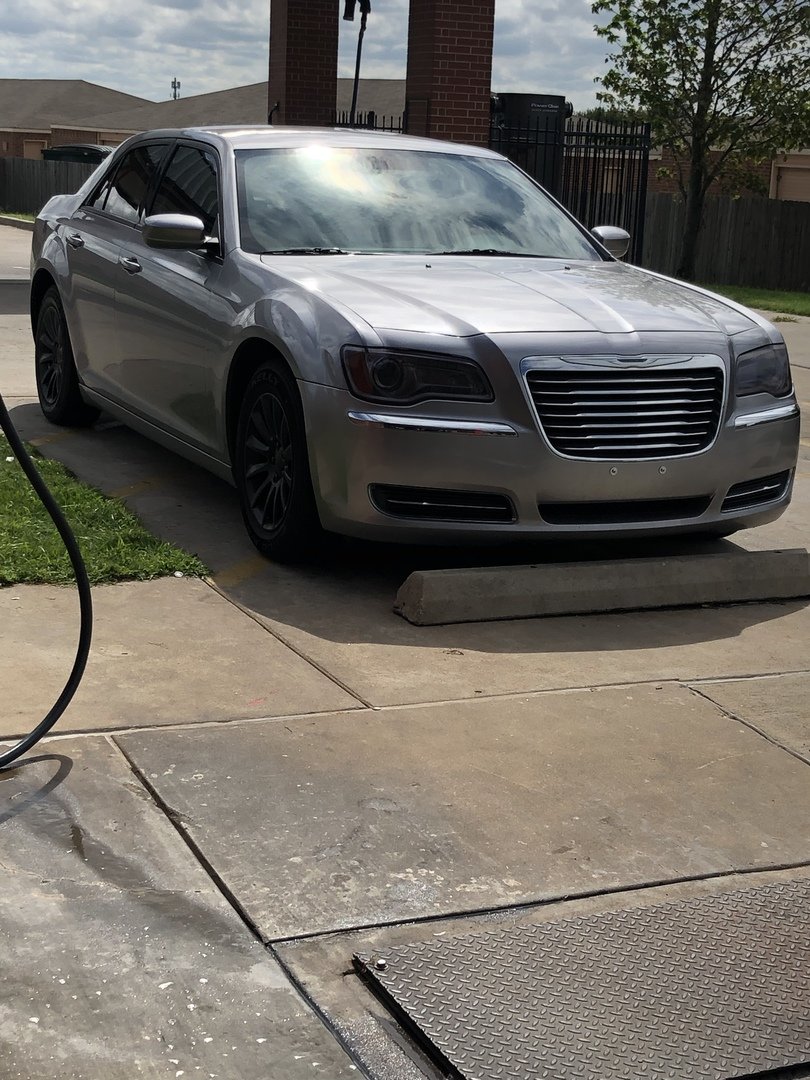
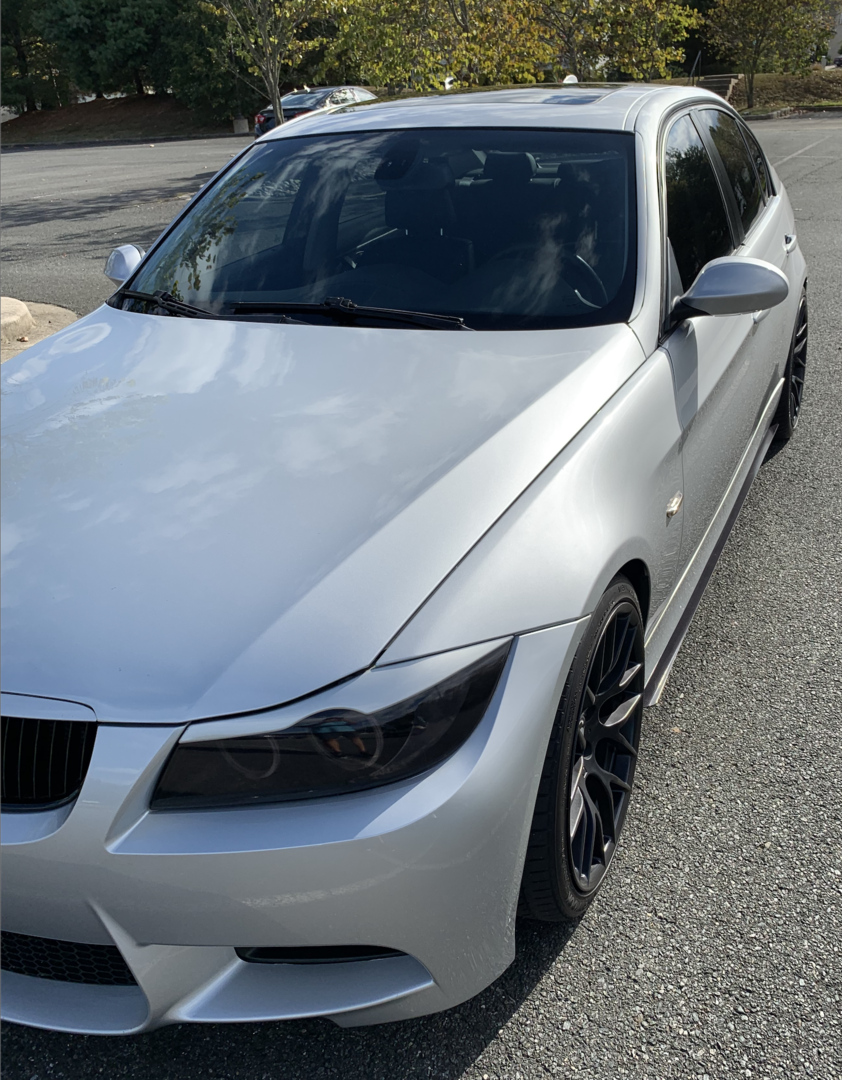
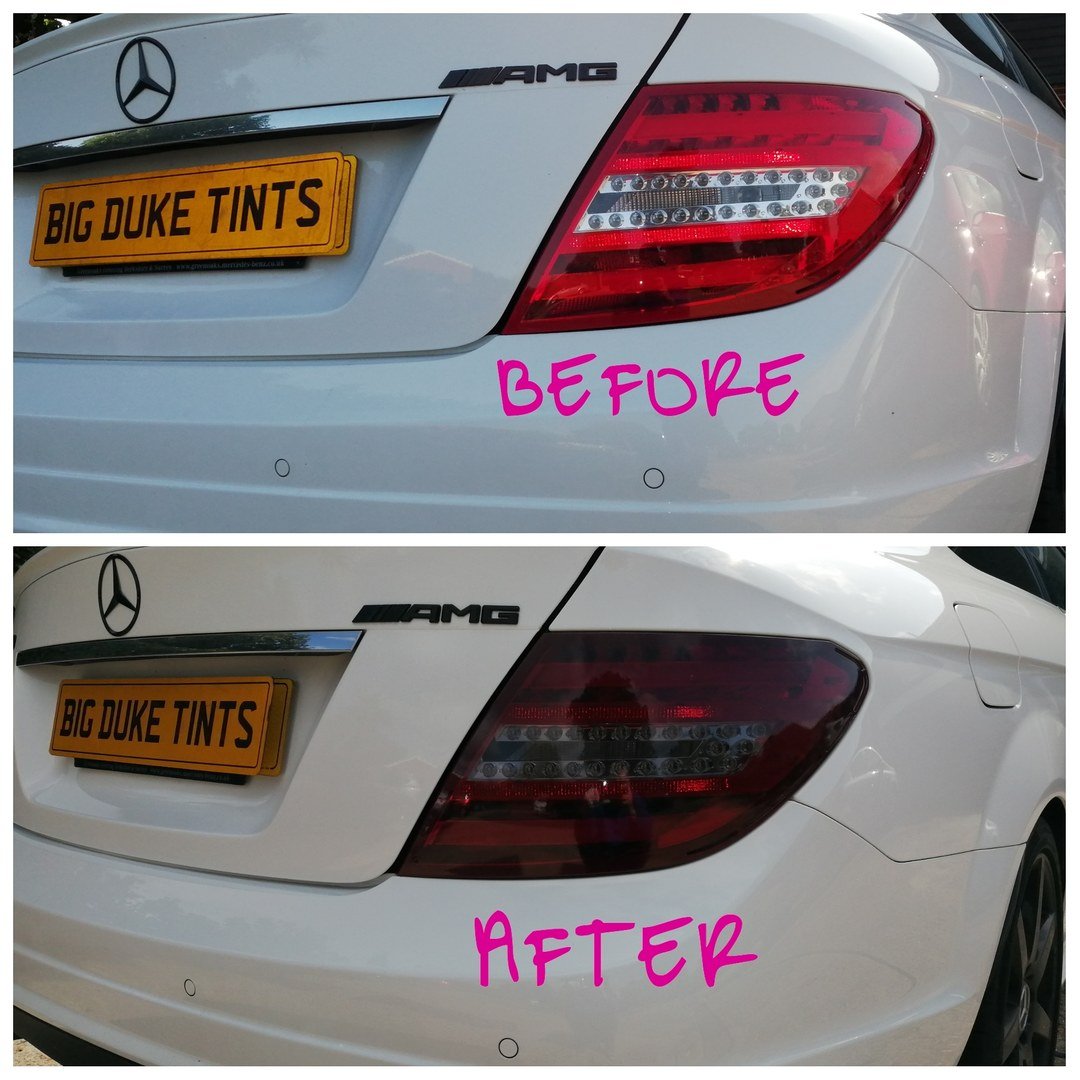
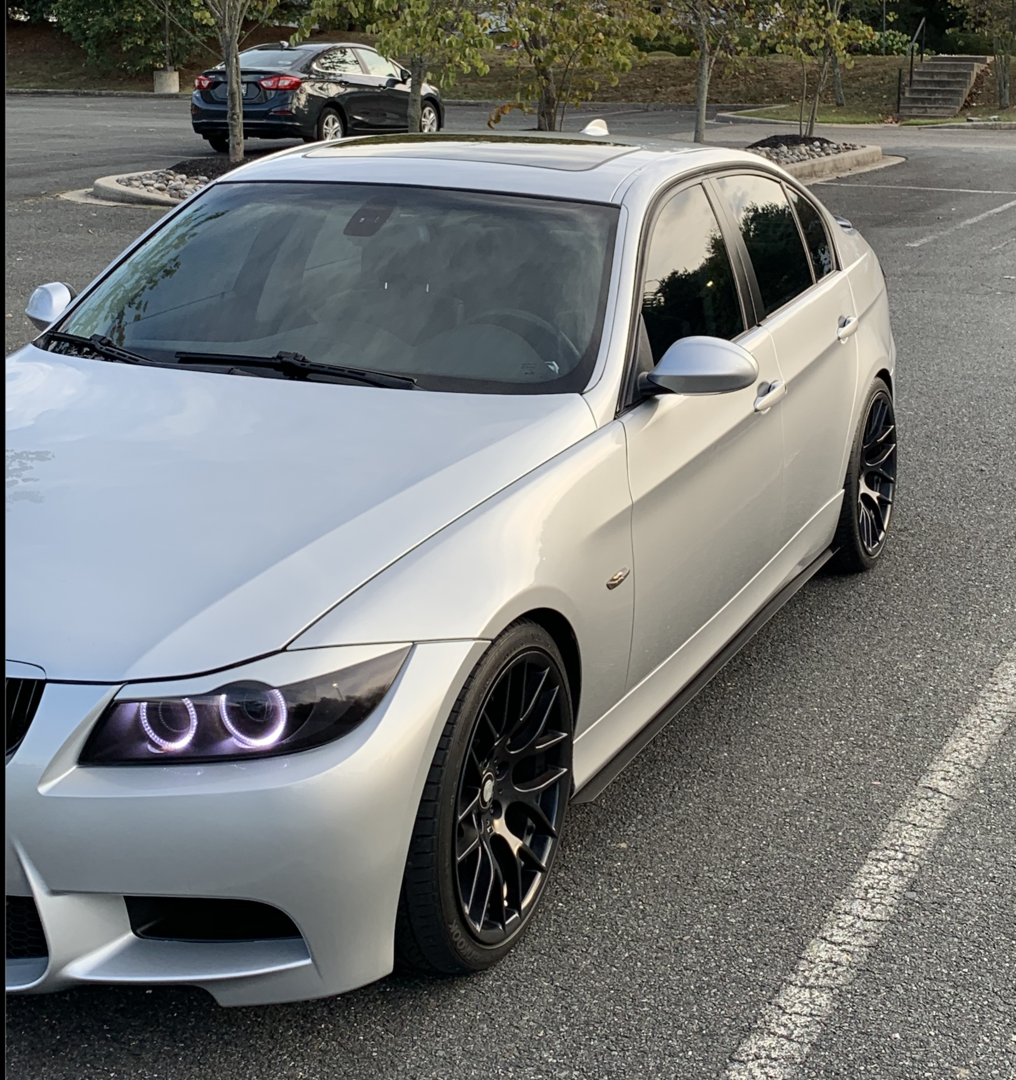
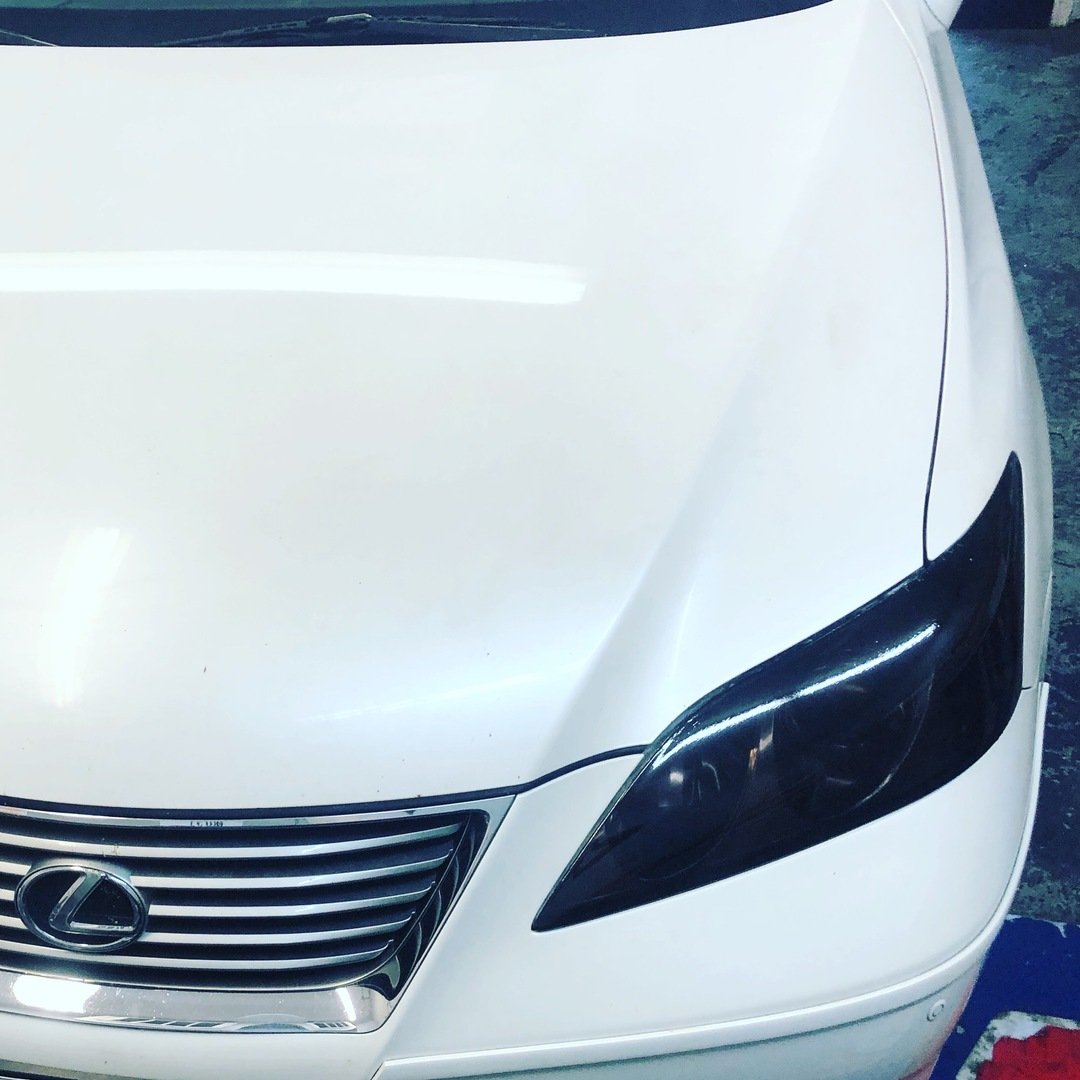
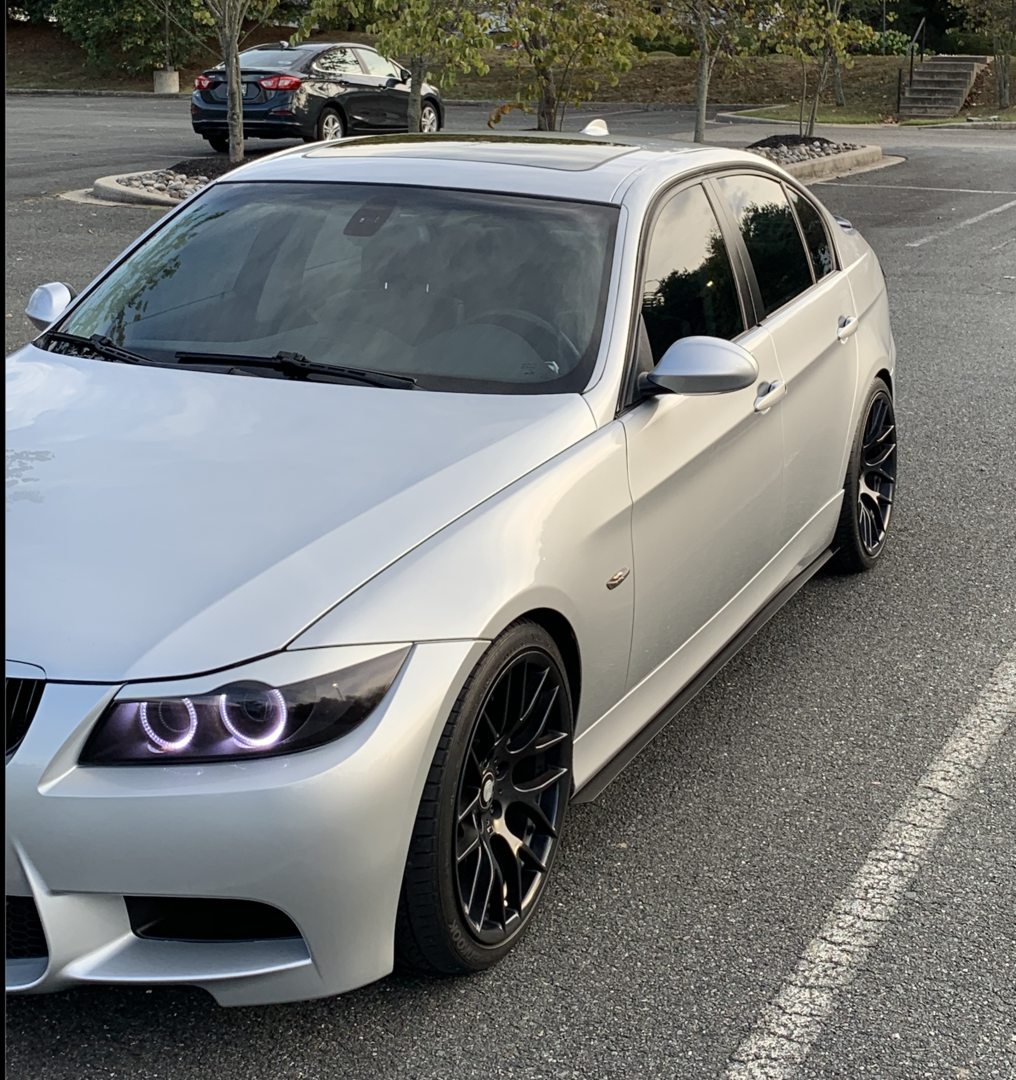
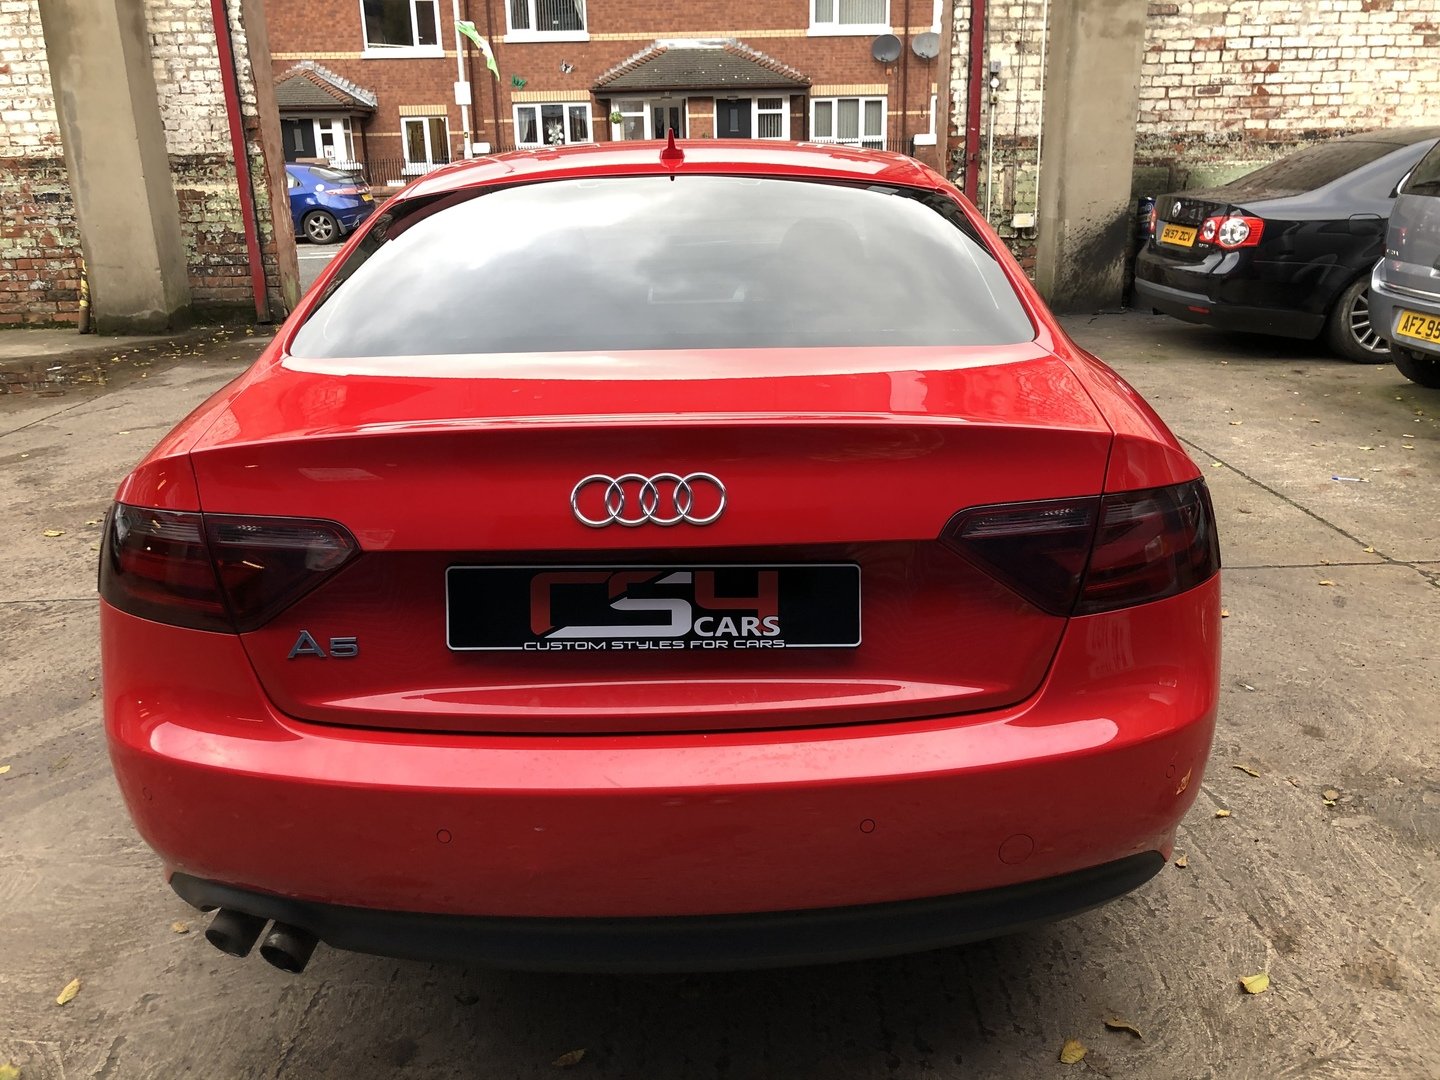
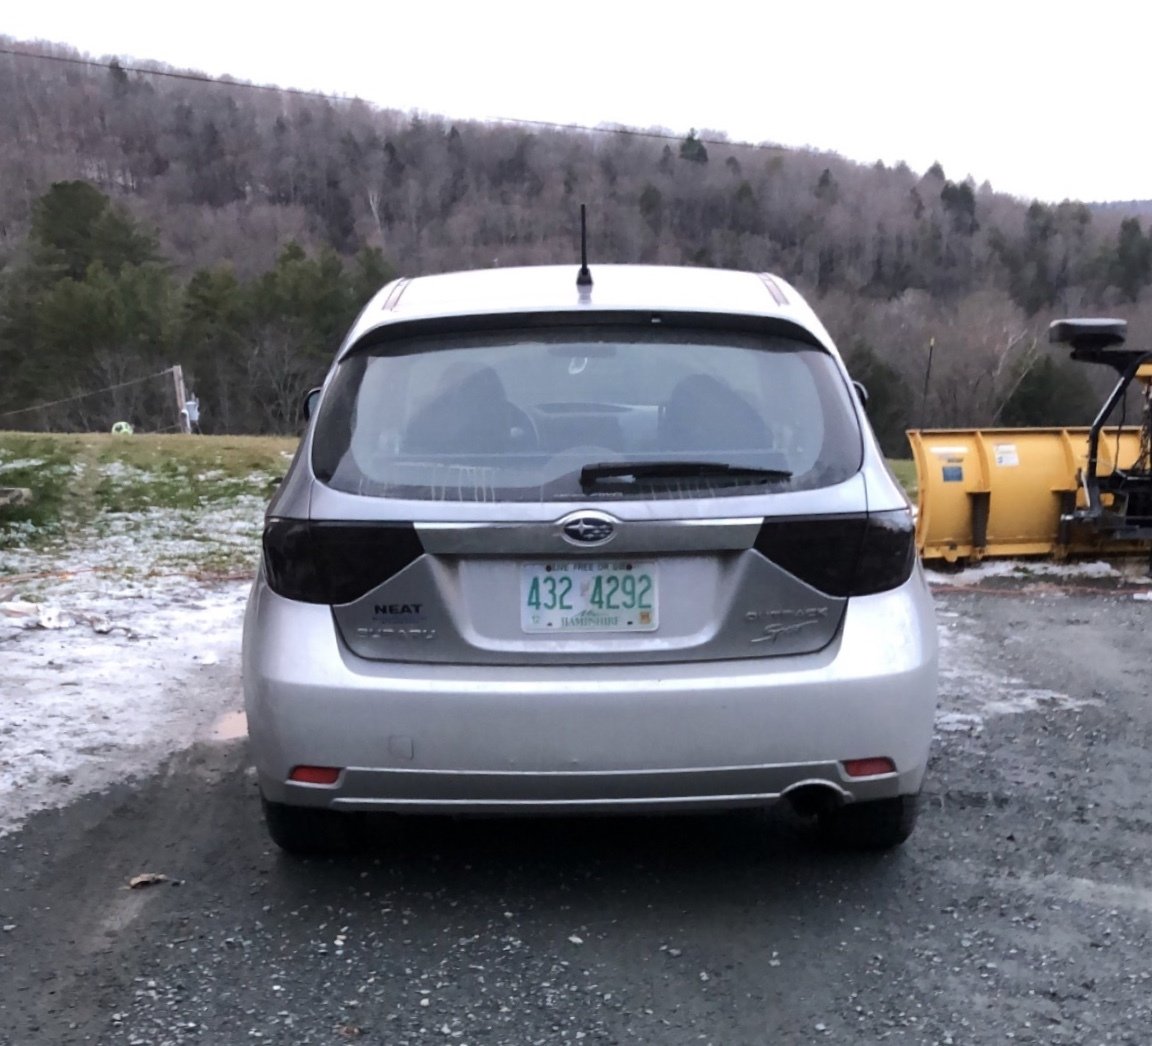
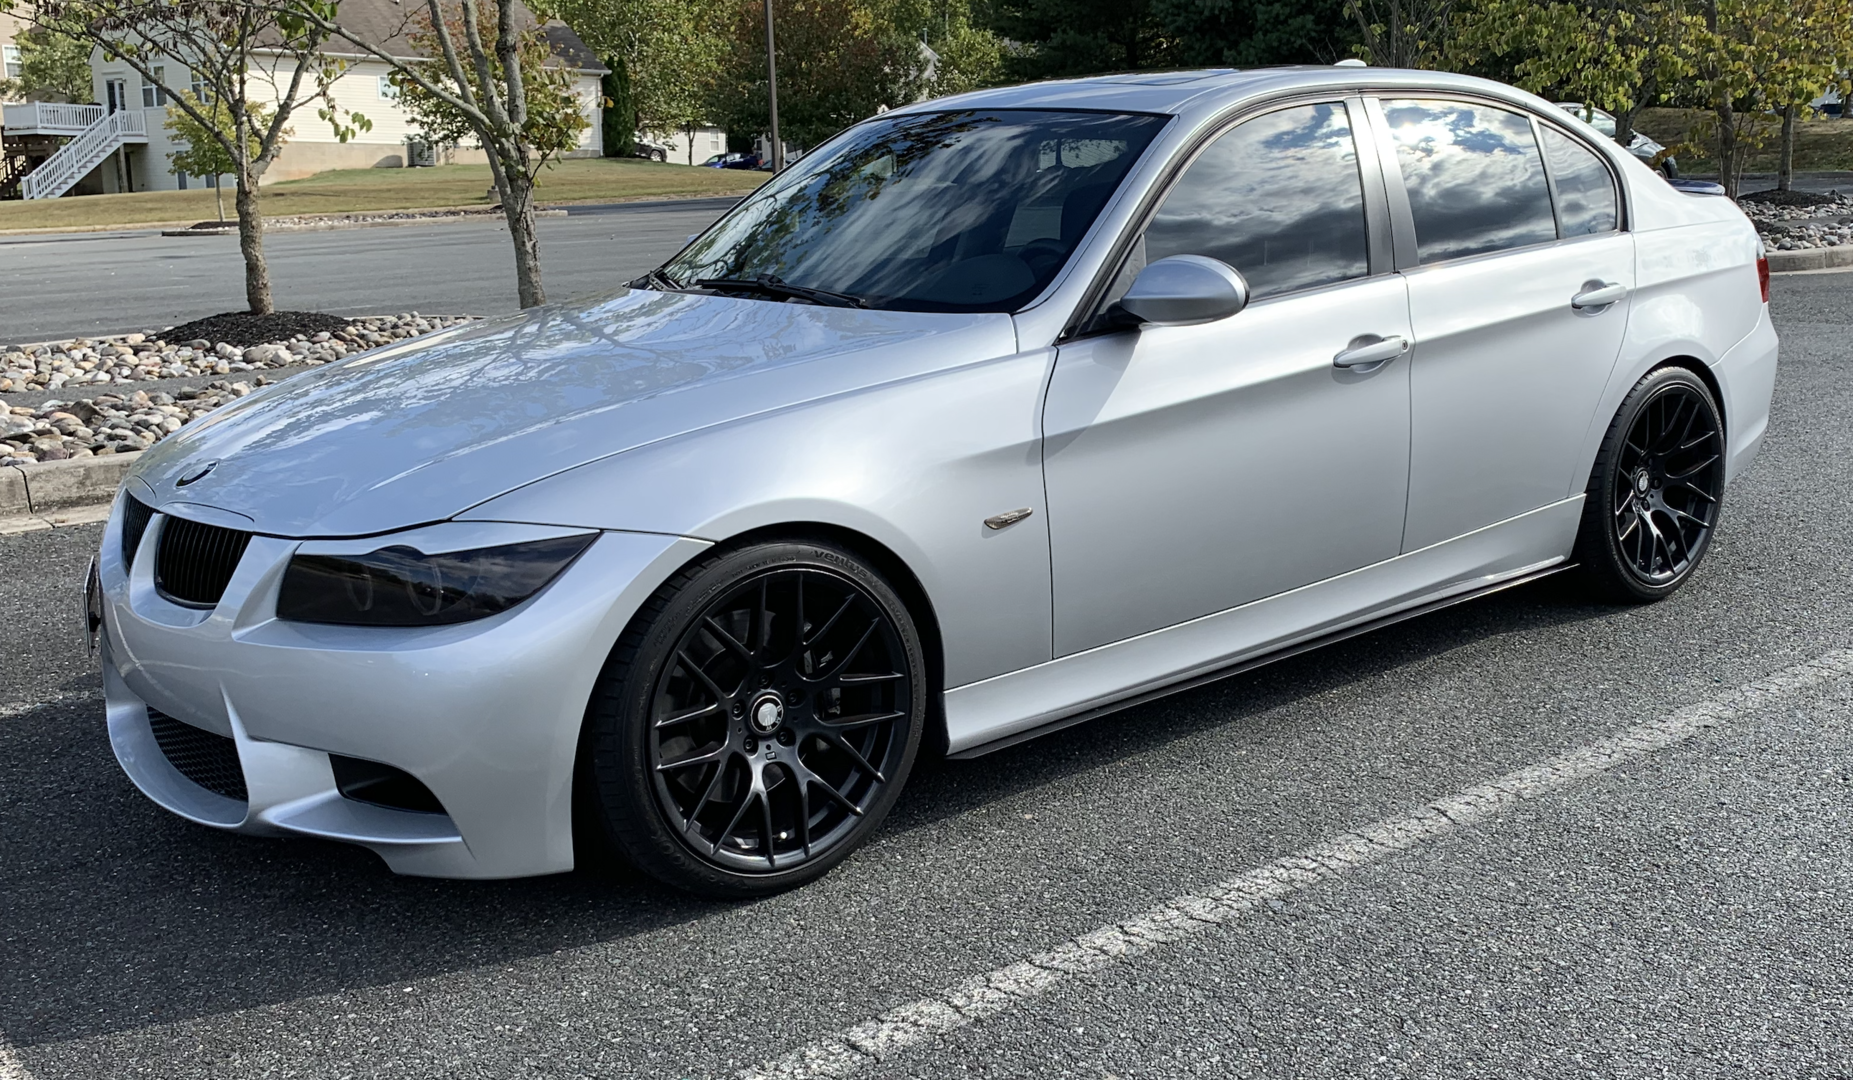
VVIVID VINYL 2020 VVIVID+ LIGHT SMOKE AIR-TINT HEADLIGHT TINT | V319
Learn More
Estimate Shipping
Enter your destination to see the shipping services currently available for the selected product and quantity.
Pairs well with
Essential Bundle for Car Wrap Projects
⚠️ Warning This product can expose you to chemicals including Vinyl Chloride, which is known to the State of California to cause cancer, and Toluene, which is known to the State of California to cause birth defects or other reproductive harm. For more information, please visit www.P65Warnings.ca.gov.

Why 1,000,000+ Customers trust Instawraps
If you have any questions, you are always welcome to contact us. We'll get back to you as soon as possible, within an hour during business days and up-to 48 hours on weekends. See Policies
-
Fulfilment Information
Our inventory is updated in real time. If an item can be added to your cart, it is in stock. Orders ship within 1–3 business days, depending on the selected shipping method at checkout.
-
Pickup Information
Curbside pickup is available at our Vaughan, Ontario location. Orders placed before 11 AM on a business day are eligible for free same-day pickup after email confirmation. Orders placed after 11 AM require paid same-day pickup service or will be ready the next business day.
-
Customer Support
At Instawraps, we offer prompt and expert support for orders, products, installation, and more. Whether you need assistance with shipping, returns, or custom requests, our team is ready to help. Contact us anytime via live chat, email, or phone.
-
Find quick answers to common questions about orders, shipping, returns, installation, and more in our FAQ section. For further assistance, feel free to reach out via live chat, email, or phone.
Product Details
Product Description

Enhanced Features include:
1. Thicker, more resistant material (rock chips, projected heat from headlight).
2. Repositionable Ultra-Clear® adhesive that will allow you to reposition this tint multiple times without risk of glue lines, finger prints, marring and other issues commonly found on headlight tints.
3. An improved vinyl formula developed in Canada to reduce the risk of shrinkage and peeling almost completely.
4. A higher gloss finish and reduction in orange-peel.
5. More scratch resistance.
SPECIFICATION:
- Features: VVIVID Air Release, Scratch Resistance, Protective Liner
- Type: Automotive, Architectural, Marketing Applications, Indoor & Outdoor
- Lifetime: 4-6 years (Based On Vertical Exposure)
- Finish: Clear Transparent Gloss
- Adhesive Type: Acrylic-Based, Repositionable Ultra-Clear® adhesive
- Thickness: 5 mils
- Roll Width: 5 feet (60 inches)
- Conformability: High
- Application Method: Dry
If you have any questions, or if you need assistance, please do not hesitate to contact our customer service department:
Toll Free: 1.866.258.6908
Application Guide
Headlight Tint Dry Application Guide
1. Prepare the Headlight Surface
- Clean Thoroughly: Begin by washing the headlight lenses with a mild, ammonia-free cleaner to remove dust, dirt, and oils. Avoid using products with ammonia, as they can interfere with the tint film.
- Use a Razor Blade or Scraper: Gently scrape the lens to remove any stubborn dirt, debris, or adhesive from previous applications.
- Dry Completely: Use a lint-free cloth or microfiber towel to ensure the surface is completely dry before proceeding.
2. Measure and Cut the Tint Film
- Measure the Headlight Lens: Measure the headlight to determine the size of the film needed. Cut the tint film slightly larger than the lens size, giving yourself extra material to work with.
- Pre-Cut for Complex Shapes: For headlights with unusual shapes or curves, consider pre-cut templates if available, or use a larger sheet to allow for precise trimming.
3. Prepare for Dry Application
- Ensure a Dust-Free Environment: Dry application is sensitive to dust, so work in a clean, indoor space to avoid any debris landing on the adhesive side of the film.
4. Apply the Tint to the Headlight
- Peel the Backing: Carefully peel off a small portion of the backing paper to expose the adhesive side of the tint film.
- Position the Film on the Lens: Start from one edge of the headlight, gently pressing the exposed adhesive side onto the lens. Align and adjust the film as needed.
- Gradually Remove Backing: Slowly peel away the backing as you work across the lens, pressing the tint film down as you go. This method reduces the chance of trapping air bubbles.
5. Stretch and Conform the Film (for Curved Headlights)
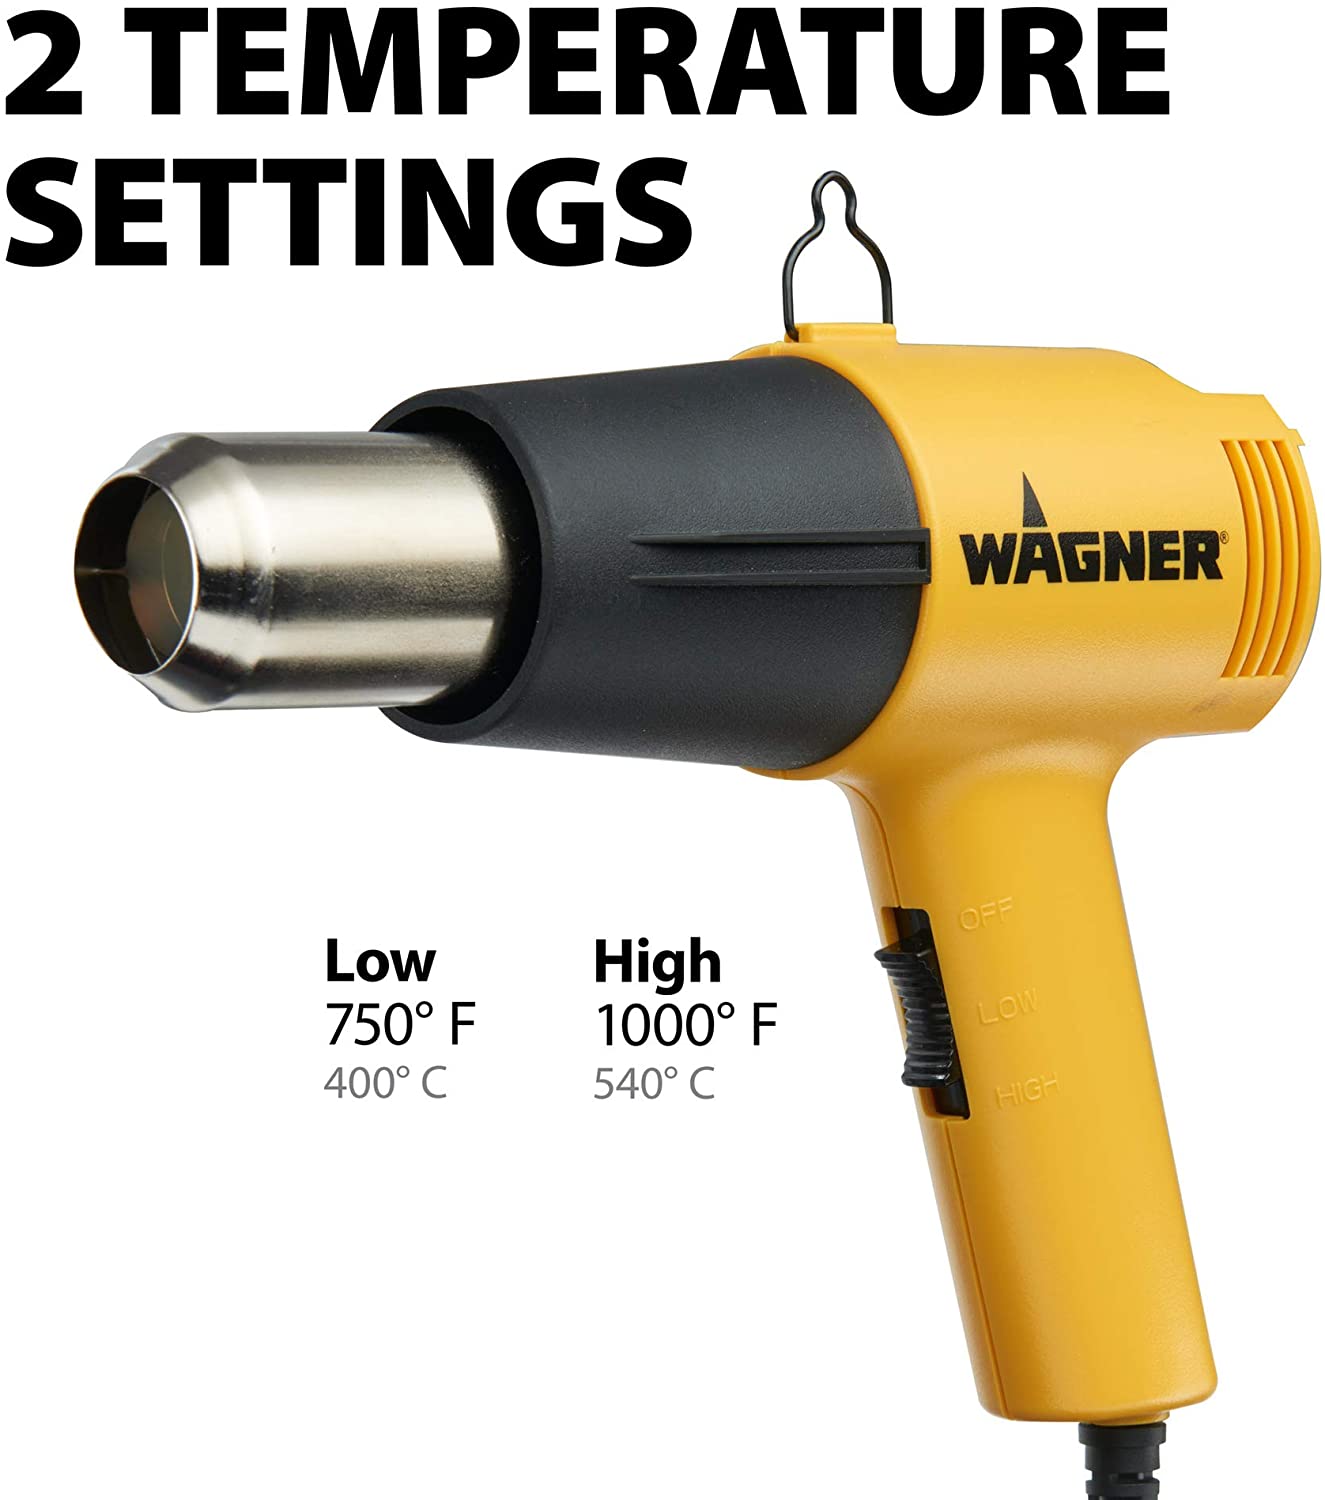
- Use a Heat Gun: If your headlights are curved, use a heat gun on low to medium heat to make the film more pliable. Hold the heat gun a few inches away and move it evenly across the film.
- Stretch Carefully: As the film softens, gently stretch it over the curves of the headlight. Be careful not to overstretch, as this can cause the film to warp or thin out.
6. Remove Air Bubbles and Smooth the Film
- Use a Squeegee: Starting from the center, use a soft squeegee to push out any trapped air bubbles or creases, working towards the edges.
- Lift and Reapply if Necessary: If bubbles or creases persist, gently lift the film, reapply, and smooth it out again for a flawless finish.
7. Trim Excess Tint
- Use a Sharp Utility Knife: Carefully trim the excess film along the edges of the headlight. Apply light pressure to avoid scratching the headlight lens.
- Seal the Edges: Press down along the edges to ensure they are securely sealed and prevent any peeling over time.
8. Final Inspection and Curing
- Check for Air Bubbles: Inspect for any remaining small air bubbles. If needed, use a pin to release trapped air and smooth the area.
- Allow Time to Cure: Avoid washing or exposing the headlights to water or extreme conditions for at least 24 hours to allow the adhesive to set fully.
Handy Tools and Supplies for Headlight Tint Application
1. Essential Tools
- Soft Squeegee: Ideal for smoothing out the tint film without scratching or damaging it.
- Utility Knife: A sharp blade is essential for trimming excess tint accurately. Ensure the knife is sharp to avoid jagged edges.
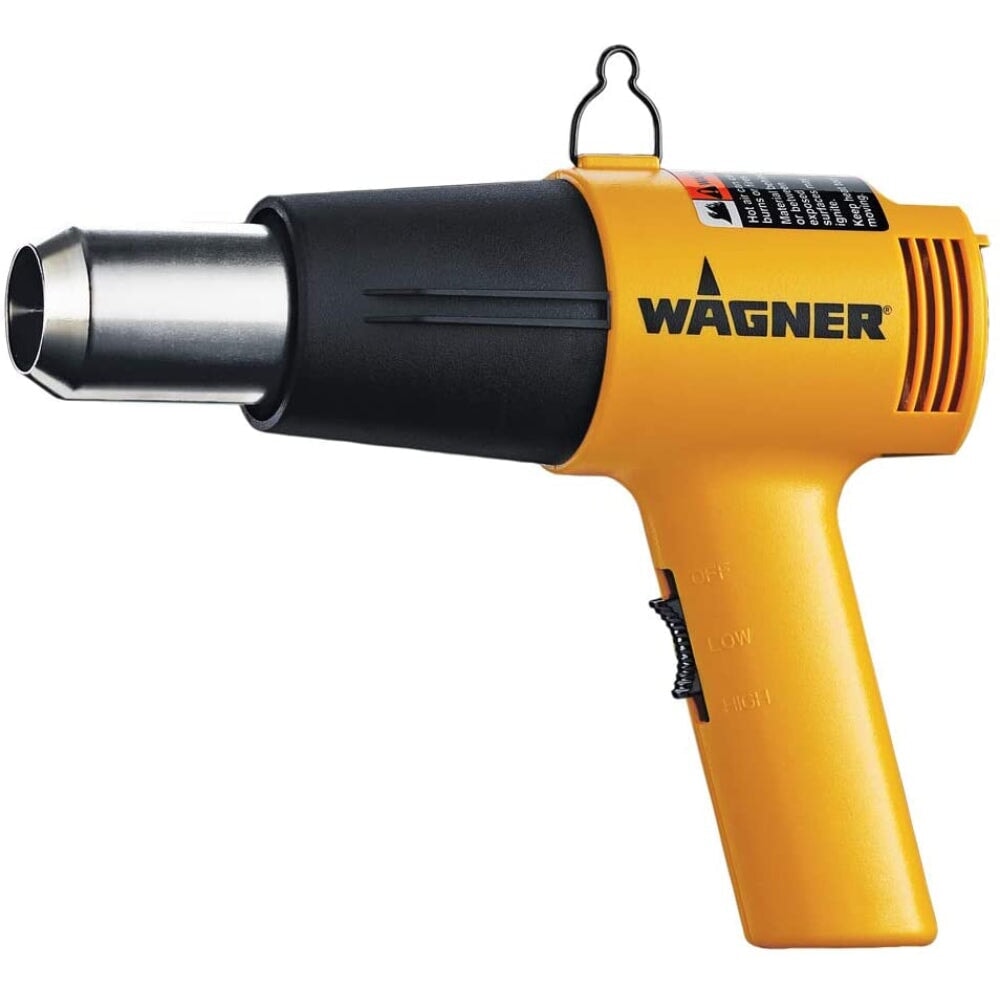
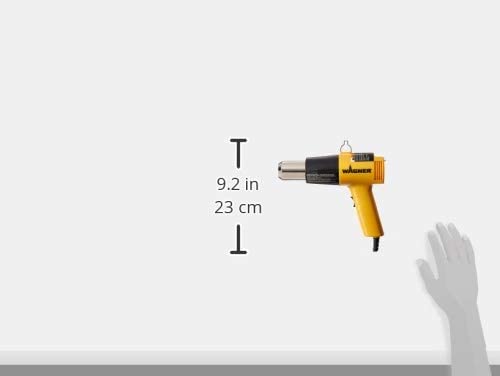
- Heat Gun: Helps soften the tint film, making it easier to conform to the shape of the headlight.
2. Cleaning and Preparation Supplies
- Ammonia-Free Cleaner: A gentle, ammonia-free cleaner ensures a clean lens without leaving any residues that might prevent proper adhesion.
- Lint-Free Cloths or Microfiber Towels: For wiping down the surface and ensuring a completely dry application area.
- Razor Blade or Scraper: A razor blade effectively removes stubborn dirt or residues without scratching the lens.
3. Tools for Removing Air Bubbles and Wrinkles
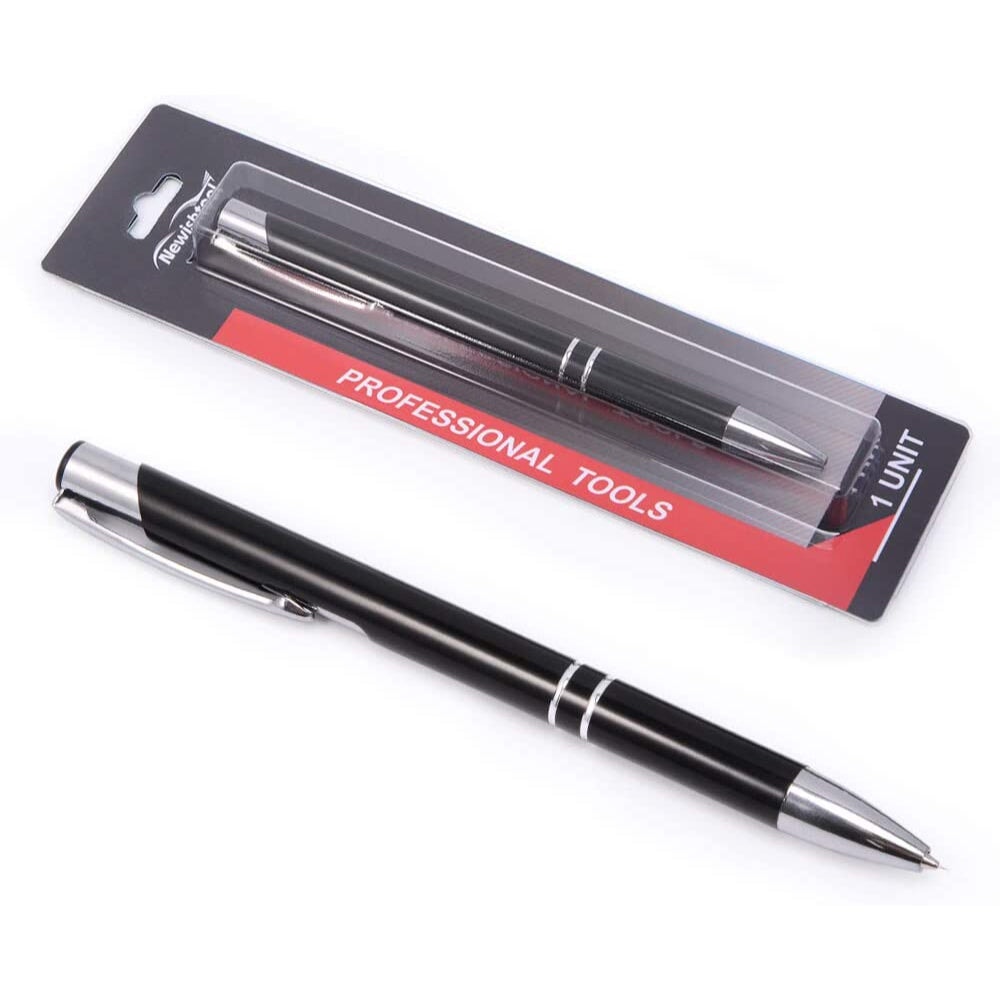
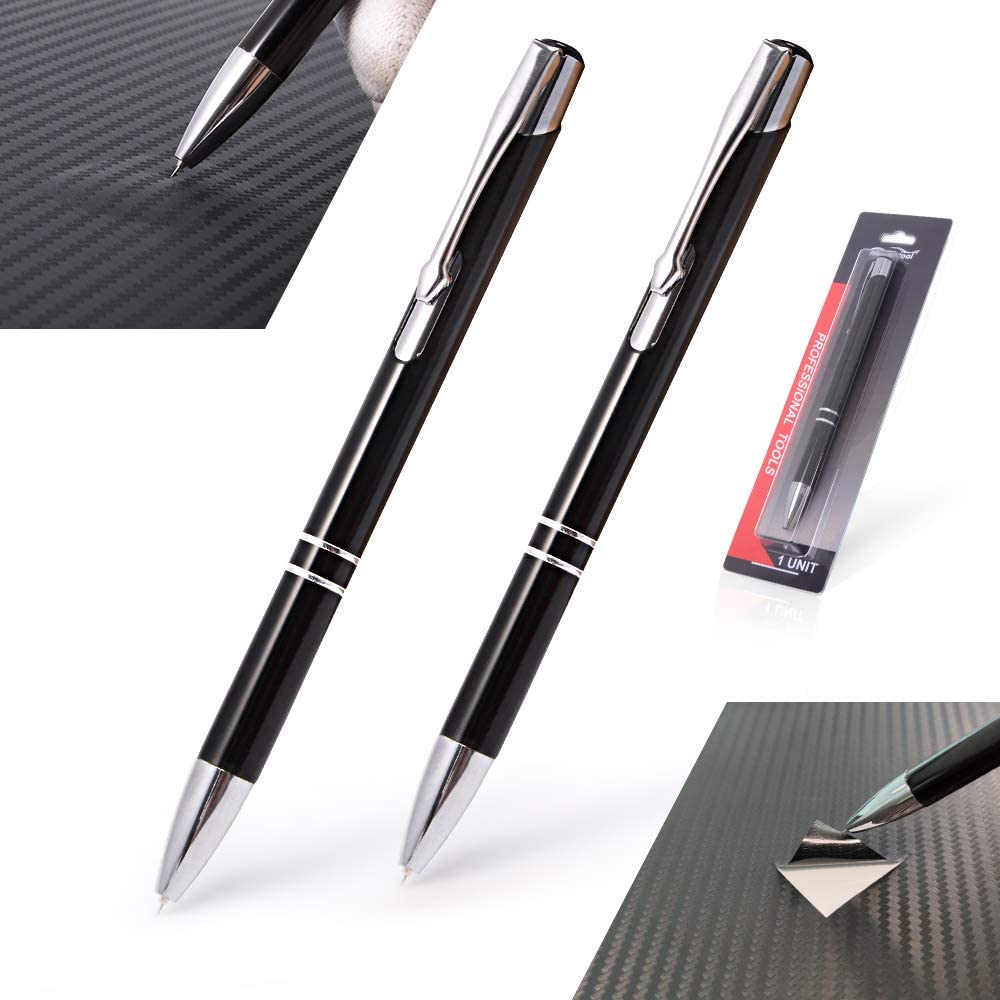
- Pin or Air Release Tool: For tiny air bubbles, use a pin to gently release trapped air without damaging the film.
- Heat Gun: Useful for heating and re-positioning the film on curved areas and ensuring a snug fit on complex shapes.
4. Application Helpers for Curved Lenses
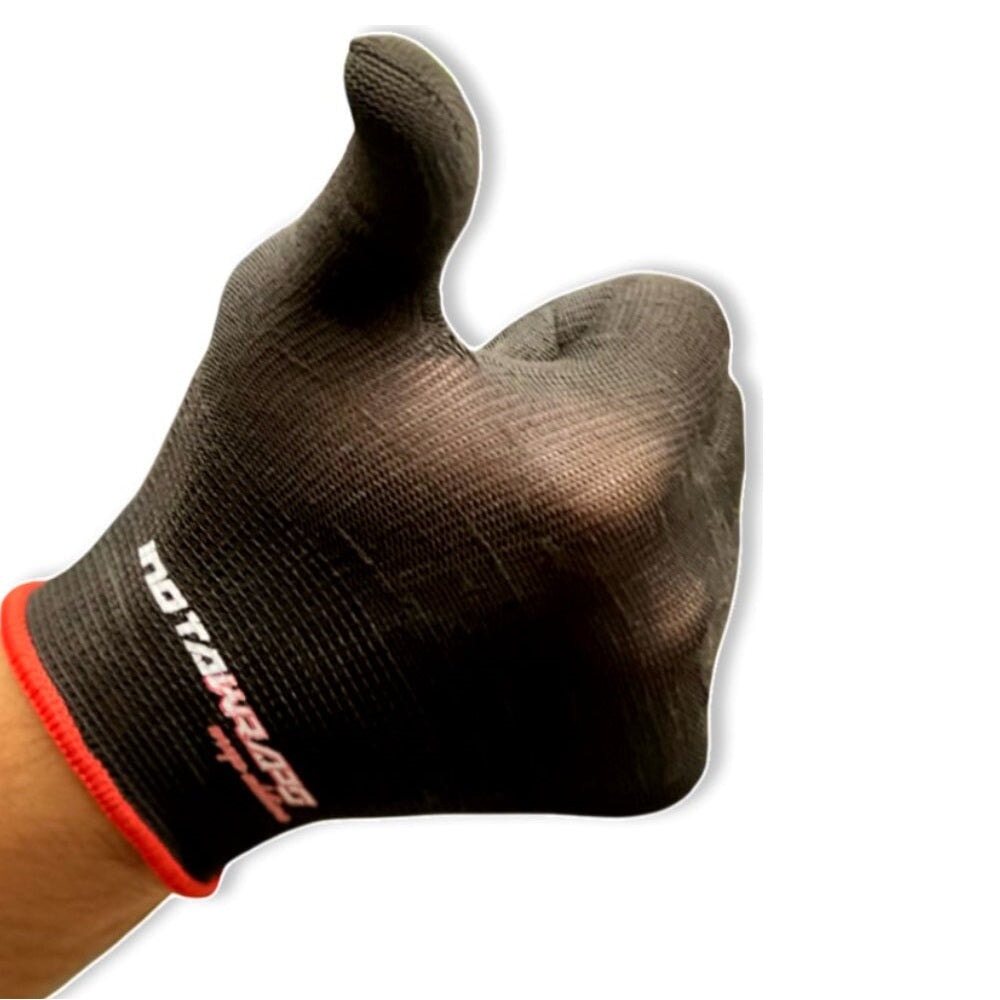
- Wrap Glove or Tint Glove: Protects the film from fingerprints and smudges while pressing it into place on the headlight.
- 3M™ Precision Line Knifeless Tape: If you want to create precise edges or patterns on the headlight tint, this tape allows for clean cuts without using a blade.
5. Post-Installation Tools
- Edge Seal Tape (Optional): For headlights exposed to harsh conditions, edge seal tape can reinforce the edges to prevent peeling.
- Tint-Safe Cleaner: A cleaner specifically designed for tinted surfaces can help maintain the tint film without causing damage.
Transparency is the Key
The product is showing out of stock. When will it be back in stock?
When a product is unavailable, it most likely means that it is in the production process. We will update our inventory as soon as we have it back in stock.
In the meantime, visit the product page on our website, select any out-of-stock size, and click the "Notify me" button to receive an alert with it's available again.
How many feet of material would I need to wrap my car?
Great question. Please use our special Size Chart to match the amount of material needed.
When will my order be fulfilled?
Instawraps aims to fulfill all orders on the same day they are received. Orders placed before 11:00 AM EST are typically shipped the same day. Orders placed after 11:00 AM EST may be shipped the next business day.
For customers in Ontario, Canada, we offer a same-day local delivery option. Orders placed between 10:00 AM and 3:00 PM EST are dispatched within 1 hour and are expected to arrive before 5:00 PM EST. Order placed outside these hours or on non-business days will be dispatched the next next business day after 10:00 AM EST. Express shipping options are also available at checkout, with express orders received before 11:00 AM EST generally shipped the same day.
Is there a cut-off time for same day curbside pickup orders?
Yes, the cut-off time for same-day curbside pickup orders is 11:00 AM EST. Orders placed before this time will typically be ready for pickup by the end of the day.
If an order is placed after 11:00 AM EST and same-day pickup is needed, customers can pay a $25 fee at checkout for expedited same-day pickup. Otherwise, orders placed after the cut-off time will likely be ready the next business day.
Please note, curbside pickup is only available at our Ontario location.
What payment methods do you accept?
We accept all major credit cards.
Canadian customers can also pay via E-transfer, and U.S. customers via Zelle.
Additionally, we offer a partial payment plan through Sezzle, which lets you split your purchase into four equal, interest-free payments. The first payment is due at checkout, with the remaining payments automatically deducted every two weeks.
How can I request to return an item?
Please send a message to an email >> support@instawraps.ca within 30 days of purchase. Or reply to the order confirmation, explain the reason for return request and provide all necessary info / photos, if applicable.