
 Wrap Vinyl | All Products
 Paint Protection Film
 Automotive Window Film
 Headlight Tint
 Print Films | All Products
 Tools, Supplies & Care | All Products
Long-term graphic protection
Provides long-term durability and protection for most graphic films.
Shop More, Save More! Join Reward Program
Exclusive Programs Rewards Local Connect Share & Earn Worry-Free Delivery Pay Over Time
🥇 Have photos of this product? Share and earn...
Enter your destination to see the shipping services currently available for the selected product and quantity.
Pairs well with
⚠️ Warning This product can expose you to chemicals including Vinyl Chloride, which is known to the State of California to cause cancer, and Toluene, which is known to the State of California to cause birth defects or other reproductive harm. For more information, please visit www.P65Warnings.ca.gov.
If you have any questions, you are always welcome to contact us. We'll get back to you as soon as possible, within an hour during business days and up-to 48 hours on weekends. See Policies
Fulfilment Information
Our inventory is updated in real time. If an item can be added to your cart, it is in stock. Orders ship within 1–3 business days, depending on the selected shipping method at checkout.
Pickup Information
Curbside pickup is available at our Vaughan, Ontario location. Orders placed before 11 AM on a business day are eligible for free same-day pickup after email confirmation. Orders placed after 11 AM require paid same-day pickup service or will be ready the next business day.
Customer Support
At Instawraps, we offer prompt and expert support for orders, products, installation, and more. Whether you need assistance with shipping, returns, or custom requests, our team is ready to help. Contact us anytime via live chat, email, or phone.
Find quick answers to common questions about orders, shipping, returns, installation, and more in our FAQ section. For further assistance, feel free to reach out via live chat, email, or phone.
Protect compatible graphic films and create an ultimate matte finish with 3M Scotchcal Matte Overlaminate 8915. This cast overlaminate provides long-term durability, guards against scuffs and offers strong glare reduction for digitally printed graphics.
Clear pressure-sensitive adhesive, kraft paper liner and permanent removability classification.
3M Scotchcal Matte Overlaminate 8915 provides long-term durability and protection for most graphic films.
The overlaminate provides the ultimate matte finish and offers the greatest glare reduction and long-term durability for most digitally printed graphics.
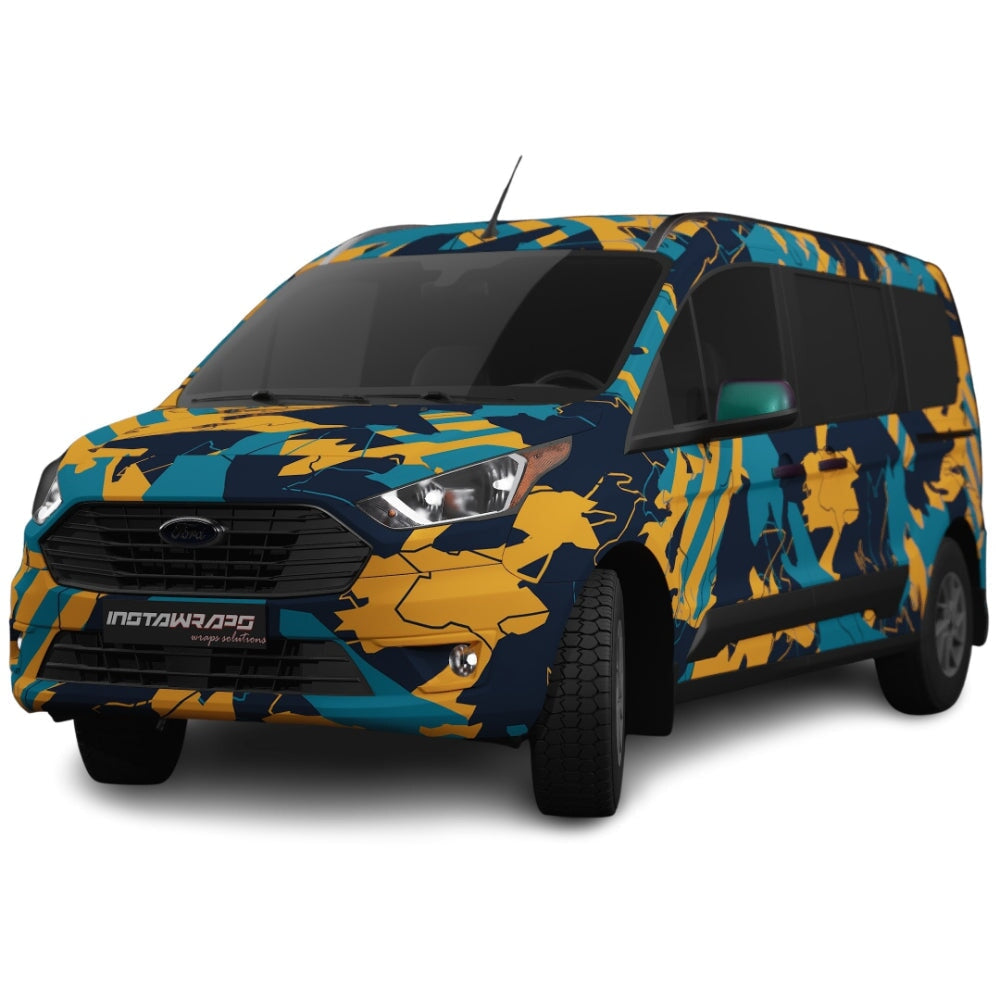
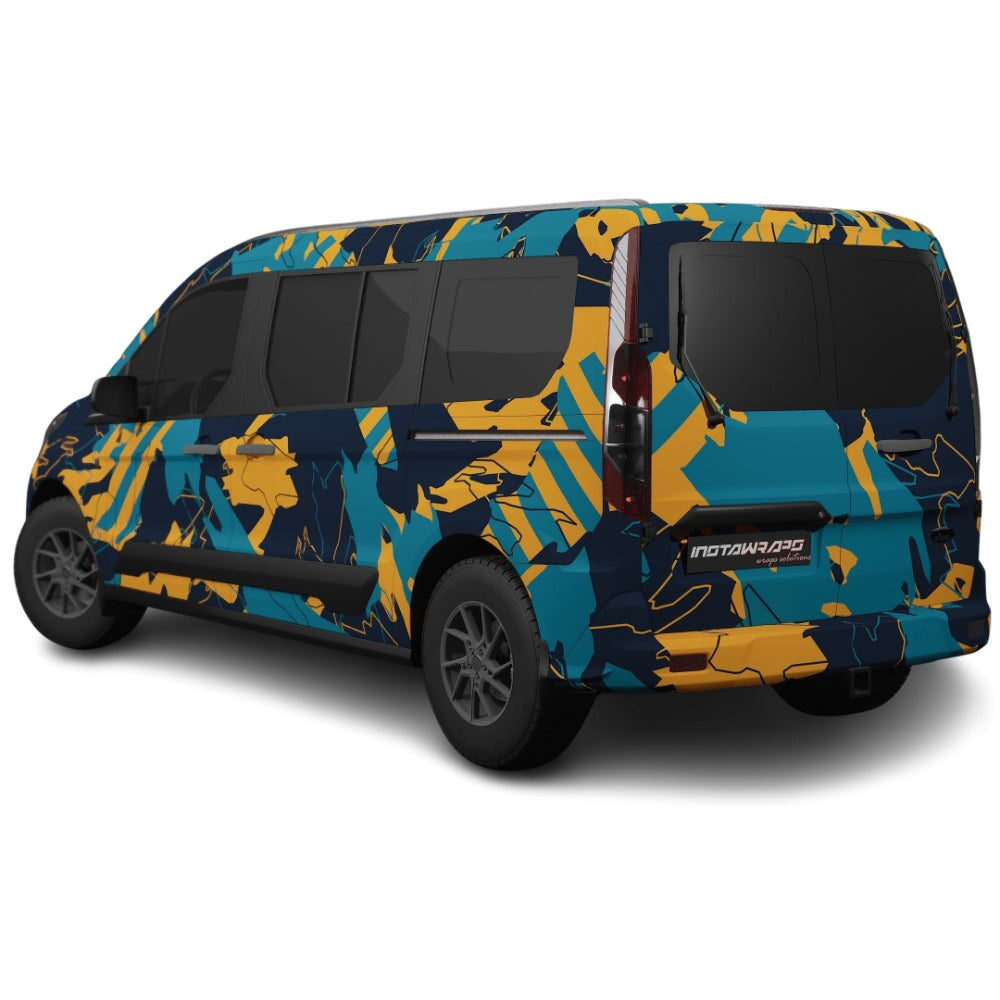
The film guards against scuffs and is cleanable. It can be used for wall graphics where glare reduction is important, unique vehicle wraps and the other graphic applications listed in the supplied product information.
Use 8915 with a compatible graphic film to create a protected matte graphic system.
Scotchcal 8915 is a cast overlaminate designed to protect compatible graphic films.
Provides long-term durability and protection for most graphic films.
Changes the appearance of the graphic beneath it to a matte finish.
Offers the greatest glare reduction described in the supplied product information.
Helps protect the completed graphic against scuffing.
The finished overlaminate is identified as cleanable in the supplied description.
Uses a 2 mil cast film construction for flat, curved, corrugated and riveted surfaces.
Use with a compatible graphic film:
The supplied description lists the following 3M print wrap films for use with Scotchcal 8915 Matte Overlaminate.
Our team can help with compatible film selection, product questions, sizing and order assistance. Choose the most convenient way to reach us.
*The supplied current description identifies 3M Scotchcal 8915 as a matte graphic overlaminate that provides long-term durability and protection for most graphic films. It is described as a 2 mil cast film with clear pressure-sensitive adhesive, kraft paper liner, permanent removability classification and 5-year durability. Listed application surfaces include compound curves, corrugated surfaces, flat surfaces, flat surfaces with rivets and simple curves. Listed applications include backlit signage, opaque signage, smooth wall graphics, vehicle wraps and watercraft graphics. 3M and Scotchcal are trademarks of 3M.
Current manufacturer documentation and the physical roll label govern.
Before any installation begins, it's essential to understand that our print films are raw media designed for custom printing. These films are not ready-to-install out of the box. They must go through a production process that involves two key steps:
Each film must be printed using a compatible wide-format printer with eco-solvent, latex, or UV inks, depending on the film type. This allows you to apply custom designs, branding, or imagery tailored to your project.
After printing, the film must be laminated using a matching overlaminate. This step is critical—it protects the print from UV rays, scratches, and environmental wear, ensuring long-term durability and a professional finish.
Only once the film has been printed and laminated is it ready for installation onto the vehicle or surface..
Using the right tools and techniques ensures a smooth, professional vinyl wrap application. Knifeless tape, squeegees, heat guns, and proper surface preparation are key to achieving the best results.
When a product is unavailable, it most likely means that it is in the production process. We will update our inventory as soon as we have it back in stock.
In the meantime, visit the product page on our website, select any out-of-stock size, and click the "Notify me" button to receive an alert with it's available again.
Great question. Please use our special Size Chart to match the amount of material needed.
Instawraps aims to fulfill all orders on the same day they are received. Orders placed before 11:00 AM EST are typically shipped the same day. Orders placed after 11:00 AM EST may be shipped the next business day.
For customers in Ontario, Canada, we offer a same-day local delivery option. Orders placed between 10:00 AM and 3:00 PM EST are dispatched within 1 hour and are expected to arrive before 5:00 PM EST. Order placed outside these hours or on non-business days will be dispatched the next next business day after 10:00 AM EST. Express shipping options are also available at checkout, with express orders received before 11:00 AM EST generally shipped the same day.
Yes, the cut-off time for same-day curbside pickup orders is 11:00 AM EST. Orders placed before this time will typically be ready for pickup by the end of the day.
If an order is placed after 11:00 AM EST and same-day pickup is needed, customers can pay a $25 fee at checkout for expedited same-day pickup. Otherwise, orders placed after the cut-off time will likely be ready the next business day.
Please note, curbside pickup is only available at our Ontario location.
We accept all major credit cards.
Canadian customers can also pay via E-transfer, and U.S. customers via Zelle.
Additionally, we offer a partial payment plan through Sezzle, which lets you split your purchase into four equal, interest-free payments. The first payment is due at checkout, with the remaining payments automatically deducted every two weeks.
Please send a message to an email >> support@instawraps.ca within 30 days of purchase. Or reply to the order confirmation, explain the reason for return request and provide all necessary info / photos, if applicable.