Cut-off time for Pickup Orders is 11:00AM EST

Why 1,000,000+ Customers trust Instawraps

10/10 quality + look

Wrapped two bikes in this yellow and never once regretted it.
Charles D

Great Product

Received quickly and in good condition. product is easy to...
Roman T.

Love the color

Reasonable shipping time. Product nicely packaged...
Cody D.

Prompt service

I received my parcel in a timely manner.
Mark R.

Amazing service, top notch products

Quick, and reliable service...
Kim Lefebvre

Product Details

Product Description
Instawraps Exclusive 1-on-1 Service Custom Artwork Production-Ready

Custom Design Service

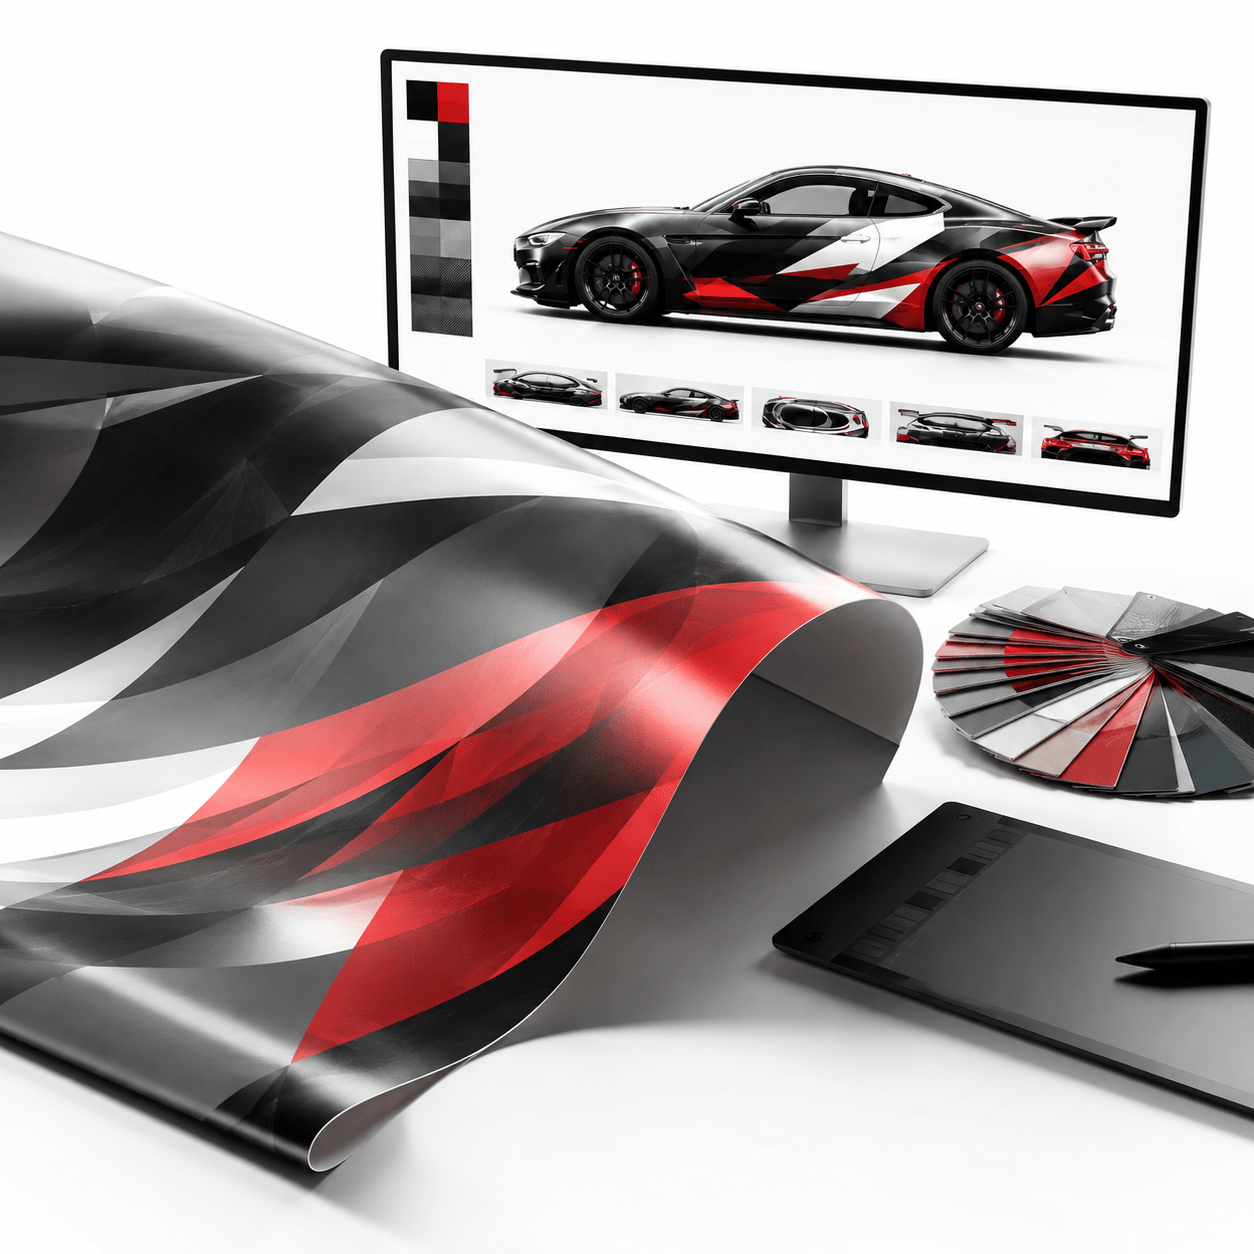
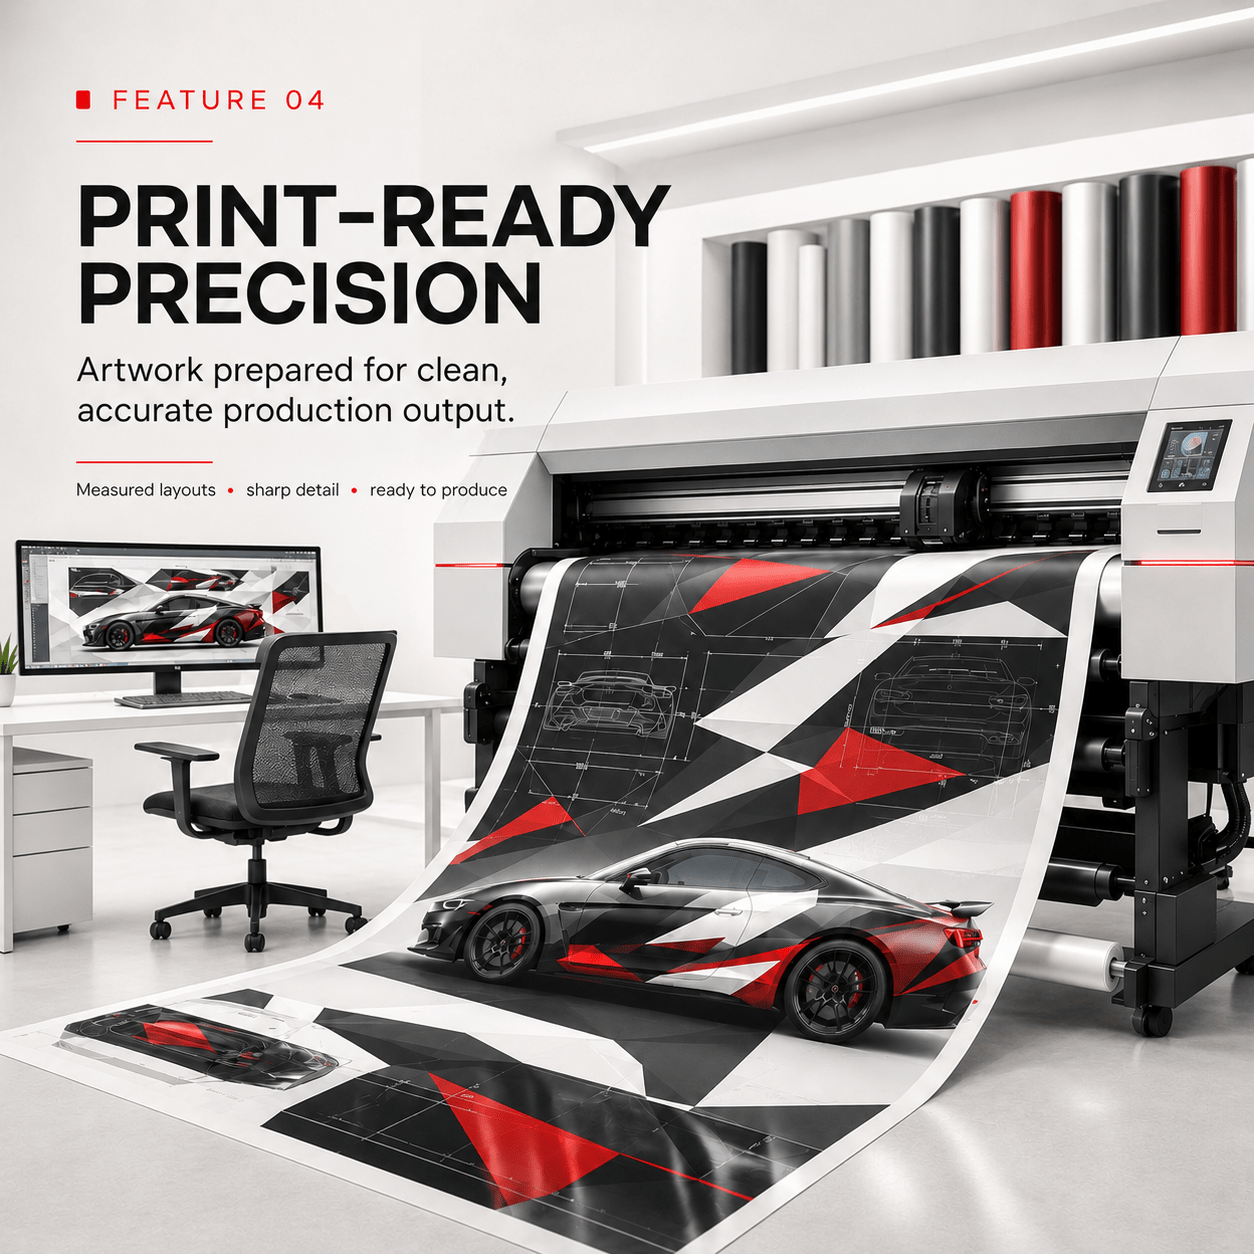
Turn an idea, brand, or rough concept into a professionally prepared custom wrap design. Work directly with an Instawraps design specialist to shape the creative direction, refine the layout, size the artwork for the intended vehicle or surface, and prepare the approved concept for printing and lamination.

One-on-one collaboration Original custom concepts Project-specific sizing Print-ready preparation
Your project, professionally developed
01
Design Consult, create, revise, and approve.
02
Print Prepare and produce the approved artwork.
03
Laminate Finish in gloss, satin, or matte.

Installation is not included. The completed design or printed material is prepared for installation by the customer or a qualified installer.

Collaboration 1-on-1 Design Support
Creative scope Original Custom Concepts
Preparation Project-Specific Sizing
Deliverable Print-Ready Artwork
Media options 3M or Avery Dennison
Finish options Gloss, Satin, or Matte
Built around you

From the first idea to production-ready artwork

Instawraps Custom Design Service is for customers who want more than a generic template. Whether you are starting with a sketch, a logo, a collection of inspiration images, or a fully formed creative direction, our team helps turn your ideas into a coordinated design made for the intended project.

The process is collaborative. A dedicated designer works with your goals, measurements, preferred style, brand assets, colours, text, and project requirements. Feedback is used to refine the selected concept, with the available number of revisions determined by the chosen design plan.

Once the design is approved, the artwork can be prepared for production using professional print profiles, premium 3M or Avery Dennison media, and a gloss, satin, or matte protective laminate. The result is a carefully prepared design or finished printed wrap material ready for professional installation.

Creative direction

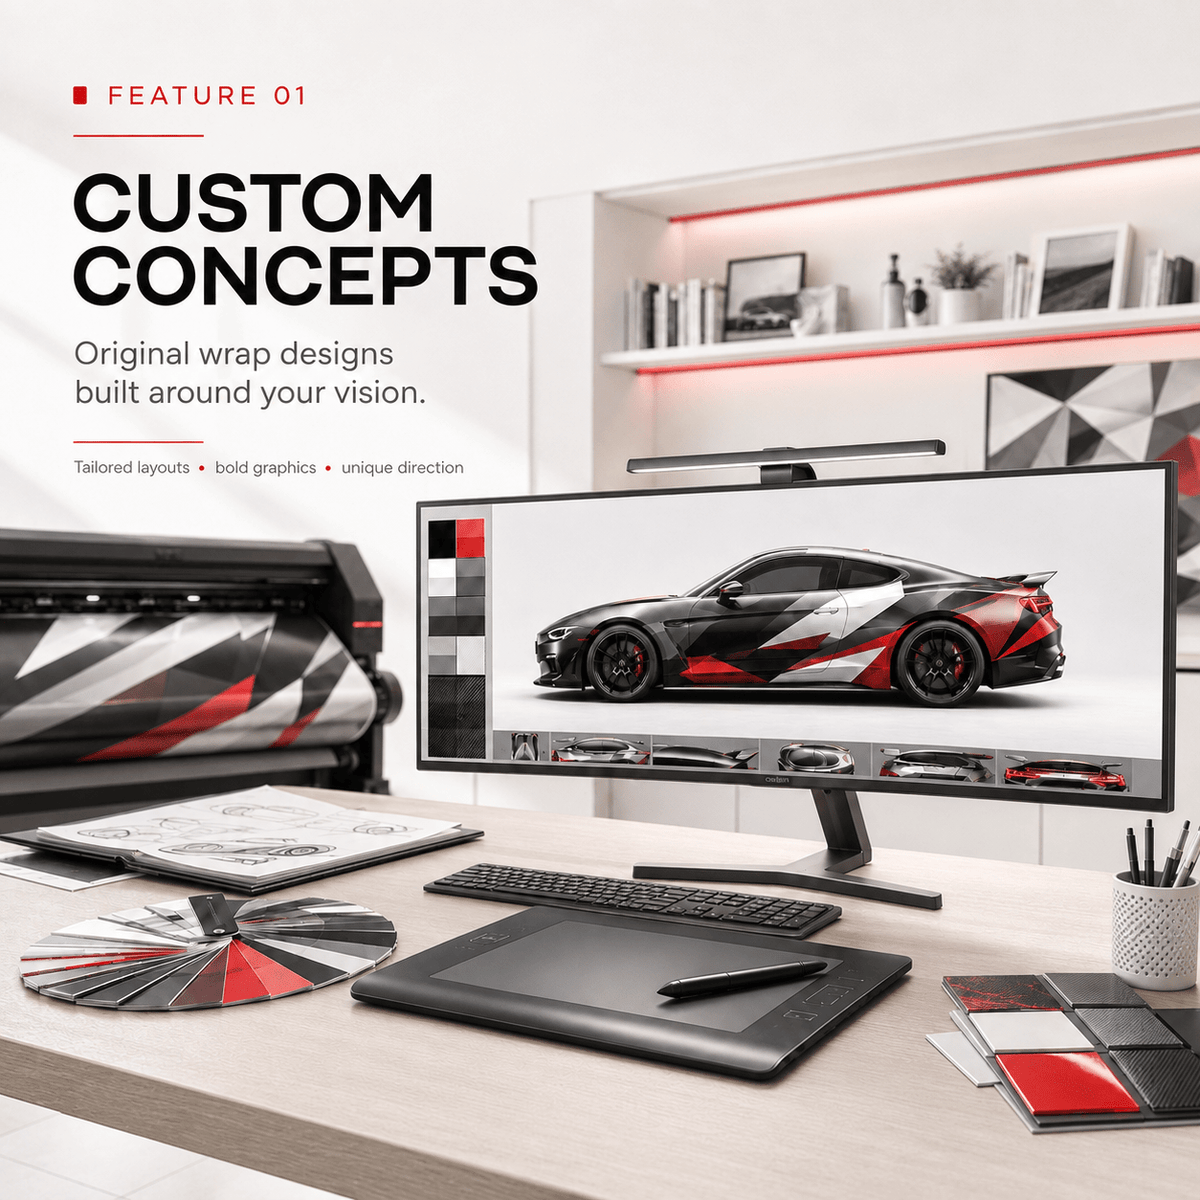
Bold or minimal, branded or personal, every concept is shaped around the look you want to achieve.

Clean commercial branding, aggressive automotive graphics, subtle accent packages, detailed fleet systems, storefront visuals, and interior applications can all require a different design approach. The service is structured to make those choices clear before production begins.

Creative and production support

Professional guidance at every stage of the project

Good wrap design is more than placing a logo on a template. It requires clear visual hierarchy, suitable scale, thoughtful panel planning, readable messaging, and production preparation that respects the shape and purpose of the final application.

01

One-on-one consultation

Work directly with a designer who listens to your goals, reviews the project, and helps establish a clear creative direction.

02

Original concept development

Your design is developed around your brand, ideas, preferred style, measurements, content, and intended use.

03

Project-specific sizing

Artwork is adjusted for the provided vehicle, surface, or project dimensions to support accurate production planning.

04

Feedback-based revisions

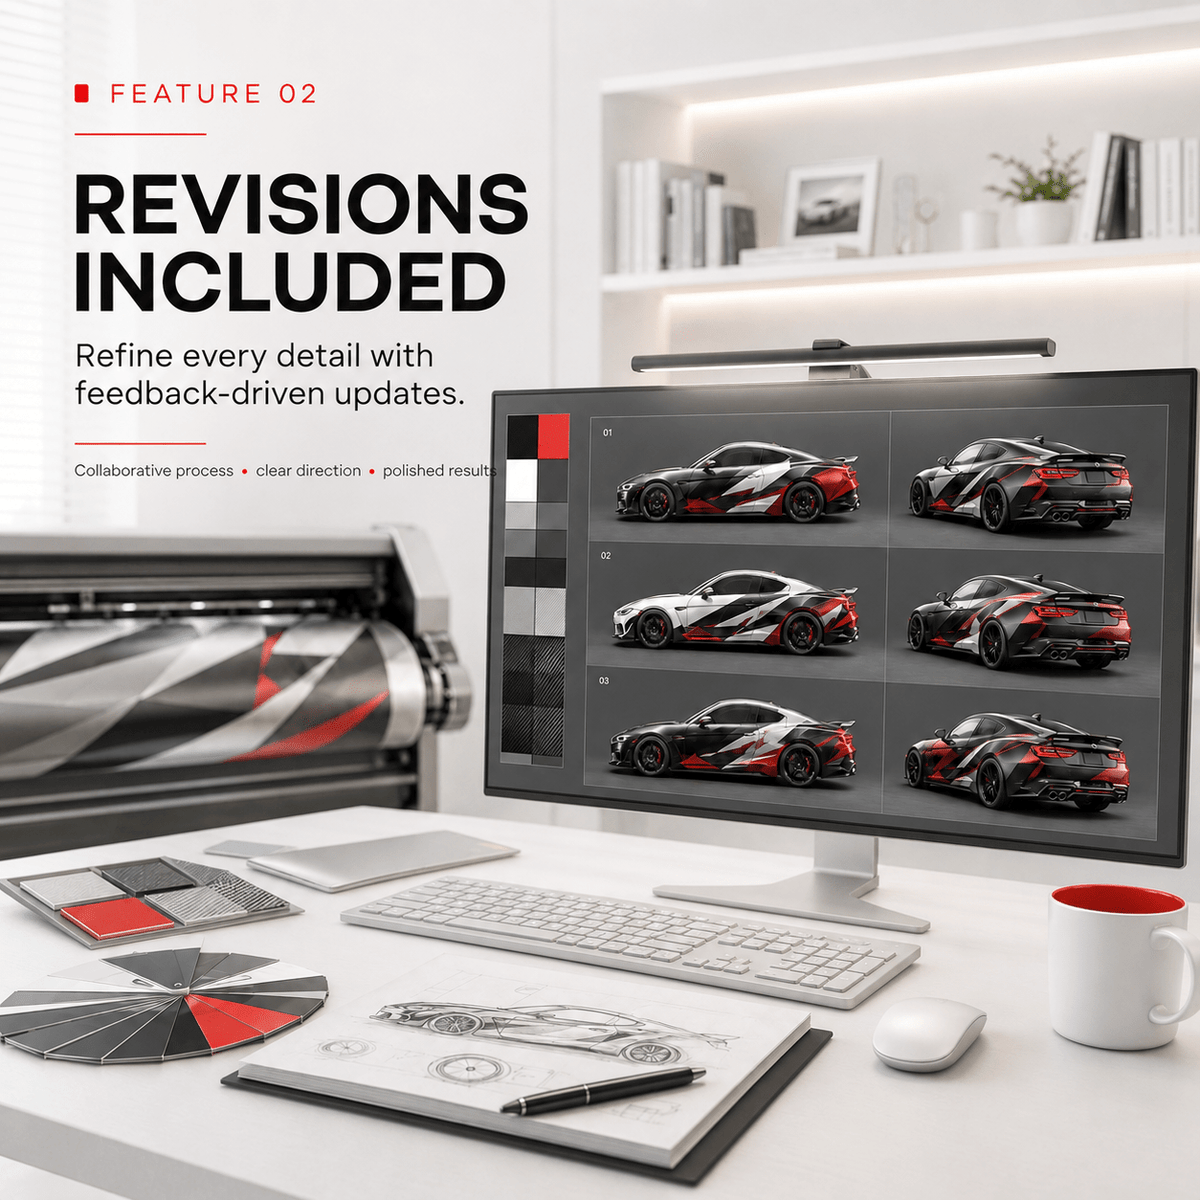
Refine the chosen concept through plan-specific revisions covering layout, text, colour, and sizing adjustments.

05

Material and finish guidance

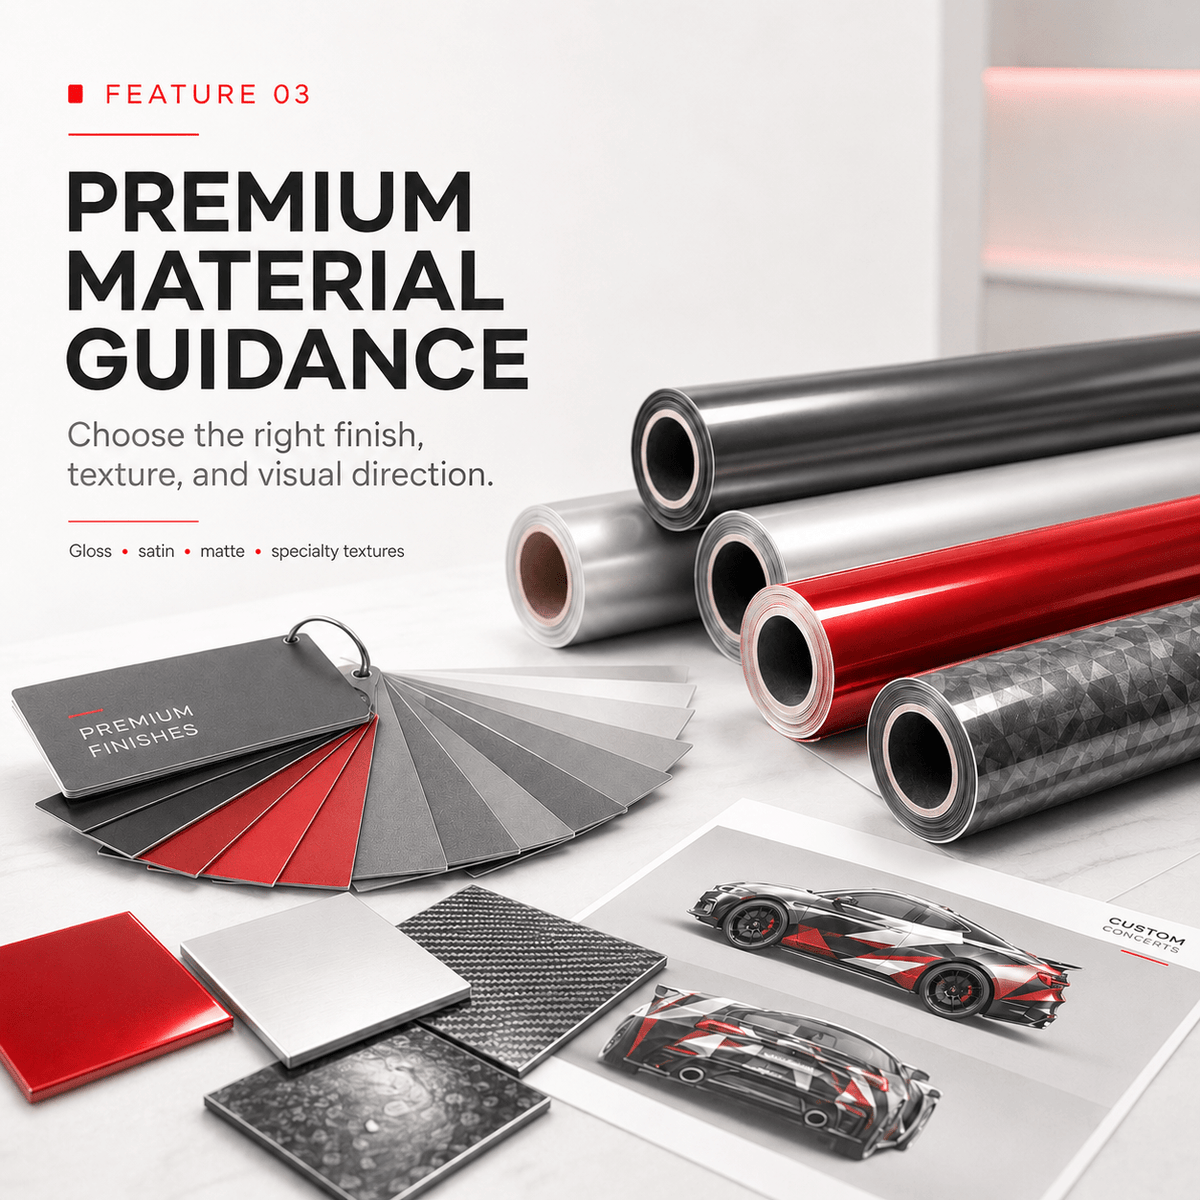
Select premium print media and choose gloss, satin, or matte lamination based on the intended visual result.

06

Production-ready preparation

Approved artwork is reviewed, organized, and prepared for printing, lamination, cutting, delivery, or installer handoff.

Designed for more than vehicles

Custom artwork for automotive, commercial, retail, and interior projects

Vehicles & Personal Projects Full or partial vehicle-wrap concepts, accents, graphics, and custom visual treatments.
Commercial & Fleet Branding Cars, vans, trucks, trailers, and coordinated business graphics designed for clear brand visibility.
Storefronts & Windows Promotional graphics, branded windows, exterior visual systems, and retail-facing design applications.
Walls, Cabinets & Interiors Custom graphics for compatible walls, furniture, cabinets, displays, and other interior surfaces.

Accurate project information is essential before the artwork is finalized.

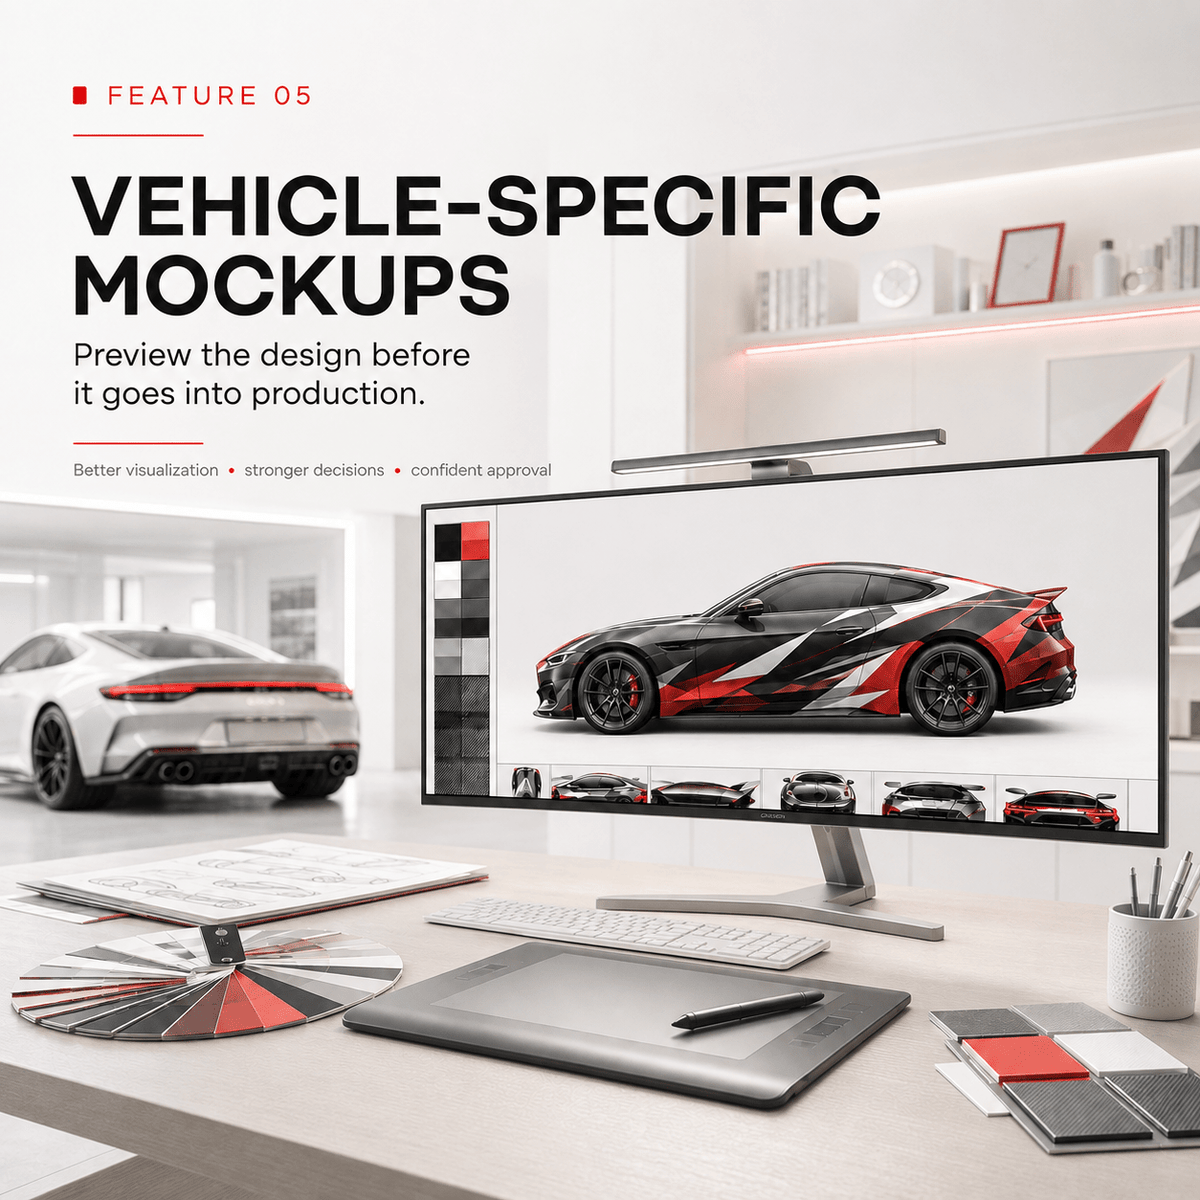
Vehicle year, make, model, body style, measurements, photographs, and surface details must be confirmed by the customer. Templates and mockups are visual planning tools and do not replace physical measurement, test fitting, or installer review.

Service information

What to expect before design, approval, and production

What the Custom Design Service includes
Service type:Collaborative custom graphic and wrap design
Consultation:One-on-one support with a design specialist
Creative direction:Developed around your brand, style, goals, and project
Design scope:Simple graphics through advanced branded layouts, based on plan
Sizing:Prepared using supplied project details and measurements
Revisions:Plan-specific revisions to the selected concept
Mockups:Available where included in the selected plan
Final approval:Required before printing or production begins
Print media:Premium 3M or Avery Dennison options
Laminate finishes:Gloss, satin, or matte
Final artwork:Print-ready file included according to the selected plan
Source files:Included with Premium or available separately where offered
Printing:Available after artwork approval and production review
Installation:Not included
What to provide before your consultation
  • Explain the project goal. Describe what is being wrapped, the intended audience, the message, and the result you want the design to achieve.
  • Provide accurate project details. Include the vehicle year, make, model, body style, surface type, dimensions, and any relevant production limitations.
  • Send clear reference photographs. Provide straight, well-lit images of all sides or surfaces that will be included in the design.
  • Share logos and brand assets. Vector files such as AI, EPS, PDF, or SVG are preferred whenever available.
  • Use high-resolution images. PNG or JPG files should be supplied at the highest available quality. Low-resolution images may not reproduce cleanly at wrap scale.
  • Include fonts or outline the text. This helps preserve the intended typography when files are opened and prepared for production.
  • List required wording. Confirm business names, services, phone numbers, websites, social handles, legal text, and any mandatory information.
  • Share your visual direction. Include preferred colours, styles, inspiration images, examples you like, and anything you want the designer to avoid.
  • Identify critical colours. Provide Pantone references or a physical sample when a specific brand or paint colour must be matched as closely as possible.
Design, printing, and lamination workflow
  • Consultation and discovery: The designer reviews your goals, assets, measurements, preferred style, and project requirements.
  • Concept development: A custom direction is created around the supplied brief and the scope of the selected plan.
  • Review and revisions: Feedback is applied to the selected concept. Adjustments may include layout, text, colour, and sizing.
  • Customer approval: The final proof must be reviewed carefully and approved before production begins.
  • Prepress review: Artwork, scale, content, and production setup are checked before the file is released for printing.
  • Professional printing: The approved design is produced using the selected premium print media and appropriate production profile.
  • Protective lamination: The selected gloss, satin, or matte laminate is applied after the printed vinyl is inspected.
  • Final preparation: The completed material is checked and prepared for cutting, delivery, customer pickup, or installer handoff.
Approvals, revisions, colour, files, and important terms
  • Revision allowances depend on the selected plan. Revisions generally cover changes to layout, text, colour, and sizing within the chosen concept.
  • New concepts are not standard revisions. A major creative change, new direction, or complete redesign may require an upgraded plan or additional design fees.
  • Proof approval is final authorization. Check spelling, phone numbers, URLs, colours, placement, scale, content, and project details before approving production.
  • Screen colour is not a production guarantee. Displays vary, and printed colour can change with media, ink, laminate, lighting, and surrounding colours.
  • Critical colour matches require testing. A printed swatch may be recommended for approval before full production when brand or paint colour accuracy is essential.
  • Customer-supplied content must be authorized. The customer is responsible for having permission to use all logos, photographs, fonts, artwork, trademarks, and other supplied materials.
  • Low-quality assets can limit the result. Some files may need replacement, recreation, simplification, or additional preparation before they are suitable for large-format printing.
  • Measurements must be verified. The customer and installer remain responsible for confirming final dimensions, surface condition, fit, overlap, bleed, and installation requirements.
  • Turnaround depends on project readiness. Timing can change based on complexity, response time, revision count, asset quality, approval, media availability, and production requirements.
  • Installation is not part of this service. Arrange installation separately with a qualified wrap installer and provide the installer with the approved project information.

Start with a clear brief, even when the idea is still rough

Gather your project details, measurements, photographs, logos, wording, preferred colours, and inspiration before the consultation. You do not need to arrive with a finished concept. The purpose of the service is to help turn those materials into a focused design that can be reviewed, refined, and prepared for production.

Idea to print-ready artwork
Instawraps design support

Ready to discuss your custom wrap or graphic project?

Our team can help you choose the right design plan, prepare for your consultation, review file requirements, discuss print media and finishes, and answer general production questions.

Custom Design Service scope, revision allowance, consultation time, mockups, source-file access, production deliverables, and pricing depend on the selected plan and approved project requirements. Colour shown on a screen is not a reliable match to printed vinyl. Customer approval is required before production. The customer is responsible for the accuracy of supplied information, measurements, spelling, contact details, authorized artwork, and final proof approval. Printing, lamination, shipping, taxes, special file preparation, new concepts, major redesigns, colour tests, and other production services may be priced separately where not included. Installation is not included.

The accepted quotation, selected design plan, approved proof, production order, and Instawraps policies govern the final project scope.

3M Print Film Features

3M™ Print Wrap IJ180mCv3-10 Film


3M™ Controltac™ Graphic Film with Comply™ v3 Adhesive IJ180Cv3 is a versatile, conformable 2 mil film with slideable, repositionable, and medium/higher tack. It features Comply™ v3 Adhesive for fast, easy, and bubble-free installation. Use this long term, removable, inkjet printable film for signs, fleet graphics, full vehicle wraps, and watercraft.

Key Features:

Ideal for vehicle wraps and fleet graphics including corrugations and rivets. Smooth or lightly textured wall graphics

Features Comply™ Cv3 air release system for fast, easy, and bubble-free installation

Conformable film for ease of wrapping complex curves and contours

Slideable, repositionable graphic film with medium/higher tack

Turbocharge your performance with a wrap film that installs faster and looks even better. Ideal film for wraps with superior slideability, low initial tack, and an excellent liner release. Perfect choice for Fleet Graphics, Labels, Opaque Signage, Smooth Wall Graphics, Transit Graphics, Vehicle Wraps, Watercraft Graphics and Window Graphics.

SPECIFICATIONS:

Adhesive Color: Gray

Adhesive Features: Air-Release, Comply™ v3, Controltac™, Repositionable, Slideable

Adhesive Type: Pressure-Activated

Color: White

Durability: 7 yr

Film Type: Cast, Opaque

Liner Type: Polyethylene-coated Paper

Print Compatibility: Eco-Solvent, Latex, Solvent, UV Curable

Removability: Removable

Series: IJ180, Print Wrap

Thickness: 2 mil


RESOURCES:

Bulletins

3M™ Controltac™ Graphic Film IJ180/ IJ180C/IJ180Cv3 Product Bulletin

Bulletin listing 3M solutions for interior and exterior floor and sidewalk graphics projects

Data Sheets

Product Article Letter IJ180Cv3-10

Flammability Test Report IJ180Cv3-10

Product Selection Guides

CSD Graphic Materials Catalog low-res version

Application Guide

Graphics Vinyl Wrap Application Guide

1. Prepare the Surface

  • Clean Thoroughly: Start with a clean surface. Use a mild soap or an automotive-grade cleaner to remove any dirt, wax, or grease from the area you’re wrapping.
  • Degrease: Once cleaned, some installers may use an isopropyl alcohol solution to remove any remaining oils or residues. Let the surface dry completely.
  • Check for Imperfections: Look for scratches, dents, or bumps. Vinyl conforms best to smooth surfaces, so fill or sand any imperfections for optimal results.
  • Avoid Dust & Static: For printed graphics, ensure the surface is free of dust and static to prevent contamination.
  • Check for Curling Edges: If using laminated graphics, inspect for any curling before application.

2. Measure and Align the Graphics

  • Measure Carefully: Measure the area you're wrapping and add a few extra inches on each side for adjustments.
  • Align the Graphics: If the graphic has a specific orientation, use reference points or masking tape guides to ensure proper alignment before peeling the backing paper.
  • Pre-Cut When Necessary: Trim the vinyl slightly larger than needed. Trimming is easier than stretching.
  • Consider Multi-Panel Graphics: For multi-panel designs, align from the center outward, ensuring perfect panel alignment.

3. Apply the Vinyl

  • Peel and Stick: Start by peeling back a portion of the backing paper to expose the adhesive. Stick one edge of the vinyl to the surface.
  • Use a Squeegee: Slowly apply the vinyl in sections, smoothing out air bubbles or wrinkles as you go.
  • Work in Small Sections: Only peel back as much as you can handle at a time to avoid premature adhesion.
  • Consider the Wet Application Method: If necessary, use a fine mist of water with a drop of dish soap to allow repositioning.

4. Heat and Stretch (For Curved Surfaces & Overlapping Panels)

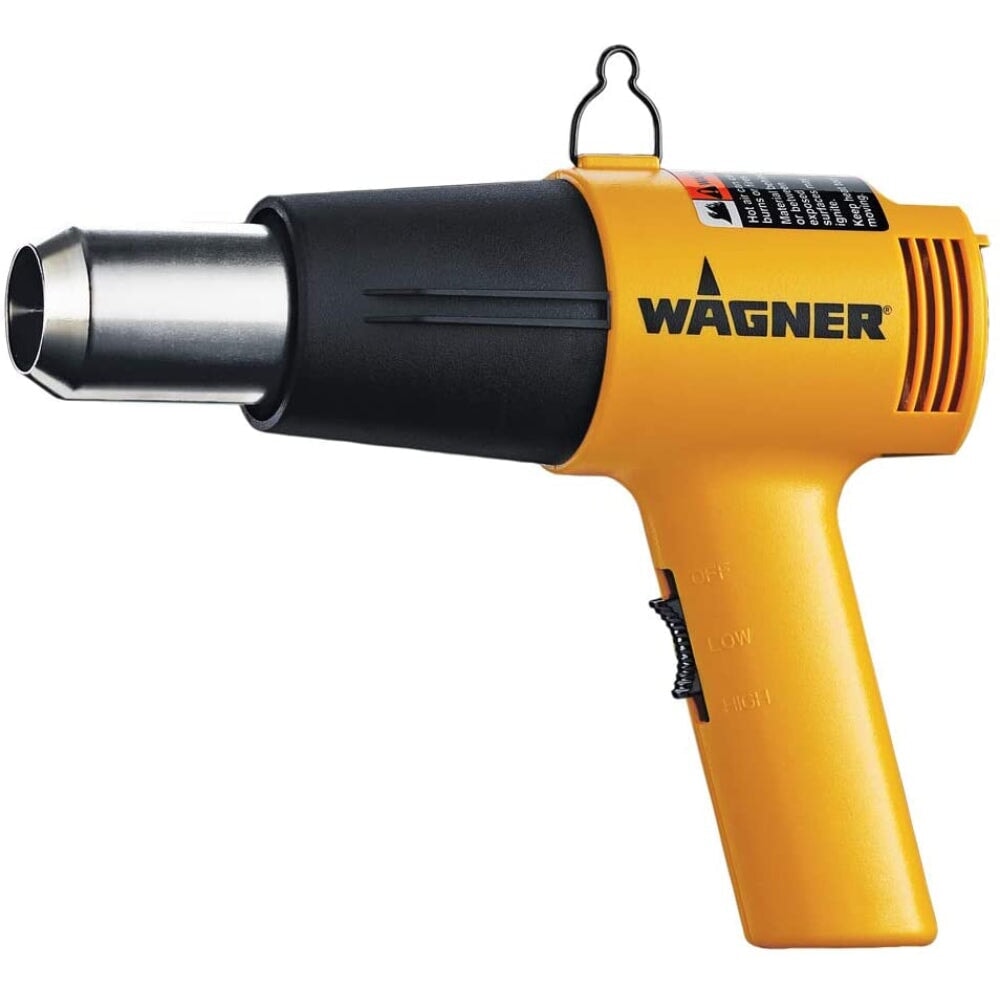
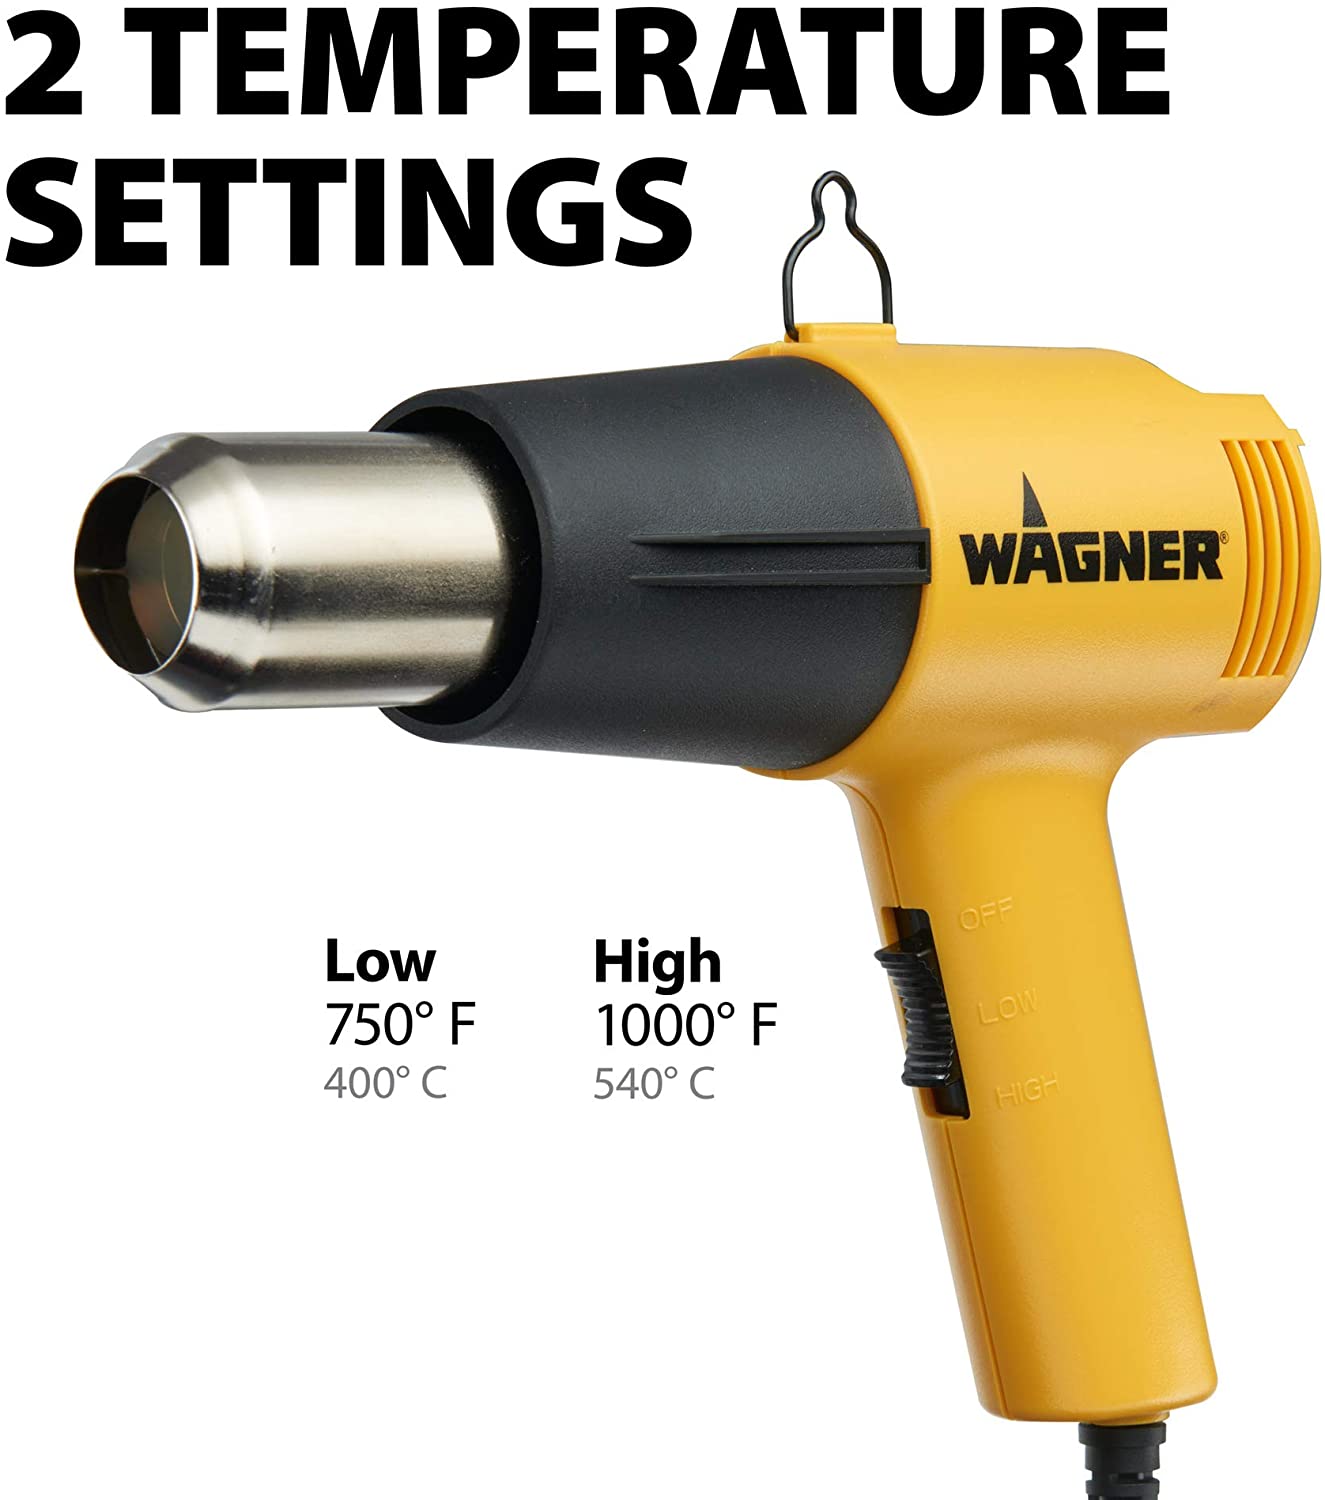
  • Use Controlled Heat: For curved or irregular surfaces, use a heat gun on low to medium heat to make the vinyl more pliable.
  • Stretch with Caution: Gently stretch the vinyl over curves while applying pressure. Avoid overstretching to prevent warping.
  • Prevent Ink Distortion: Avoid excessive heat on printed graphics to maintain color integrity.
  • Overlap Panels Correctly: For tiled graphics, ensure a slight overlap between panels to prevent visible seams.

5. Trim Excess Vinyl & Overlapping Panels

  • Careful Trimming: Use a sharp utility knife to trim excess vinyl, pressing lightly to avoid cutting the surface beneath.
  • Double-Cutting for Seamless Panels: When trimming overlapping graphics, use Knifeless Tape to create precise, seamless joins.
  • Trim for Window Graphics: For perforated or window graphics, carefully trim edges to avoid damaging the design.
  • Seal the Edges: Press down firmly along the edges for a clean, long-lasting seal. Tuck edges into seams where possible.

6. Post-Heating & Adhesion (Important for Laminated Graphics)

  • Heat Set if Needed: Once applied, use a heat gun to post-heat the vinyl, ensuring proper adhesion, especially on curves and edges.
  • Monitor Temperature: The ideal post-heating temperature is 200-250°F (93-121°C), but always check the vinyl manufacturer’s recommendations.
  • Avoid Excessive Heat on Laminates: Overheating laminated graphics can cause curling or lifting at the edges.
  • Secure High-Stress Areas: Use edge seal tape on corners and seams to prevent premature peeling.

7. Final Inspection & Finishing Touches

  • Check for Air Bubbles: If small bubbles appear, prick with a pin and smooth with a squeegee.
  • Inspect Alignment: Ensure all graphic elements are aligned correctly and free from misplacement.
  • Allow to Set: Avoid washing or exposing the wrap to harsh conditions for 24-48 hours to let the adhesive bond completely.
  • Extended Cure Time for Printed Graphics: For best results, avoid high-pressure washing for at least 72 hours.

Handy Tools & Supplies for Graphics Vinyl Wrap Application

1. Essential Tools

  • Squeegee with Felt Edge: Prevents scratches and smooths vinyl during application.
  • Utility Knife: A sharp, replaceable blade ensures precise trimming.
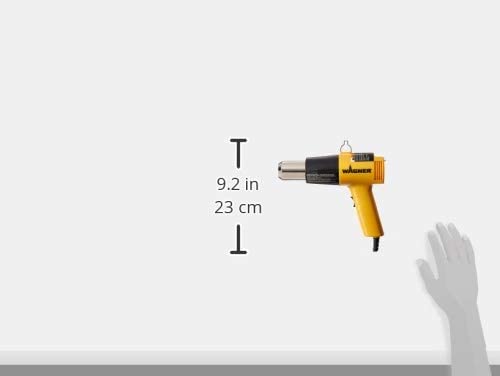
  • Heat Gun: Softens vinyl for curved surfaces and complex shapes.
  • Measuring Tape/Ruler: Ensures accurate measurements before cutting.
  • Infrared Thermometer (Optional): Helps monitor surface temperature during post-heating.

2. Cleaning & Preparation Supplies

  • Isopropyl Alcohol (70%+): Removes oils and residues for better adhesion.
  • Lint-Free Cloths/Microfiber Towels: Wipes surfaces without leaving fibers.
  • Automotive-Grade Degreaser: Removes wax or polish for a clean base.

3. Tools for Air Bubbles & Wrinkles

  • Air Release Pen: Pops trapped bubbles without damaging the vinyl.
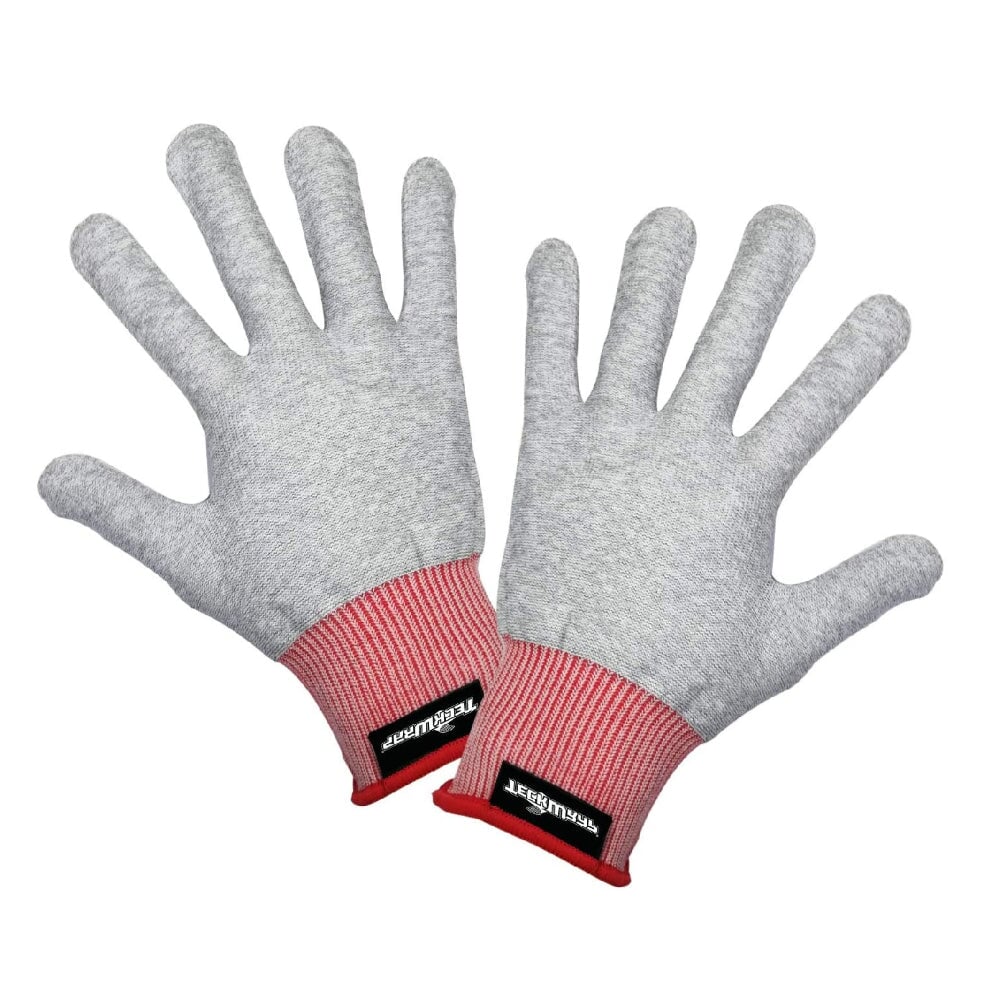
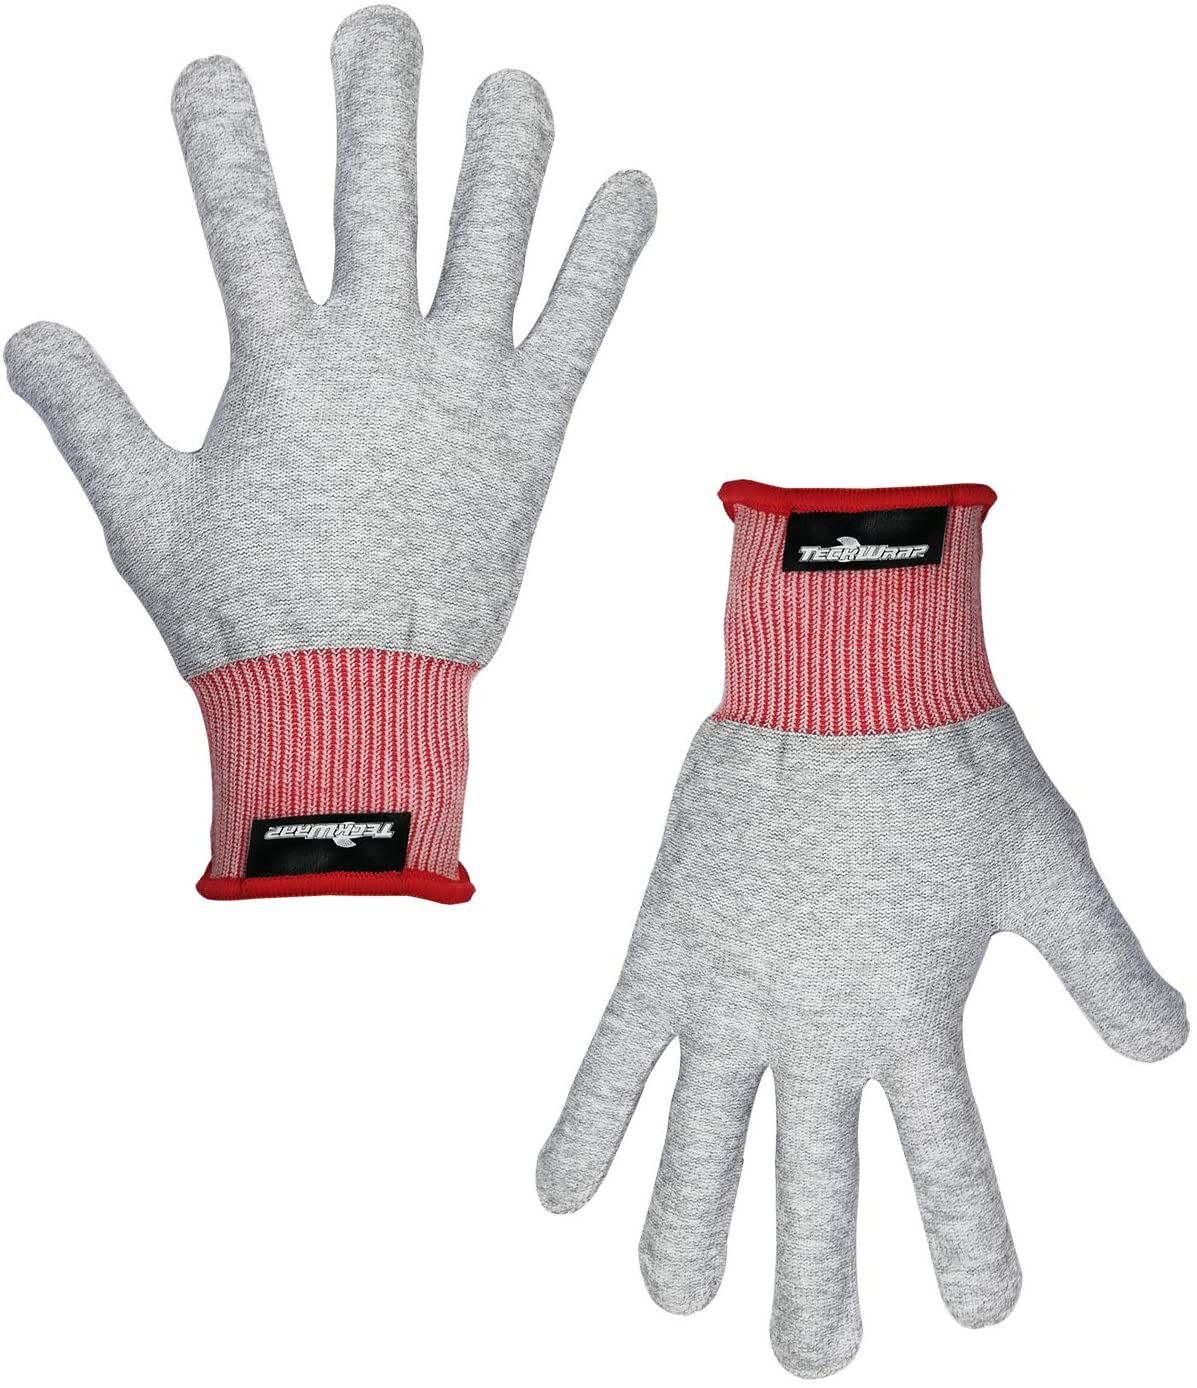
  • Soft Wrap Glove: Protects vinyl and prevents fingerprints and scratches.

4. Application Helpers for Graphics Alignment

  • Masking Tape: Helps align graphics before application.
  • Low-Tack Application Tape: Assists in transferring detailed cut graphics.
  • Wrap Magnets: Holds vinyl in place for better control.

5. Post-Installation Tools

  • Edge Seal Tape: Secures edges, preventing peeling over time.
  • Vinyl-Safe Finishing Spray: Protects wrap from dust and light scratches.

Knifeless Tape: A Must-Have for Clean, Blade-Free Cuts

What is Knifeless Tape?

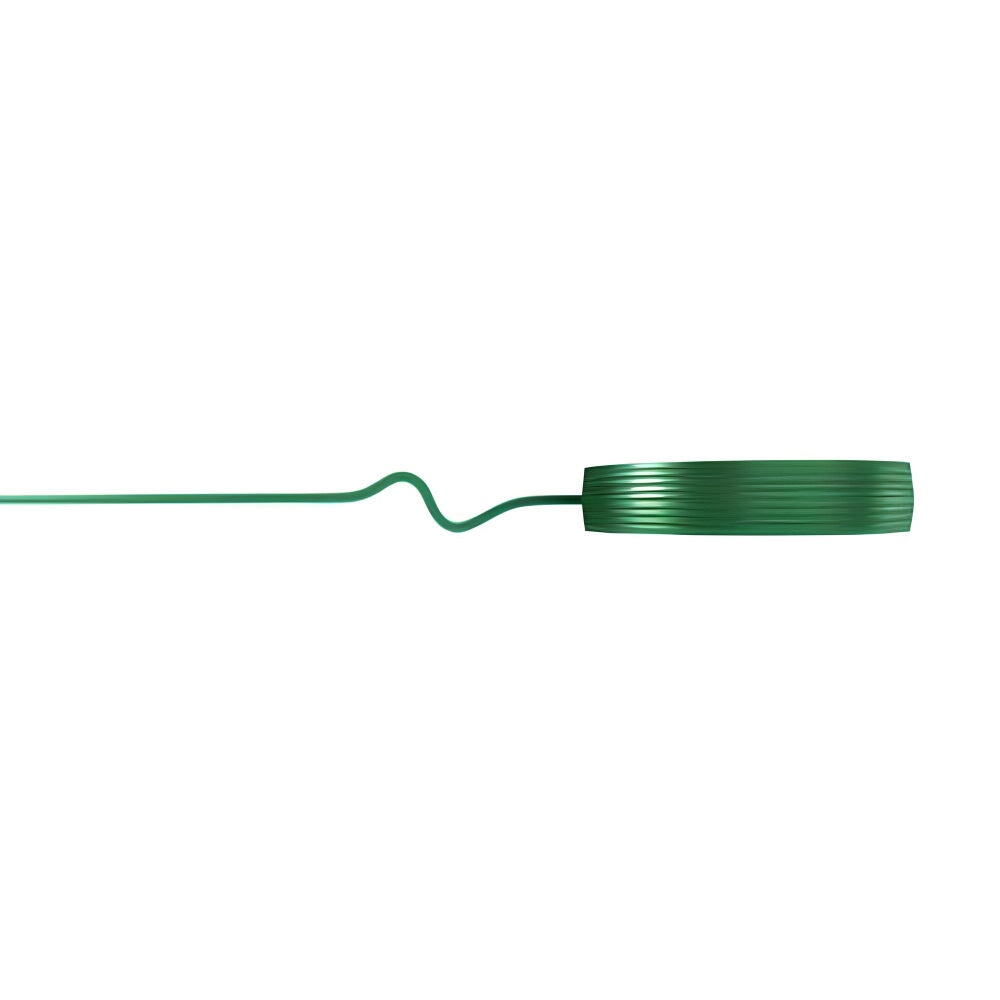
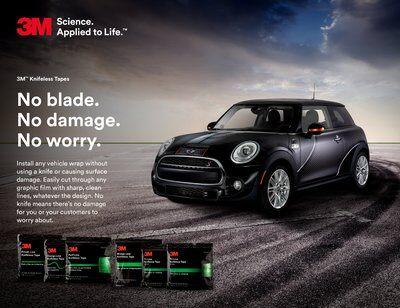
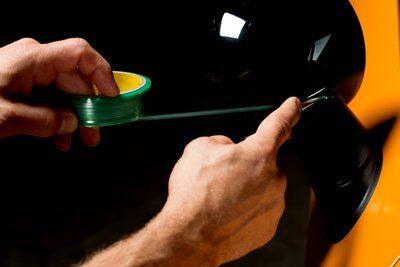
Knifeless tape allows you to create precise cuts without using a knife directly on the surface.
It has a thin filament inside, acting as a cutting guide.

Benefits of Knifeless Tape

  • Safe & Scratch-Free: Prevents damage to the underlying paint.
  • Perfect for Curves & Designs: Allows for custom shapes & stripes.
  • Professional Finish: Creates seamless, clean edges.

How to Use Knifeless Tape

  • Apply the tape where you want to cut the vinyl.
  • Lay the vinyl over the tape and smooth it down.
  • Pull the filament to cut through the vinyl.
  • Remove the tape and press down the edges for a clean finish.

Types of Knifeless Tape

  • Design Line: Best for curves and intricate patterns.
  • Finish Line: Ideal for straight cuts on panel edges.
  • Bridge Line: Holds vinyl across gaps like door seams.

Conclusion

Using the right tools and techniques ensures a smooth, professional graphics vinyl wrap application. Proper alignment, Knifeless Tape for seamless panel transitions, and edge-seal protection are key to achieving a durable and visually striking result.

Transparency is the Key

FAQs

Quick Web Links: FAQ Page | Policies

What material is used for the Printed Vinyl Wrap Series?

Our Custom Ride Series wraps are printed on industry-leading 3M IJ180mCv3-10 or Avery Dennison MPI 1105 EA RS vinyl, according to your preferences. These premium-grade materials provide superior durability, conformability, and removability for a flawless, long-lasting installation.

Can I see how the wrap will look before purchasing?

Yes! We offer a 3D Mockup Preview to give you a realistic visual of how the design will look on your specific vehicle. Simply select your vehicle type and your desired finish and a preview photo will be auto selected to demonstrate the initial look of the finished product before finalizing your purchase.

Is this wrap easy to install, or do I need a professional installer?

Our wraps are designed for both DIY installers and professionals. They feature air-release technology for bubble-free application, making installation easier. However, for best results, we recommend professional installation, especially for complex vehicle shapes.

How long does the wrap last, and is it removable?

With proper installation and care, our wraps can last 5+ years on vertical surfaces. They are fully removable without damaging the original paint, making them a great option for temporary or long-term customization.

Do you ship worldwide, and how long does delivery take?

Yes, we offer worldwide shipping. Processing time for production is 1-3 business days, but most orders ship within 1-2 business days. Handling & Delivery times depend on your location and selected shipping method.

Didn’t find your answer?

Don't hestitate to contact us