Cut-off time for Pickup Orders is 11:00AM EST

Why 1,000,000+ Customers trust Instawraps

10/10 quality + look

Wrapped two bikes in this yellow and never once regretted it.
Charles D

Great Product

Received quickly and in good condition. product is easy to...
Roman T.

Love the color

Reasonable shipping time. Product nicely packaged...
Cody D.

Prompt service

I received my parcel in a timely manner.
Mark R.

Amazing service, top notch products

Quick, and reliable service...
Kim Lefebvre

Product Details

Product Description
KPMF VWS IV Product Code K75803 Absolute Matt

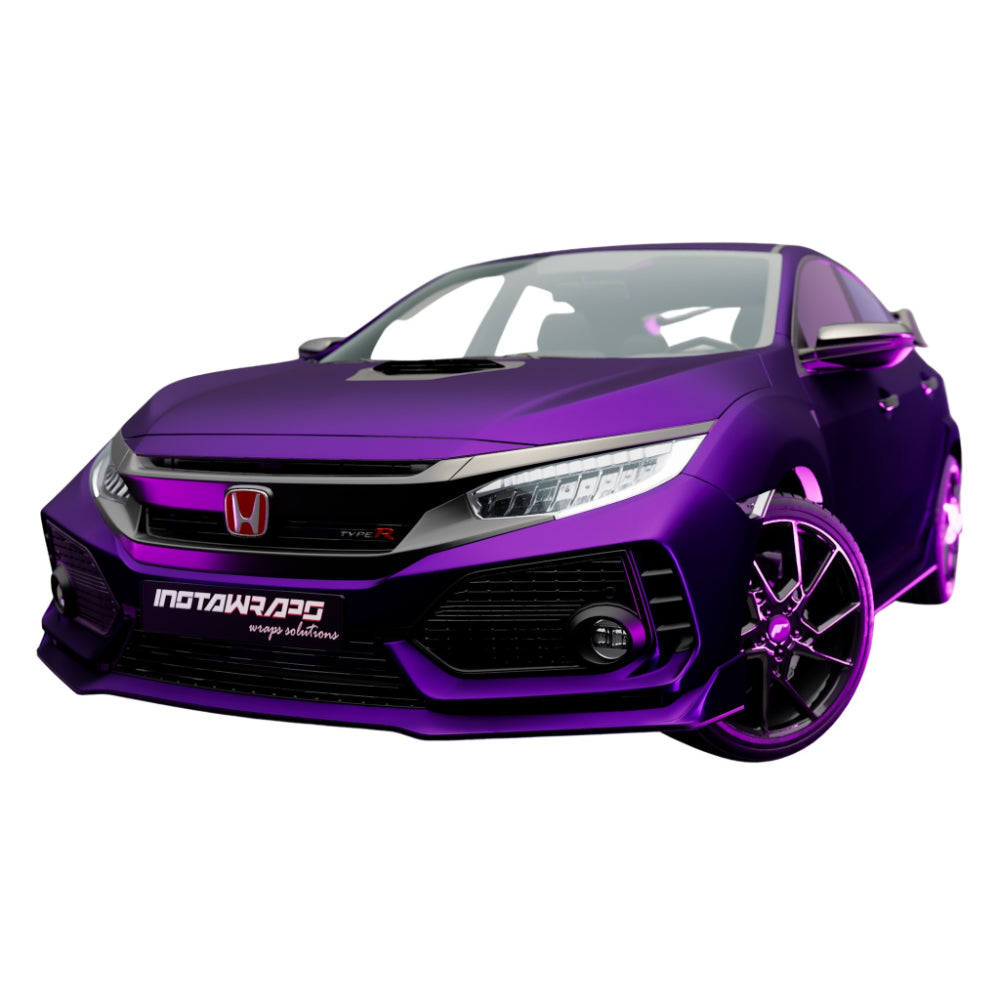
Absolute Matte Royal Amethyst

Create a rich, refined colour transformation with KPMF K75803 Absolute Matt Royal Amethyst Cast VWS IV. This premium double-cast vehicle wrap film combines deep amethyst-purple colour, an exceptionally low-gloss metallic surface, a soft premium feel and KPMF Airelease liner technology for professionally installed vehicle wraps and compatible decorative applications.

Deep royal amethyst Absolute ultra-matt finish 100-micron double cast KPMF Airelease liner
KPMF finish Absolute Matt
Colour family Purple / Amethyst

Digital images cannot reproduce the physical amethyst tone, metallic character or Absolute Matt surface precisely. Apparent purple depth, red or blue influence, surface texture and reflection vary with lighting, viewing angle, panel shape, surrounding colours, substrate colour and screen settings.

Official colour Royal Amethyst
Construction Double-Cast PVC
Liner technology KPMF Airelease
Film thickness 100 µm / 3.9 mil
Full roll width 60 in / 1524 mm
Zone 1 vertical Up to 7 Years*
Royal amethyst character

Deep purple colour with soft metallic depth and an exceptionally restrained Absolute Matt surface

K75803 Absolute Matt Royal Amethyst creates a rich, contemporary purple appearance with exceptionally low surface reflection. The colour combines royal amethyst depth with a soft metallic ultra-matt finish that emphasizes vehicle shape without the sharp highlights associated with gloss or standard matt vinyl.

Under bright daylight or directional artificial lighting, Royal Amethyst may reveal brighter violet, plum and cool purple character. In shade, evening light or darker surroundings, the colour can appear deeper and develop a more restrained aubergine or dark-amethyst presence.

KPMF identifies the Absolute Matt range as having a soft feel and luxurious appearance. The finish is highly sensitive to handling, surface contamination and tool pressure, making careful professional installation and dedicated aftercare especially important.

Colour personality

Luxurious, expressive and confidently understated, with deep amethyst colour, subtle metallic depth and an exceptionally soft ultra-matt presence.

Royal Amethyst pairs naturally with gloss black, Absolute Matt black, carbon fibre, gunmetal, silver and dark bronze. Gold, rose gold, turquoise, white, magenta or lime accents can create stronger luxury, motorsport or custom-design contrast.

Absolute Matt VWS IV technology

Premium double-cast construction engineered for professional vehicle contours and ultra-low-gloss visual performance

K75803 combines a 100-micron metallic ultra-matt cast PVC face film, 25 g/m² clear semi-permanent acrylic adhesive and KPMF Airelease liner technology. The construction supports professional positioning, air evacuation, conformability, dimensional stability and controlled removal from qualifying substrates.

01

Absolute ultra-matt appearance

Gloss below 5 GU creates an exceptionally restrained surface with a soft premium feel and very limited reflected glare.

02

Premium double-cast film

The 100-micron double-cast PVC construction is developed for vehicle wrapping, dimensional stability and suitable indoor or outdoor use.

03

Excellent conformability

The soft cast formulation and adhesive design support professional application to smooth, properly prepared contours and suitable recessed areas.

04

KPMF Airelease technology

The structured liner helps installers move trapped air toward an accessible film edge during a controlled professional dry application.

05

Wide 60-inch format

The 1524-millimetre width supports one-piece coverage across many hoods, roofs and side panels, helping reduce unnecessary seams.

06

Long-term outdoor durability

KPMF lists durability below seven years for K75803, while the Absolute Matt data sheet lists up to seven years for Zone 1 vertical exposure.

Recommended possibilities

Create complete colour changes, premium accent panels and distinctive vehicle graphics

Full Vehicle Wraps Complete amethyst-purple transformations for compatible, professionally prepared passenger vehicles and vans.
Fleet & Vehicle Graphics Distinctive ultra-matt colour for compatible promotional vehicles, displays and speciality fleet applications.
Accent Panels & Trim Hoods, roofs, mirrors, selected bumpers, trim and other compatible smooth styling areas.
Signs, Decals & Marine Details Compatible graphic applications and properly edge-finished marine use above the static waterline.

The Absolute Matt surface is delicate and requires careful handling, consistent roll direction and production-batch control.

Use clean gloves, covered film-safe tools and light controlled pressure. Avoid dragging tools or dry fingers across the surface. Keep adjacent panels oriented in the same direction and avoid mixing production batches on one vehicle. Confirm the physical roll label before cutting. This decorative vehicle wrap vinyl is not paint protection film.

Product information

Technical details and professional installation notes

Technical specifications
Manufacturer:
Kay Premium Marking Films Ltd. / KPMF
Product code:
K75803
Official product name:
Absolute Matt Royal Amethyst Cast VWS IV
Storefront title:
Absolute Matte Royal Amethyst Vinyl Wrap
Storefront series:
K75400 Series
Technical family:
K75800 Series Absolute Matt Cast Vinyl VWS IV
KPMF category:
Cast Vehicle Wrap Absolute Matt
Product category:
Premium metallic ultra-matt double-cast vehicle wrap film
Colour:
Royal Amethyst
Colour family:
Purple / Amethyst / Violet / Plum
Finish:
Absolute Matt / Metallic Ultra Matt
Construction:
Premium double-cast PVC
Face-film thickness:
100 µm / approximately 3.9 mil
Adhesive:
25 g/m² clear semi-permanent acrylic
Release liner:
Double-sided structured PE with printed Airelease logo
Gloss at 60 degrees:
Absolute Matt finish, less than 5 gloss units
Elongation:
Greater than 75%
Dimensional stability:
Less than 0.5 mm after 48 hours at 70°C
20-minute peel:
Greater than 350 N/m on painted steel
24-hour peel:
Greater than 475 N/m on painted steel
Flammability:
Self-extinguishing
Artificial weathering:
2000 hours Xenon Arc
Minimum application:
+18°C / approximately 64°F
Preferred workshop:
Clean and dry, from 18°C to 24°C
Service temperature:
-40°C to +90°C / -40°F to 194°F
Surface energy:
Above 40 dyne/cm recommended
Polyolefin surface energy:
Above 45 dyne/cm recommended
Liquid resistance:
No effect in KPMF’s stated tests for humidity, distilled water, diesel fuel, motor oil and 1:1 antifreeze/water
Full roll width:
60 in / 1524 mm
Maximum listed length:
75 ft / 25 yd / approximately 22.9 m
Instawraps listed cuts:
5 ft wide × 1, 2, 5, 8, 10, 15, 20, 25, 30, 40, 50, 60 or 75 ft
Sample size:
2 × 6 in
Shelf life:
Two years, out of direct sunlight, between 15°C and 23°C and 30% to 70% relative humidity
Product-page durability:
Less than seven years
Zone 1 vertical:
Up to seven years*
Zone 1 horizontal:
Up to three years*
Zone 2 vertical:
Up to five years*
Zone 2 horizontal:
Up to two years*
Zone 3 vertical:
Up to three years*
Zone 3 horizontal:
Up to one year*
Florida / Arizona horizontal:
More than two years under the Absolute Matt sheet*
Controlled removal:
Up to three years from qualifying substrates using heat and/or chemicals, subject to warranty exceptions*
Application method:
Professional dry application recommended
Recommended uses:
Vehicle wraps, vehicle graphics, signs, decals and marine applications above the waterline
Availability:
United States and United Kingdom
RAL reference:
No RAL reference listed by KPMF
Pantone reference:
No Pantone reference listed by KPMF
Important installation considerations for K75803
  • Professional installation is strongly recommended. Correct surface preparation, directional orientation, heat management, tension control, edge finishing and post-heating are important for a consistent result.
  • Inspect the physical film before production. Confirm the Royal Amethyst colour, Absolute Matt finish, product code, semi-permanent adhesive, Airelease liner, batch number and available quantity before cutting.
  • View a physical sample before ordering project material. Screen images cannot accurately reproduce the amethyst colour, metallic character, soft feel or ultra-matt surface.
  • No RAL or Pantone match is specified. Do not treat third-party comparisons or digital colour values as exact physical colour standards.
  • Treat the film as directional. Keep every adjacent panel oriented in the same direction as the film unwinds from the roll.
  • Keep liner logos facing the same direction. A 90-degree rotation may cause adjacent material to appear like a different shade.
  • Use one production batch whenever possible. Avoid combining different batches on the same vehicle or continuous graphic because subtle colour and finish variation may occur.
  • Handle the Absolute Matt surface with additional care. KPMF notes that the delicate finish can be marked when it is not handled carefully.
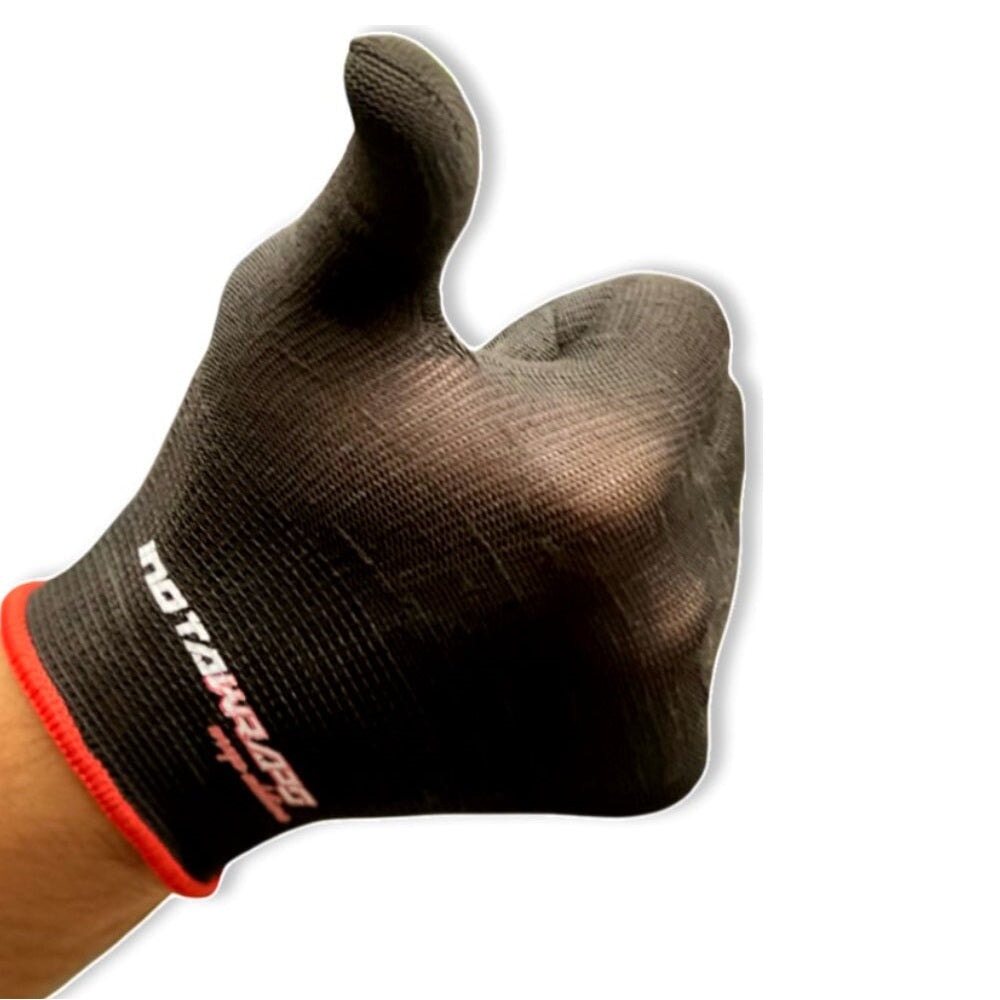
  • Use clean cotton wrap gloves. Avoid touching the face film with bare, dusty or contaminated hands.
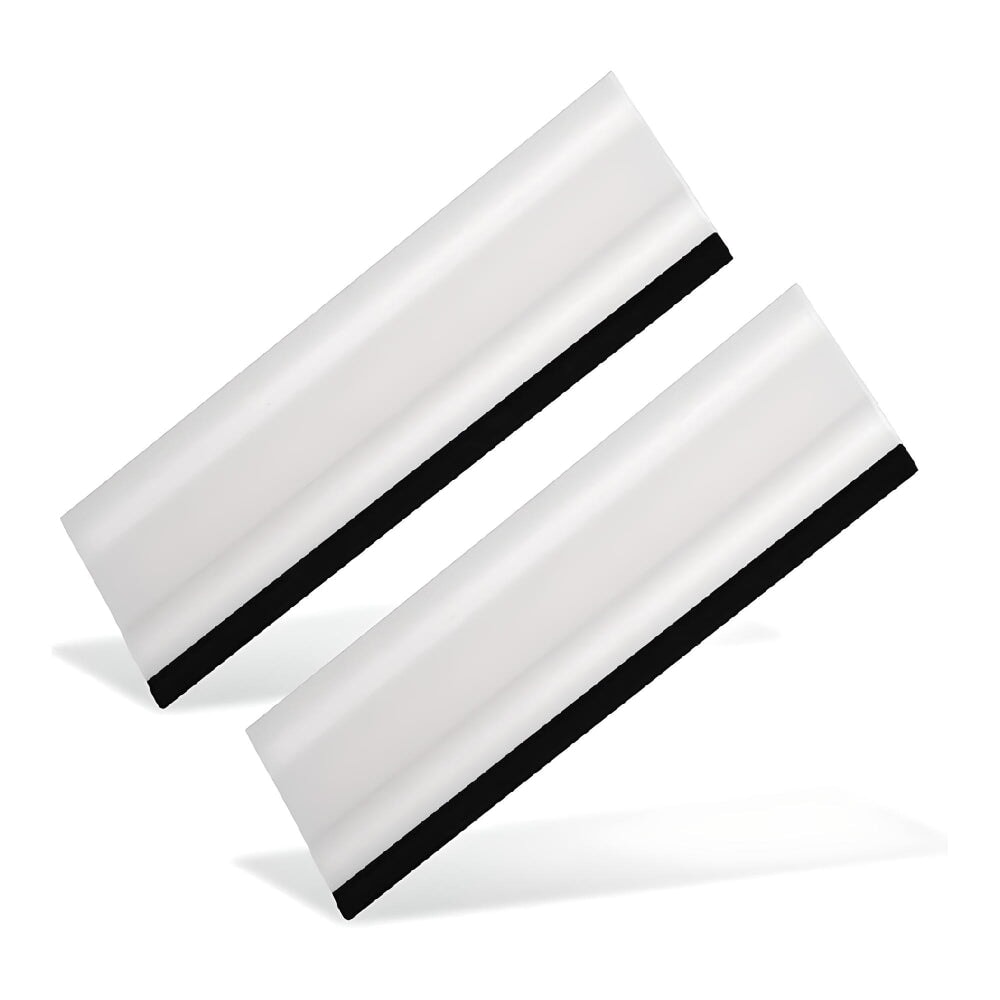
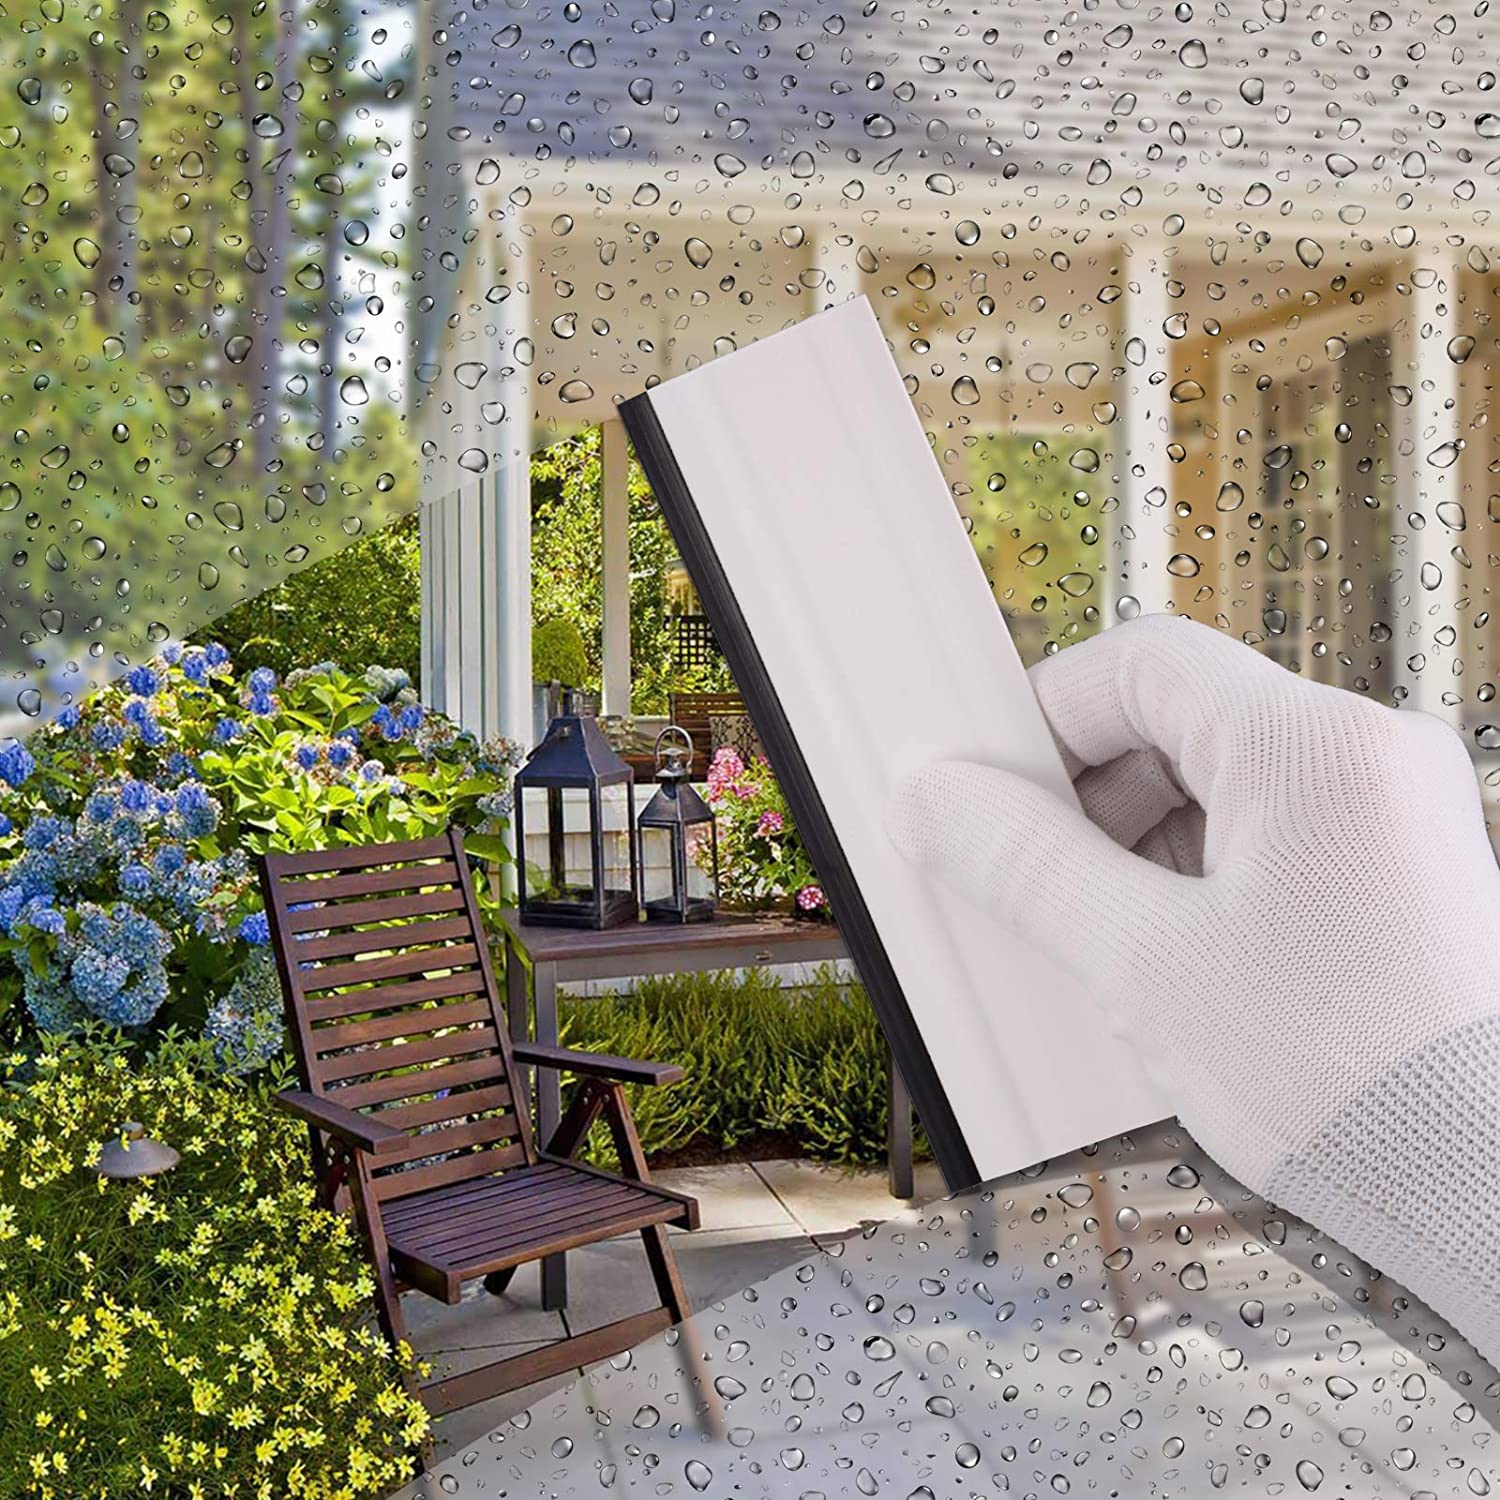
  • Use covered film-safe squeegees. Hard or contaminated tool edges may polish, scratch or mark the ultra-matt surface.
  • Do not drag tools across the film. Apply controlled overlapping strokes and lift the tool when changing direction.
  • Allow stored material to acclimatize. Bring the film, tools and vehicle into the installation environment before beginning production.
  • Apply indoors in a clean, dry and well-lit workshop. KPMF recommends ambient conditions between 18°C and 24°C.
  • Allow the vehicle to reach room temperature. Do not bring a cold vehicle indoors and immediately begin wrapping.
  • Remove protruding components where practical. Lights, handles, aerials and trim can interfere with proper cleaning, finishing and secure edge placement.
  • Remove wax and polish completely. Residue can reduce adhesive contact and remain visible beneath the installed film.
  • Prepare the substrate thoroughly. Remove dirt, silicone, oil, grease, cleaning residue and other contamination before application.
  • Complete the final cleaning immediately before wrapping. Give special attention to recesses, rebates, edges and rubber seals.
  • The surface must be completely clean and dry. Moisture, fibres or trapped contamination can reduce adhesion and remain visible beneath the film.
  • Do not apply to unsound surfaces. Avoid surfaces that may crack, peel, outgas or fail after the vinyl has been installed.
  • Avoid low-surface-energy substrates. KPMF recommends surface energy above 40 dyne/cm, or above 45 dyne/cm for polyolefins.
  • Evaluate repaired and custom paint carefully. Test a small area before covering refinished panels or non-standard paint systems.
  • Allow newly painted vehicles to cure fully. Follow current paint and KPMF application requirements before wrapping.
  • KPMF does not recommend primers. Primers may react negatively with KPMF adhesives and affect installation or removal.
  • Use the dry application method. Dry application is the preferred and warranted method for KPMF vehicle-wrap films.
  • Remove the liner immediately before application. Minimize the opportunity for the adhesive to collect dust, fibres or contamination.
  • Complete positioning before applying heavy pressure. Repositioning after substantial adhesive contact may create visible stress or pressure marks.
  • Use as little application tension as possible. Keep the film controlled and distribute required stretch across a broad area.
  • Use broad overlapping strokes. Begin with light controlled pressure and increase gradually to establish complete adhesive contact.
  • Do not close the air channels prematurely. Excessive initial pressure can reduce the effectiveness of the Airelease liner.
  • Thoroughly squeegee the complete surface. Pay particular attention to hoods, roofs and broad side panels so unsupported air pockets do not remain.
  • Respect the minimum application temperature. The applicable technical sheet specifies a minimum of +18°C.
  • Use controlled heat during forming. Use only the minimum heat required, generally 35°C to 45°C when softening or relaxing the film.
  • Keep the heat gun at least 200 mm away. Use broad sweeping movements instead of concentrating heat in one small area.
  • Do not overheat or overstretch the film. Excessive extension can alter the amethyst colour, metallic character, opacity, ultra-matt level and long-term stability.
  • Monitor the surface while stretching. Stop if the colour thins, the finish becomes glossy or visible stress marks begin to appear.
  • Distribute stretch across a broad area. Avoid concentrating all extension into one edge, corner or deep recessed section.
  • Feed film into recesses with minimal stress. Form the surrounding area gradually rather than forcing highly stretched material into the deepest section.
  • Post-heat difficult formed areas. Follow the current KPMF application guide and verify the required temperature with a suitable infrared thermometer.
  • Wrap around compatible panel edges where appropriate. KPMF recommends approximately 6 mm around suitable panel edges rather than cutting directly flush.
  • Inspect adjacent panels under consistent lighting. Confirm that colour, directional orientation and ultra-matt appearance remain visually uniform before completion.
  • Re-squeegee edges, seams and recesses. Check all manipulated sections before returning the vehicle to service.
  • Allow the adhesive to develop its bond. Avoid immediate washing or harsh environmental exposure after installation.
  • Marine use is limited to areas above the waterline. Applications below the waterline are not covered by the stated KPMF warranty.
  • Document the installation. Retain the roll label, batch number, installation date, substrate details and application conditions.
Care, cleaning and removal
  • Follow the dedicated Absolute Matt care guidance. The super-matt finish has a soft feel and can be altered by polishing, wax, aggressive cleaning or repeated friction.
  • Hand washing and hand drying are recommended. KPMF does not recommend cleaning Absolute Matt film in a standard car wash.
  • Do not wash the wrap while it is hot. Allow the vehicle and vinyl surface to cool before applying water or cleaning products.
  • Wash regularly using a gentle pH-neutral shampoo. Clean more frequently when the wrap is exposed to significant dirt or pollutants.
  • Pre-rinse with clean water to remove loose grit before touching the film.
  • Wash using a clean automotive sponge, soft cloth or microfiber towel reserved for matt-finish surfaces.
  • Work from the top downward using gentle overlapping passes.
  • Rinse thoroughly with clean water after applying shampoo.
  • Dry using a clean microfiber towel or soft chamois to reduce spotting and water marks.
  • Use wax-free and gloss-enhancer-free products. Choose cleaning products without wax, silicone, optical brighteners or glossing agents.
  • Do not apply conventional wax or polish. Wax can discolour matt vinyl and create uneven glossy or cloudy sections.
  • Avoid wash-and-wax products. Product buildup may make the ultra-matt surface appear cloudy, blotchy or inconsistent.
  • Never wipe the surface while it is dry or dusty without a suitable cleaner or lubricant.
  • Use a compatible quick-detail spray for fingerprints, fresh bird droppings and light dust.
  • Avoid aggressive scrubbing. Repeated friction can polish the surface and create permanently uneven sheen.
  • Do not use solvent-based, oil-based or abrasive household cleaning products.
  • Avoid cleaners containing glycol, butyl acetate or petroleum distillates.
  • Do not use cutting compounds, abrasive pads, hard brushes or aggressive polishing products.
  • Clean fuel, oil and chemical spills immediately, then hand wash and rinse the affected section.
  • Remove bird droppings, insects, tree sap and difficult stains as soon as practical.
  • Difficult stains may be cleaned carefully using isopropyl alcohol and a clean microfiber towel after testing a hidden area.
  • Test every cleaning method first. Apply the cleaner to a small inconspicuous area before treating the visible wrap.
  • Use only dedicated matt-wrap protection products. A compatible matt liquid sealant may be considered after testing and confirming suitability.
  • Use caution with ceramic coatings. Many coatings can add gloss or alter the Absolute Matt appearance, so a hidden-area test is essential.
  • KPMF discourages power washing, steam cleaning and aggressive chemical wash systems.
  • When pressure washing is unavoidable: Keep pressure below 140 bar / 2,000 psi and water temperature below 60°C / 140°F.
  • Use a 40-degree wide-angle nozzle held approximately perpendicular to the wrap surface.
  • Keep the nozzle at least 12 inches away from edges, seams and vulnerable sections.
  • Never direct pressurized water into seams, edges, overlaps or lifted areas.
  • Park indoors, under cover or in shade when practical to reduce prolonged ultraviolet exposure, heat and pollutant buildup.
  • Horizontal surfaces require additional care because they receive greater ultraviolet exposure and collect more contaminants.
  • Inspect edges, seams and heavily formed areas regularly for lifting, contamination or damage.
  • Professional removal is recommended. Move the vehicle into a warm, controlled environment before beginning removal.
  • Use controlled heat to soften the adhesive rather than pulling cold material sharply from the substrate.
  • Peel gradually while working in manageable sections and maintaining a controlled removal angle.
  • Stop immediately if paint lifting, excessive resistance or another substrate problem becomes apparent.
  • KPMF does not guarantee the ease or speed of removal, even when the film remains within its stated controlled-removal period.
Warranty and durability information
  • Product-page durability: KPMF currently identifies K75803 as having durability below seven years.
  • Zone 1 vertical durability: The K75800 Absolute Matt technical sheet lists up to seven years.
  • Zone 1 horizontal durability: Up to three years.
  • Zone 2 vertical durability: Up to five years.
  • Zone 2 horizontal durability: Up to two years.
  • Zone 3 vertical durability: Up to three years.
  • Zone 3 horizontal durability: Up to one year.
  • Florida and Arizona horizontal exposure: More than two years under the applicable Absolute Matt technical sheet.
  • The previous 10-year durability statement is not supported by KPMF’s current product page or applicable technical documentation.
  • Durability values depend on climate zone, exposure orientation, substrate preparation, installation, environmental conditions, cleaning and maintenance.
  • The delicate Absolute Matt appearance may change more visibly when the film is improperly handled, overstretched or cleaned with unsuitable products.
  • Controlled removal: KPMF describes removal using heat and/or chemicals for up to three years from qualifying substrates, subject to warranty exceptions.
  • Clean removability is defined by KPMF as less than 30% adhesive residue when heat and chemical removal methods are used.
  • KPMF does not guarantee the ease or speed of graphic removal.
  • Removal from pre-existing graphics, improperly bonded paint, custom paint, oxidized surfaces or chalked substrates is not guaranteed.
  • Horizontally exposed outdoor applications do not receive the same clean-removal assurance as qualifying vertical applications.
  • Marine applications below the waterline are not covered by the stated KPMF warranty.
  • Paint systems, substrate condition, ink systems and application techniques can affect film and adhesive performance.
  • The purchaser and installer are responsible for evaluating product suitability before the complete application begins.
  • KPMF’s liability for accepted defective material is limited to the cost of the defective material supplied.
  • Technical-sheet values are typical properties and should not be interpreted as guaranteed performance specifications.
  • Review the current KPMF technical sheet, application guide, aftercare instructions and physical roll label before installation.

View the actual Royal Amethyst finish before ordering project material

Royal Amethyst cannot be evaluated accurately from a static digital image. Its purple depth, violet or plum influence, metallic character and Absolute Matt surface change with lighting, viewing angle, panel shape and surrounding colours. Select the 2 × 6-inch sample option above and inspect the physical film in direct sunlight, shade and the intended installation environment before ordering project material.

2 × 6 in sample available
Instawraps product support

Have more questions or need help planning your wrap project?

Our team can help with product selection, sizing, colour samples, compatible tools, order questions and general installation guidance. Choose the most convenient way to reach us.

*KPMF’s current product page identifies K75803 Absolute Matt Royal Amethyst as a 100 µm double-cast VWS IV vehicle wrapping film with semi-permanent adhesive, an Airelease liner, durability below seven years and controlled removal using heat and/or chemicals for up to three years from qualifying substrates. The K75800 Absolute Matt technical sheet lists a 100 µm metallic ultra-matt cast face film, 25 g/m² clear semi-permanent acrylic adhesive, gloss below 5 GU, a minimum application temperature of 18°C and up to seven years of Zone 1 vertical durability. The sheet lists three years horizontal in Zone 1, five years vertical and two years horizontal in Zone 2, three years vertical and one year horizontal in Zone 3, and more than two years for Florida or Arizona horizontal exposure. Actual performance depends on production batch, storage, substrate, surface preparation, installation, exposure, cleaning and maintenance. KPMF, VWS IV and Airelease are trademarks or trade names of Kay Premium Marking Films Ltd.

Current manufacturer documentation and the physical roll label govern.

Application Guide
Instawraps Wrap Vinyl Application Guide

Vinyl Wrap Application Guide

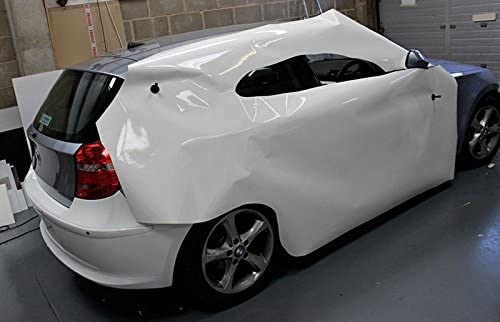
A successful wrap begins long before the film touches the surface. Follow this practical guide to prepare, position, apply, trim and finish your vinyl with greater control and a cleaner, more professional result.

Seven clear steps Tool checklist Heat and post-heat guidance Knifeless tape instructions
First priority Surface preparation
Cutting allowance Leave extra material
Application method Small controlled sections
Heat control Low to medium heat
Safer cuts Use knifeless tape
Final bond Post-heat and inspect
Plan before applying

A clean result comes from patience, preparation and controlled technique

Vinyl wrap is designed to conform to smooth surfaces, but the film can only perform as well as the surface underneath it. Dirt, wax, oil, loose paint, rough repairs and hidden moisture may affect adhesion or become visible through the installed material.

Before beginning, inspect the panel, plan your material direction and decide where seams, relief cuts and finishing edges will be located. Measure twice, cut with enough working allowance and avoid pulling the film tighter than needed.

Installation principle

Position first. Apply pressure second. Add heat only when needed.

Working gradually gives you more control. It helps reduce trapped air, unnecessary stretching, distorted finishes and weak edges caused by rushing.

Installation roadmap

Seven steps from surface preparation to final inspection

Review the complete process before starting. Each step supports the next, so skipping preparation or finishing work may affect the final appearance and long-term adhesion.

01

Prepare the surface

Wash, degrease, dry and inspect the panel so the adhesive can contact a smooth, stable and contaminant-free surface.

02

Measure and pre-cut

Measure the coverage area carefully and cut the film slightly oversized to leave enough material for positioning and edge finishing.

03

Position and apply

Anchor the film, expose the adhesive gradually and use overlapping squeegee strokes while working in manageable sections.

04

Heat and conform

Use controlled heat to soften the vinyl for curves and irregular shapes, stretching only as much as the area requires.

05

Trim and finish edges

Trim carefully, avoid cutting into the substrate and finish edges with firm pressure before tucking them into suitable seams.

06

Post-heat critical areas

Heat-set stretched areas, recesses, curves and edges according to the exact instructions for the film being installed.

07

Inspect, correct and allow the adhesive to set

Check every edge, seam and contour. Correct remaining bubbles carefully, then avoid washing or harsh exposure for approximately 24–48 hours while the adhesive develops its bond.

Detailed instructions

Open each step when you are ready to work through it

These expandable instructions keep the page easy to navigate while giving you the important details needed at every stage of the installation.

1. Prepare the surface

Adhesion begins with the condition of the panel. Do not apply film over wax, grease, dust, loose paint, rust, moisture or unstable repairs.

  • Clean thoroughly. Wash the area using mild soap or an automotive-grade cleaner to remove dirt, road film and surface contaminants.
  • Remove wax, polish and grease. Use an appropriate automotive degreaser where needed, following its directions carefully.
  • Complete the final wipe. Many installers use isopropyl alcohol and clean, lint-free towels to remove remaining oils or residue.
  • Let the panel dry completely. Pay special attention to seams, trim, handles and panel gaps where moisture can remain hidden.
  • Inspect the substrate. Scratches, dents, chips, rust, rough bodywork or loose paint may show through the film or weaken adhesion.
  • Repair imperfections first. Vinyl conforms best to smooth, sound surfaces. Complete necessary filling, sanding and curing before wrapping.
2. Measure and cut the vinyl
  • Measure the complete coverage area. Include curves, returns, recessed areas and the material needed to finish each edge.
  • Add a working allowance. Leave several extra inches on each side whenever practical so the film can be positioned without pulling.
  • Pre-cut slightly larger than required. It is generally easier and safer to trim extra film than to recover from a piece cut too small.
  • Plan film direction and seams. Confirm grain, pattern, metallic orientation or color-flop direction before cutting multiple panels.
  • Keep the liner and film clean. Place cut material on a clean surface where dust and debris cannot contaminate the adhesive.
3. Position and apply the vinyl
  • Dry-fit the film first. Hold the sheet in position and confirm that there is enough material around every edge.
  • Create an anchor point. Peel back only a small section of liner and attach one controlled area before exposing more adhesive.
  • Work in small sections. Remove only as much backing paper as you can manage to reduce premature contact and contamination.
  • Use a clean felt-edged squeegee. Apply firm, overlapping strokes from the centre toward an open edge to help move trapped air outward.
  • Lift and reposition when needed. Do not force wrinkles flat. Release the affected area, remove tension and reapply it more gradually.
  • Avoid unnecessary stretching. Use positioning, panel shape and controlled relief before relying on heat and tension.
4. Heat and stretch for curves or irregular surfaces
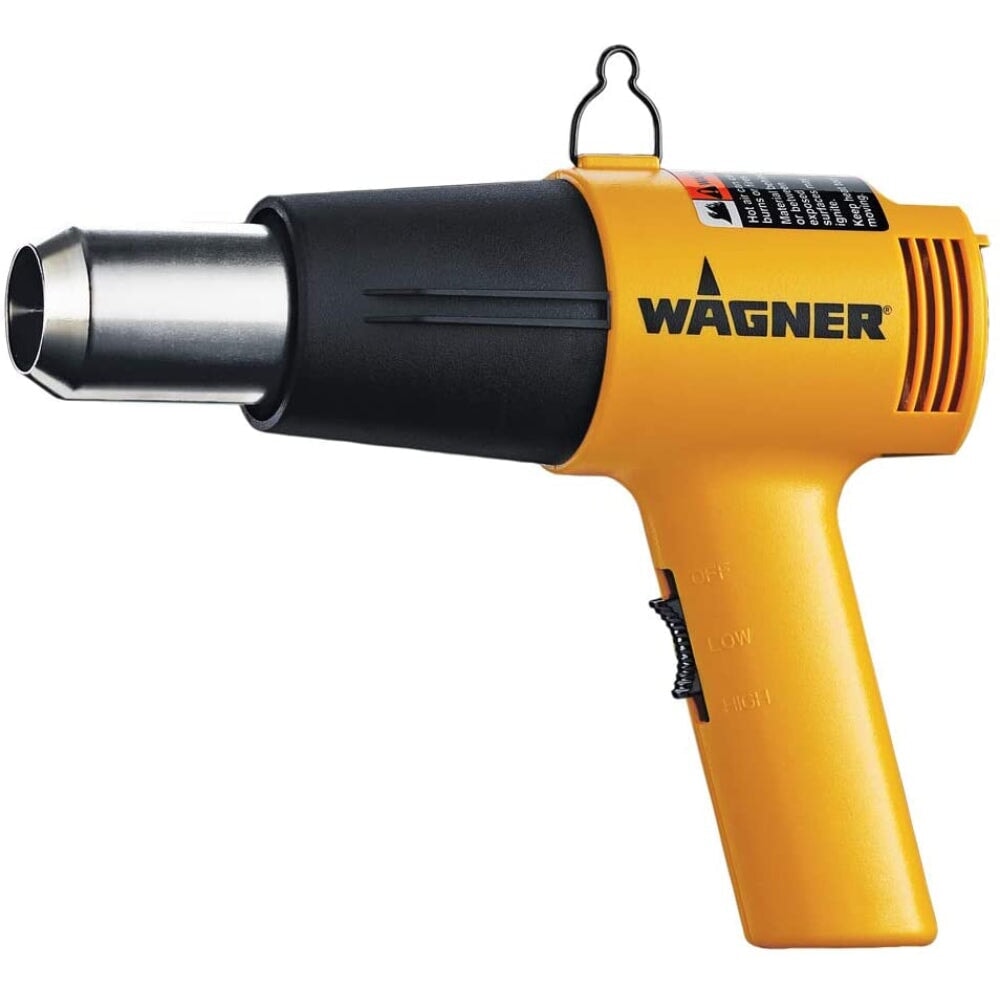
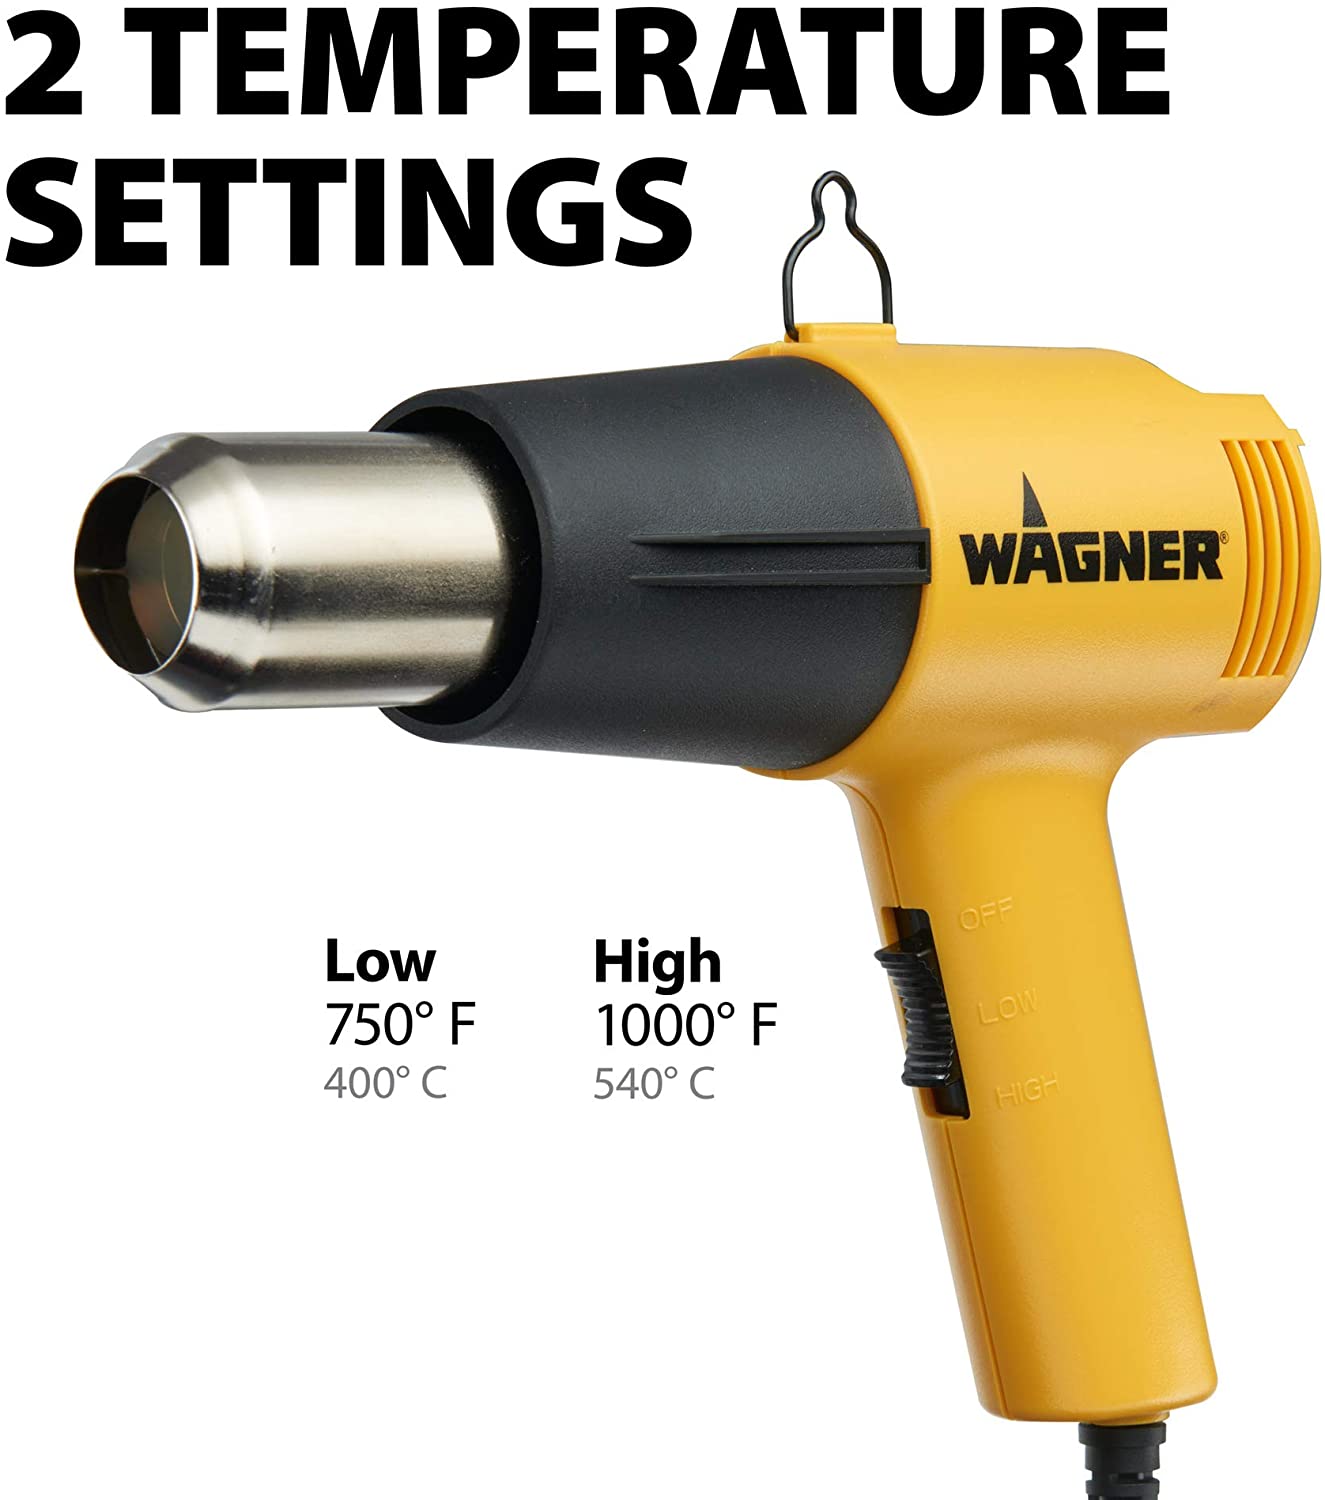
  • Use a heat gun on a controlled setting. Low to medium heat can make the film more pliable without exposing it to sudden, concentrated heat.
  • Heat a broad area evenly. Keep the heat source moving and avoid creating a single overheated spot.
  • Stretch gently. Conform the vinyl over curves using only the amount of tension required for the shape.
  • Watch for visual distortion. Excessive stretching may alter color, gloss, texture, printed graphics or adhesive performance.
  • Use relief and repositioning. For difficult compound curves, lifting and redistributing the film is usually safer than forcing one area.
  • Let the film cool before final trimming. Confirm that the material remains stable after tension and heat are released.
5. Trim excess material and seal the edges
  • Use a sharp blade. A fresh, controlled blade requires less pressure and produces a cleaner edge than a dull one.
  • Protect the surface underneath. Use very light pressure and avoid cutting directly into paint, plastic, glass, rubber or trim.
  • Use knifeless tape whenever appropriate. It can create a clean cut without placing a blade directly against the vehicle surface.
  • Leave enough material for the edge. Do not trim so closely that the film cannot wrap, tuck or finish securely around the panel boundary.
  • Press edges firmly. Use the correct squeegee pressure and finishing tool to activate the adhesive along edges, corners and seams.
  • Tuck only where appropriate. Do not force excess film into gaps where it may bunch, bridge or interfere with moving parts.
6. Post-heat stretched areas, curves and edges

Post-heating helps stabilize areas that were stretched or formed under tension. The required temperature differs by product, finish, manufacturer and application.

  • Identify critical areas. Focus on recesses, deep curves, stretched corners, body lines, seams, returns and finished edges.
  • Use an infrared thermometer. Do not estimate post-heat temperature by touch alone.
  • Follow the exact manufacturer requirement. Some wrap films may call for post-heating in the approximate range of 200–250°F / 93–121°C, but the current technical bulletin for the specific film must be followed.
  • Heat evenly and continuously. Keep the heat gun moving to avoid scorching, gloss changes, texture damage or adhesive failure.
  • Recheck after cooling. Confirm that edges remain down and stretched areas do not lift or shrink back.
7. Complete the final inspection and finishing touches
  • Inspect under strong lighting. Review the panel from several angles for bubbles, wrinkles, contamination, lifting edges or uneven tension.
  • Correct air carefully. Small isolated bubbles may sometimes be released with a proper air-release tool or fine pin, then smoothed gently.
  • Recheck all edges and seams. Confirm that adhesive contact is complete and that no section is bridging over a gap or contour.
  • Clean the finished surface gently. Use a vinyl-safe product and a clean microfiber towel to remove fingerprints and installation residue.
  • Allow the adhesive to build its bond. Avoid washing, heavy rain, harsh chemicals or severe conditions for approximately 24–48 hours when possible.
  • Perform a follow-up inspection. Recheck critical edges and recesses after the film has rested, especially on complex installations.
Tools and supplies

Prepare the right tools before the liner comes off

Clean, suitable tools improve control and help protect the film. Organize everything before starting so the installation does not need to stop midway.

Essential Application Tools
  • Felt-edged squeegee
  • Sharp utility knife
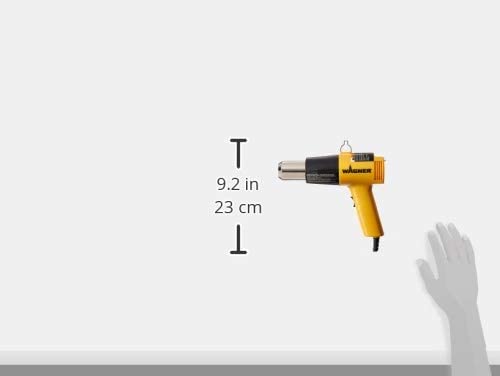
  • Heat gun
  • Measuring tape or ruler
  • Infrared thermometer
Cleaning and Preparation
  • Isopropyl alcohol, 70% or higher
  • Lint-free or microfiber towels
  • Automotive-grade degreaser
  • Mild automotive cleaner
  • Clean detailing brushes
Positioning and Correction
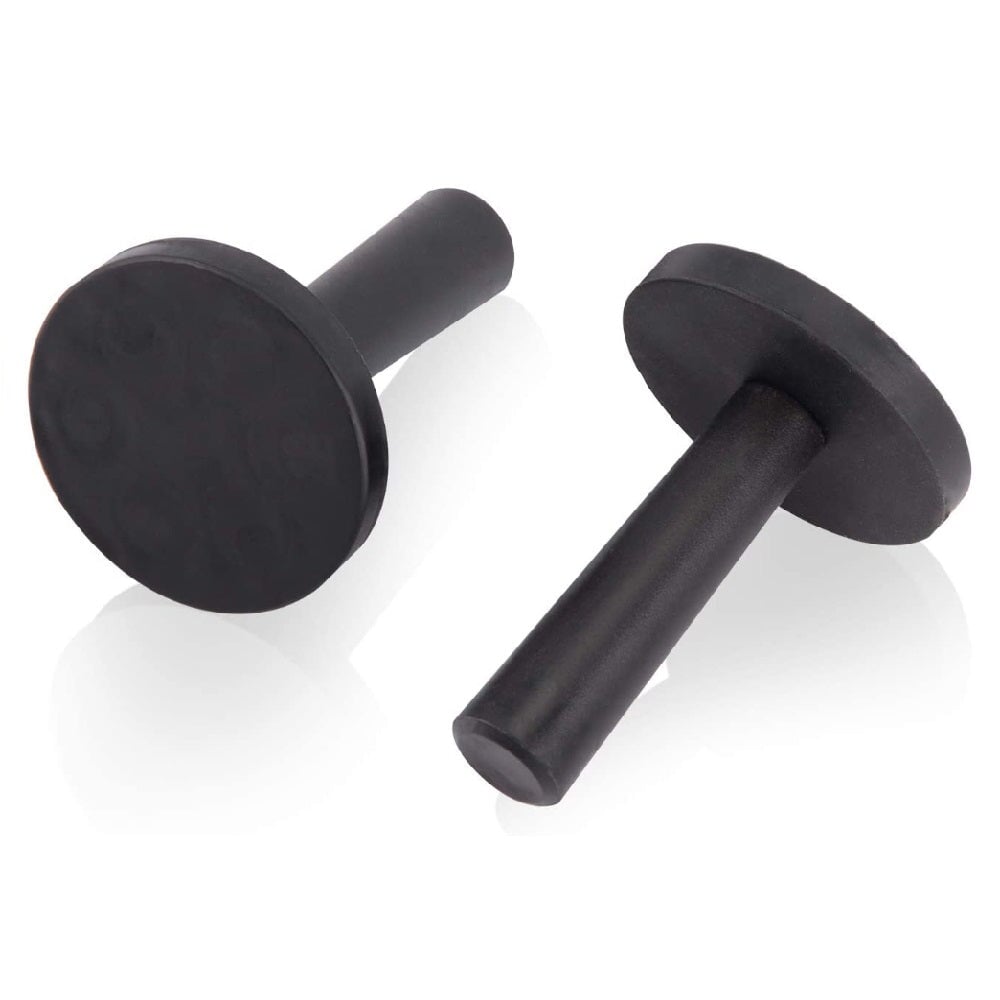
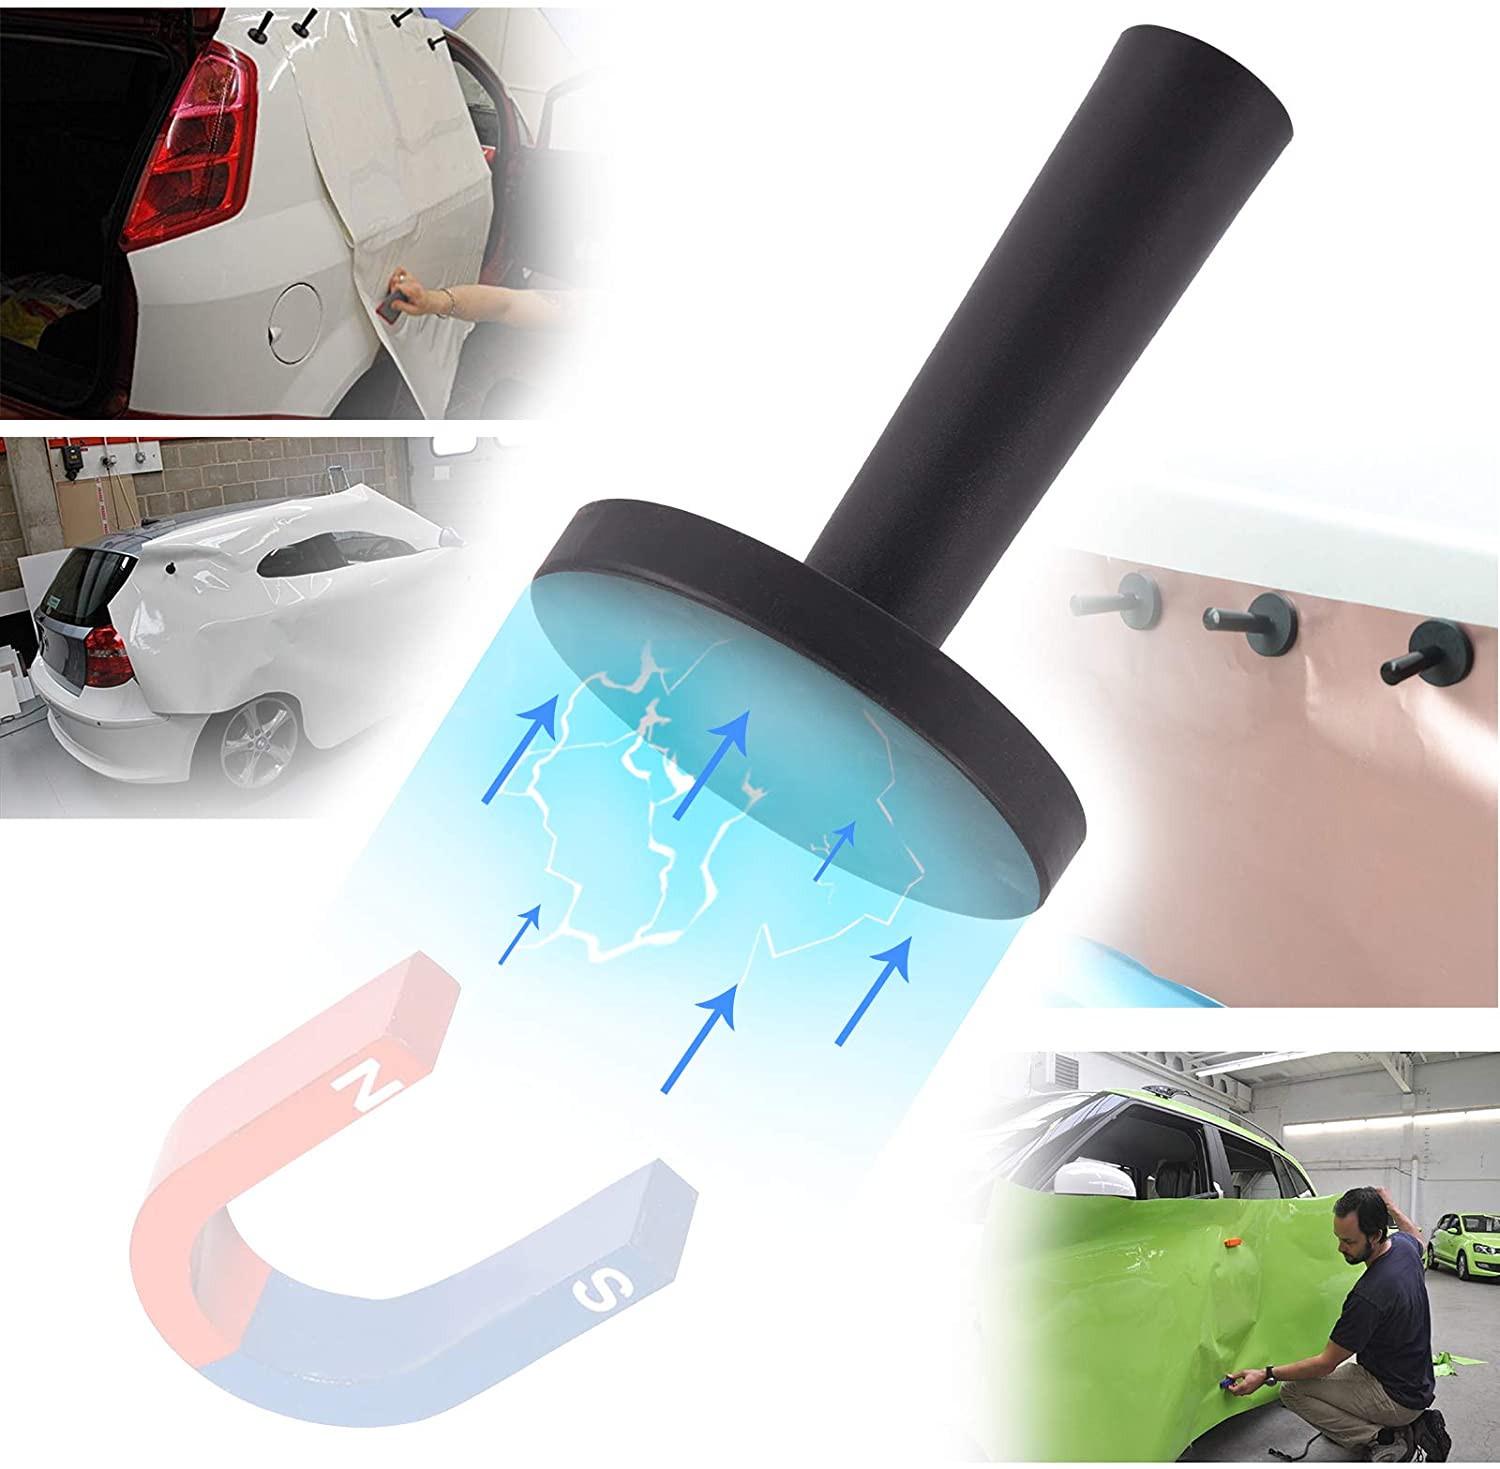
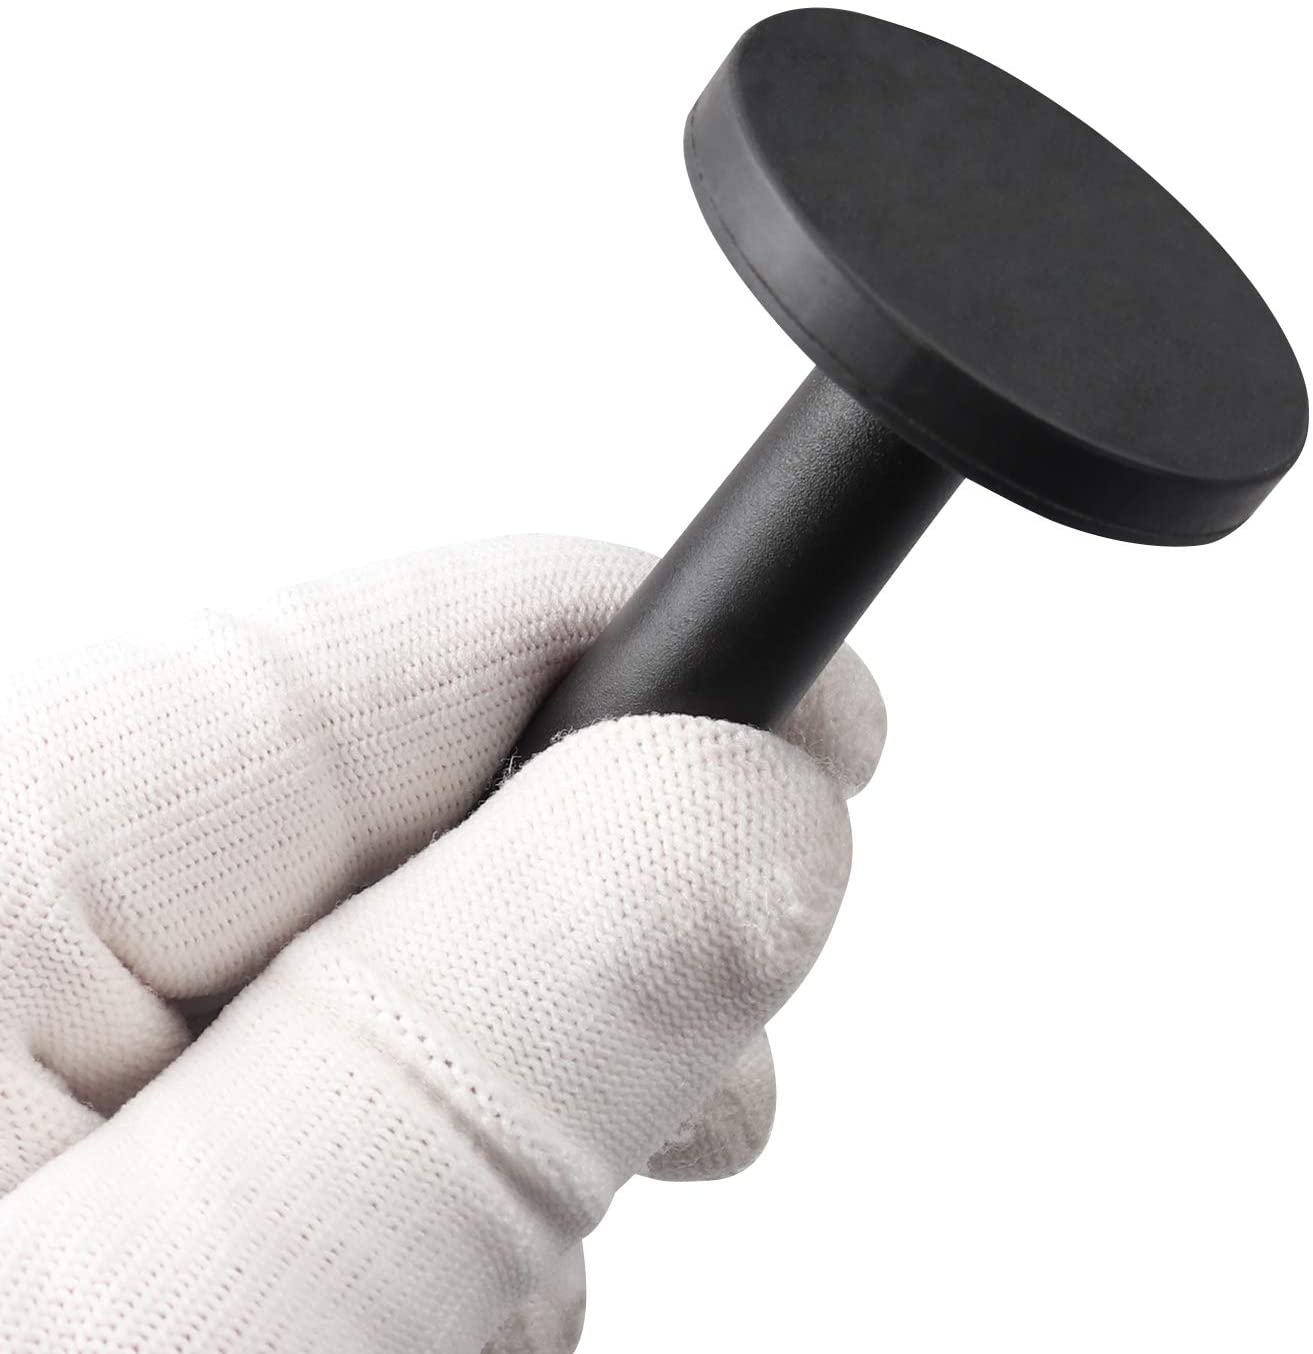
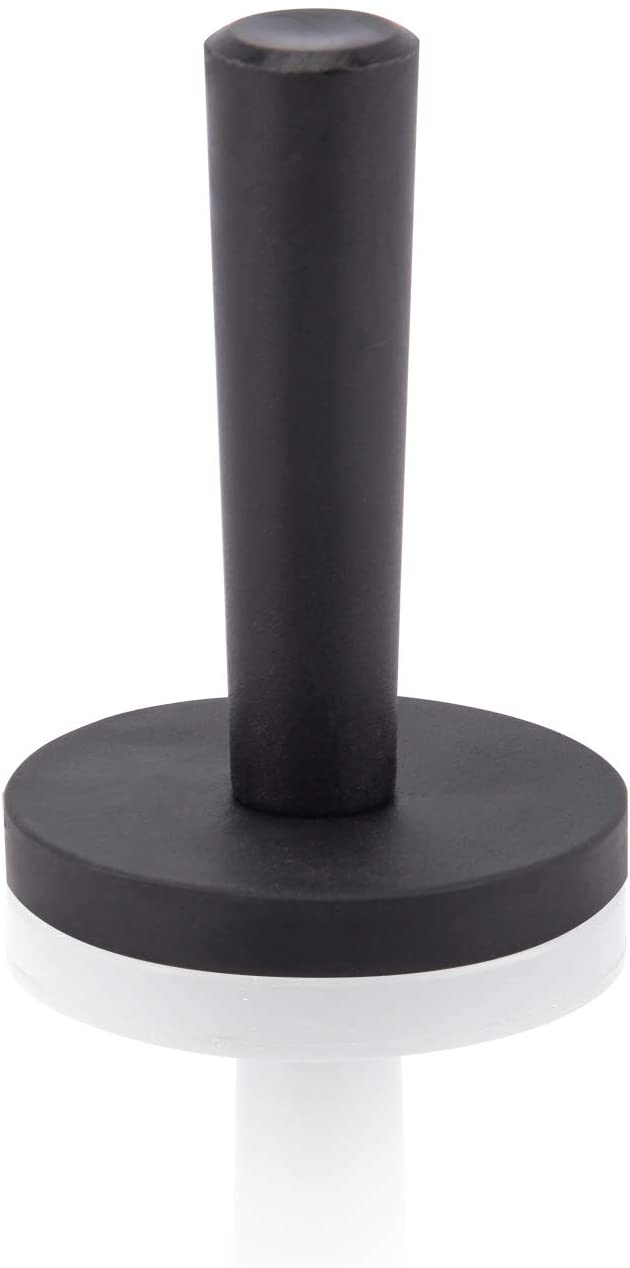
  • Wrap magnets
  • Soft wrap glove
  • Air-release pen
  • Masking tape
  • Knifeless tape
Finishing and Maintenance
  • Edge finishing tools
  • Edge-seal tape where approved
  • Vinyl-safe finishing spray
  • Clean microfiber towels
  • Manufacturer-approved care products
Do not use an open-flame torch unless the film manufacturer specifically permits it.

A heat gun provides more controlled heat. Excessive temperature may damage vinyl, distort the finish, affect adhesive performance or harm the substrate.

Blade-free cutting

Knifeless tape helps create clean cuts without cutting directly on the surface

What is knifeless tape?

Knifeless tape is positioned underneath the vinyl before application. A thin internal filament is then pulled through the film, creating a guided cut without placing a knife blade directly against the painted surface.

  • Safer for the substrate: helps reduce the risk of blade marks.
  • Useful for curves: supports stripes, shapes and flowing designs.
  • Cleaner finishing: creates a controlled edge when used correctly.
How to use knifeless tape
  • Plan the cut line. Clean the area and apply the tape exactly where the finished edge should be.
  • Lay the vinyl over the tape. Apply and squeegee the film without disturbing the tape underneath.
  • Expose and start the filament. Follow the tape manufacturer’s method for creating the starting pull.
  • Pull the filament steadily. Keep the pull controlled so the filament cuts through the vinyl along the planned line.
  • Remove the remaining tape. Carefully pull away the tape carrier from below the cut vinyl.
  • Finish the edge. Press the newly cut edge down firmly using the appropriate squeegee or finishing tool.
Important knifeless tape tips
  • Use the tape product designed for the type of line, curve, seam or gap you are creating.
  • Do not pull the filament aggressively or at an uncontrolled angle.
  • Practice on a test panel or scrap material before using it on a customer vehicle.
  • Confirm that both the vinyl and tape are compatible with the planned application.
  • Follow the tape manufacturer’s current instructions for overlap, turns and filament activation.
Curves and graphics Design Line

Commonly used for curved cuts, flowing shapes, striping and intricate design work.

Panel finishing Finish Line

Commonly used for straight or gently curved cuts and clean finishing near panel edges.

Seams and gaps Bridge Line

Designed to span gaps or seams while supporting a controlled cut through the applied vinyl.

Before calling it finished

Complete one final quality-control check

Final installation checklist
  • The surface was cleaned, degreased and completely dried before installation.
  • No loose paint, rust, wax, trapped moisture or unstable repairs remain beneath the film.
  • The material was applied without excessive stretching or visible distortion.
  • All bubbles, wrinkles and areas of trapped contamination were addressed.
  • Edges, corners, seams, recesses and returns are fully adhered.
  • Critical stretched areas were post-heated to the manufacturer’s specified temperature.
  • The completed wrap was inspected under strong lighting from multiple angles.
  • The customer understands the recommended initial curing period and ongoing care requirements.
Common mistakes to avoid
  • Applying film over wax, grease, silicone, moisture, rust or failing paint.
  • Cutting the film too small and trying to recover the missing coverage by stretching.
  • Removing too much liner at once and allowing uncontrolled adhesive contact.
  • Heating one small area too aggressively or overheating textured and specialty finishes.
  • Using excessive tension through deep recesses, corners or compound curves.
  • Cutting directly into the vehicle surface with heavy blade pressure.
  • Skipping post-heating on stretched, recessed or high-tension areas.
  • Washing or exposing the installation to harsh conditions immediately after completion.

Use the right material, the right tools and the right amount of patience

Proper preparation, gradual application, controlled heat, safe cutting and careful post-heating are the foundations of a clean and durable vinyl wrap. For complex panels or complete vehicles, professional installation is strongly recommended.

Prepare • Apply • Inspect
Instawraps product support

Need help choosing vinyl, tools or the right amount of material?

Our team can help with product selection, sizing, compatible application tools, order questions and general installation guidance. Choose the most convenient way to reach us.

This guide provides general educational information and does not replace the current technical bulletin, installation instructions, warranty terms or safety guidance issued by the film, tape, tool or chemical manufacturer. Product behavior, compatible surfaces, application temperature, post-heat temperature and finishing requirements vary. Test unfamiliar products and substrates before installation. Professional installation is recommended for full vehicles, complex curves and high-value surfaces. Knifeless is a trademark of 3M.

Transparency is the Key

FAQs

Quick Web Links: FAQ Page | Policies

The product is showing out of stock. When will it be back in stock?

When a product is unavailable, it most likely means that it is in the production process. We will update our inventory as soon as we have it back in stock.

In the meantime, visit the product page on our website, select any out-of-stock size, and click the "Notify me" button to receive an alert with it's available again.

How many feet of material would I need to wrap my car?

Great question. Please use our special Size Chart to match the amount of material needed.

When will my order be fulfilled?

Instawraps aims to fulfill all orders on the same day they are received. Orders placed before 11:00 AM EST are typically shipped the same day. Orders placed after 11:00 AM EST may be shipped the next business day.

For customers in Ontario, Canada, we offer a same-day local delivery option. Orders placed between 10:00 AM and 3:00 PM EST are dispatched within 1 hour and are expected to arrive before 5:00 PM EST. Order placed outside these hours or on non-business days will be dispatched the next next business day after 10:00 AM EST. Express shipping options are also available at checkout, with express orders received before 11:00 AM EST generally shipped the same day.

Is there a cut-off time for same day curbside pickup orders?

Yes, the cut-off time for same-day curbside pickup orders is 11:00 AM EST. Orders placed before this time will typically be ready for pickup by the end of the day.

If an order is placed after 11:00 AM EST and same-day pickup is needed, customers can pay a $25 fee at checkout for expedited same-day pickup. Otherwise, orders placed after the cut-off time will likely be ready the next business day.

Please note, curbside pickup is only available at our Ontario location.

What payment methods do you accept?

We accept all major credit cards.

Canadian customers can also pay via E-transfer, and U.S. customers via Zelle.

Additionally, we offer a partial payment plan through Sezzle, which lets you split your purchase into four equal, interest-free payments. The first payment is due at checkout, with the remaining payments automatically deducted every two weeks.

How can I request to return an item?

Please send a message to an email >> support@instawraps.ca within 30 days of purchase. Or reply to the order confirmation, explain the reason for return request and provide all necessary info / photos, if applicable.

Didn’t find your answer?

Don't hestitate to contact us