
 Wrap Vinyl | All Products
 Paint Protection Film
 Automotive Window Film
 Headlight Tint
 Print Films | All Products
 Tools, Supplies & Care | All Products
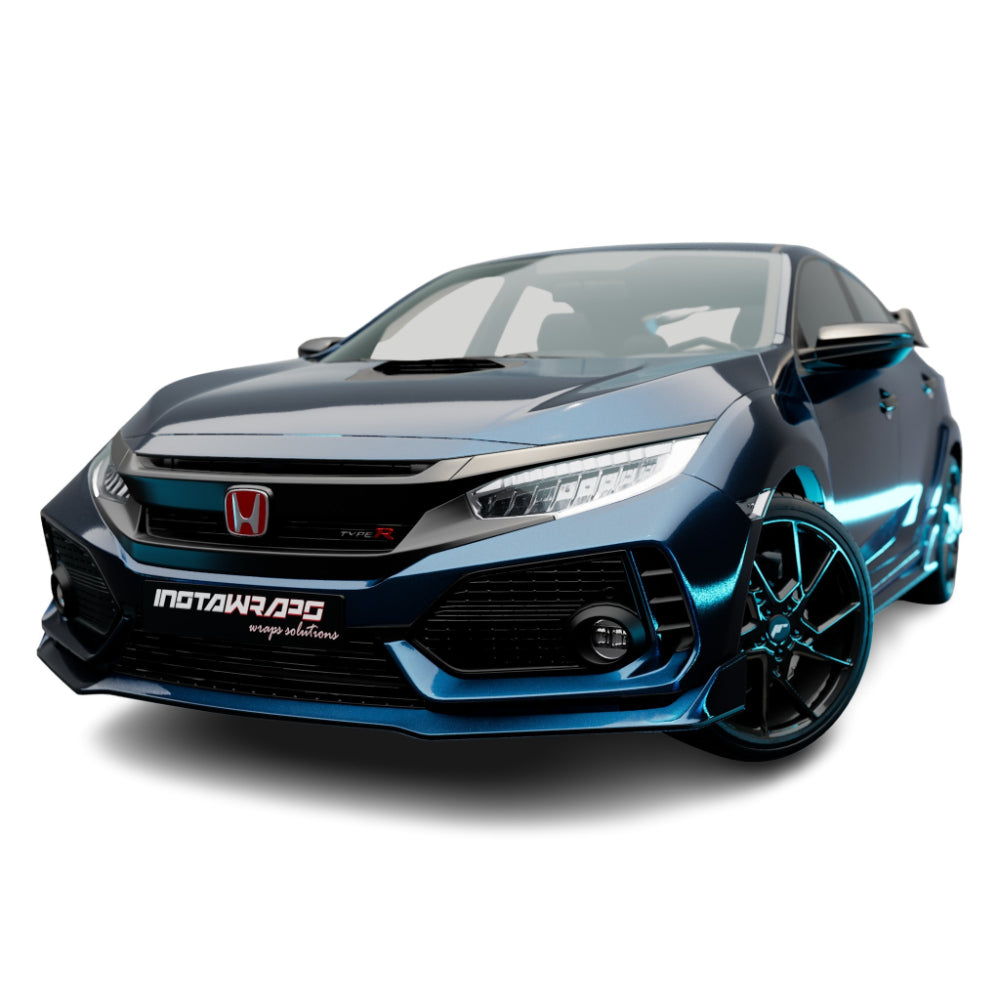
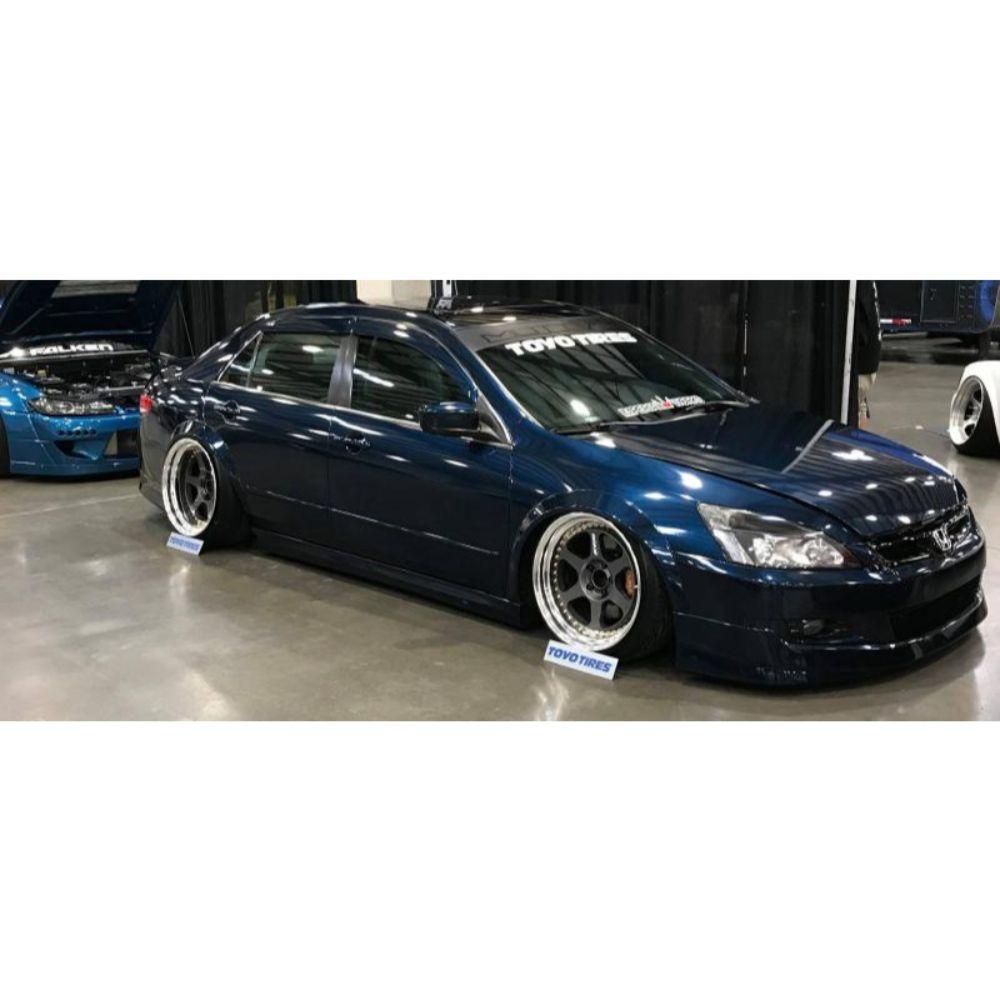
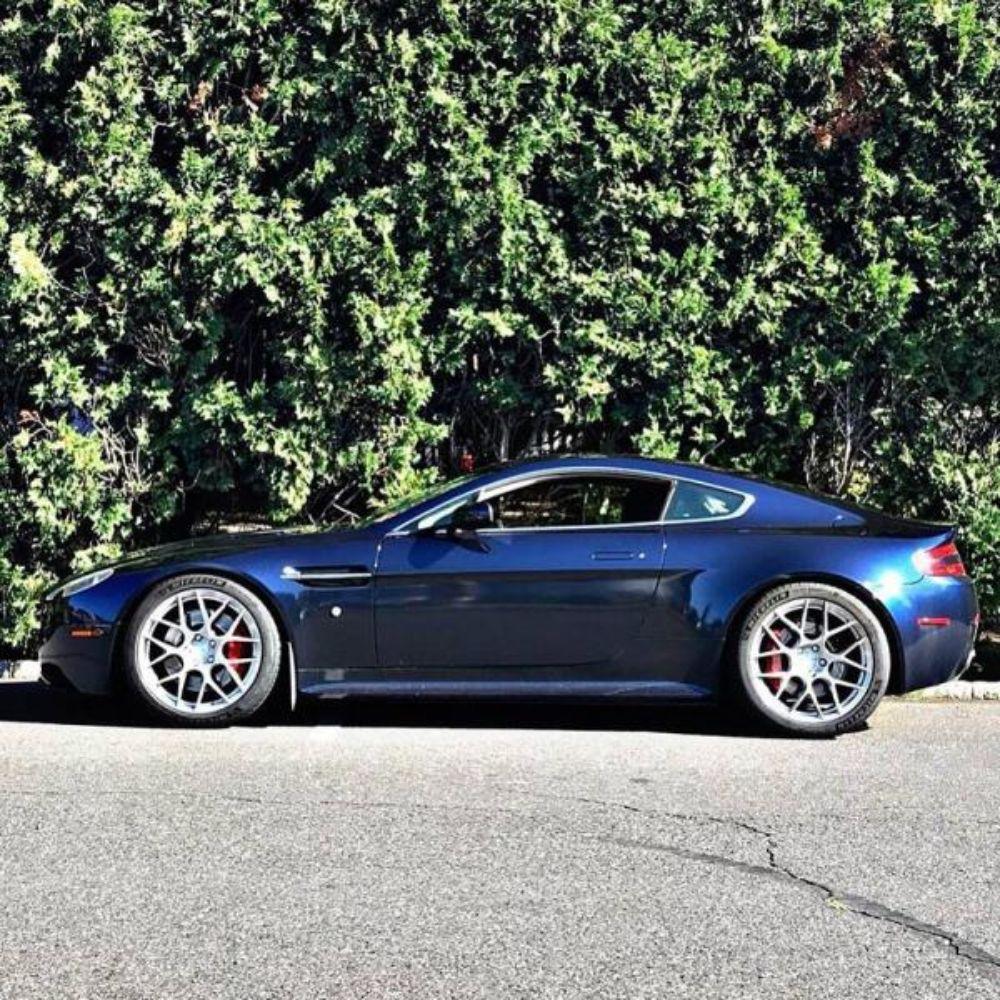
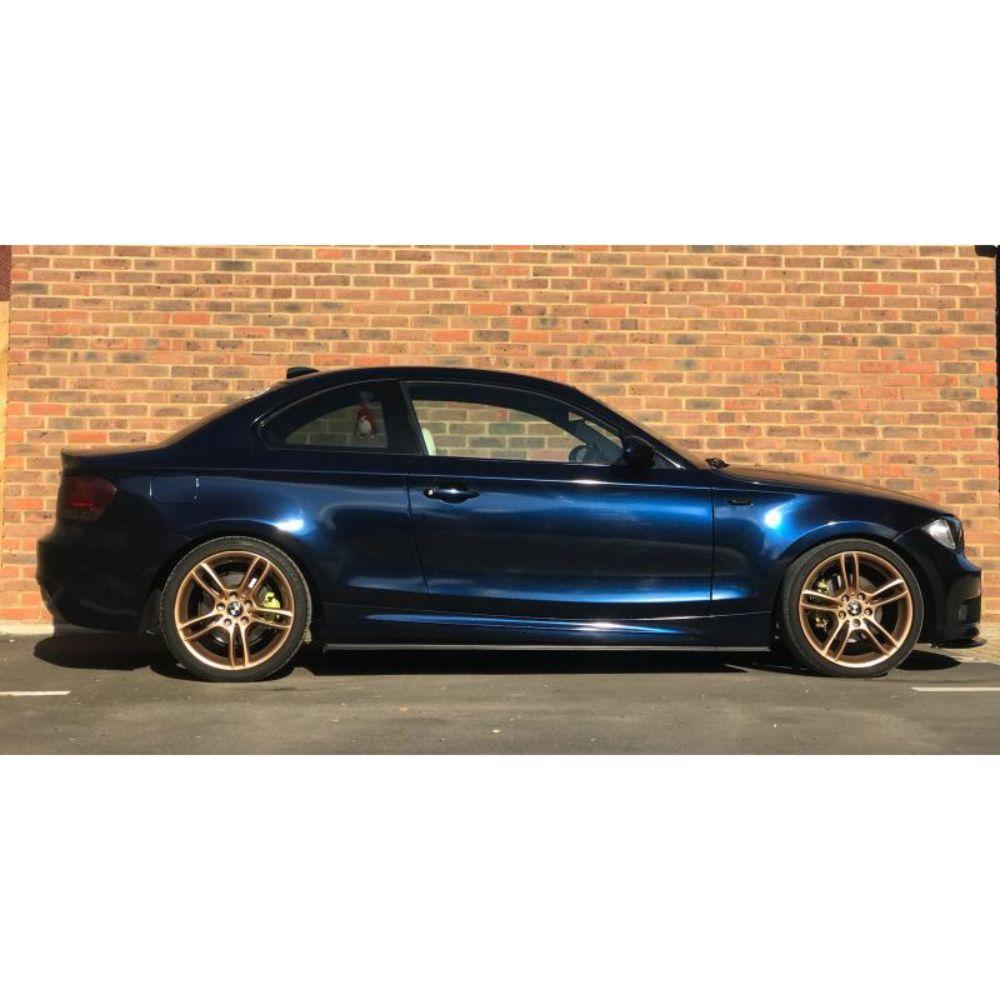
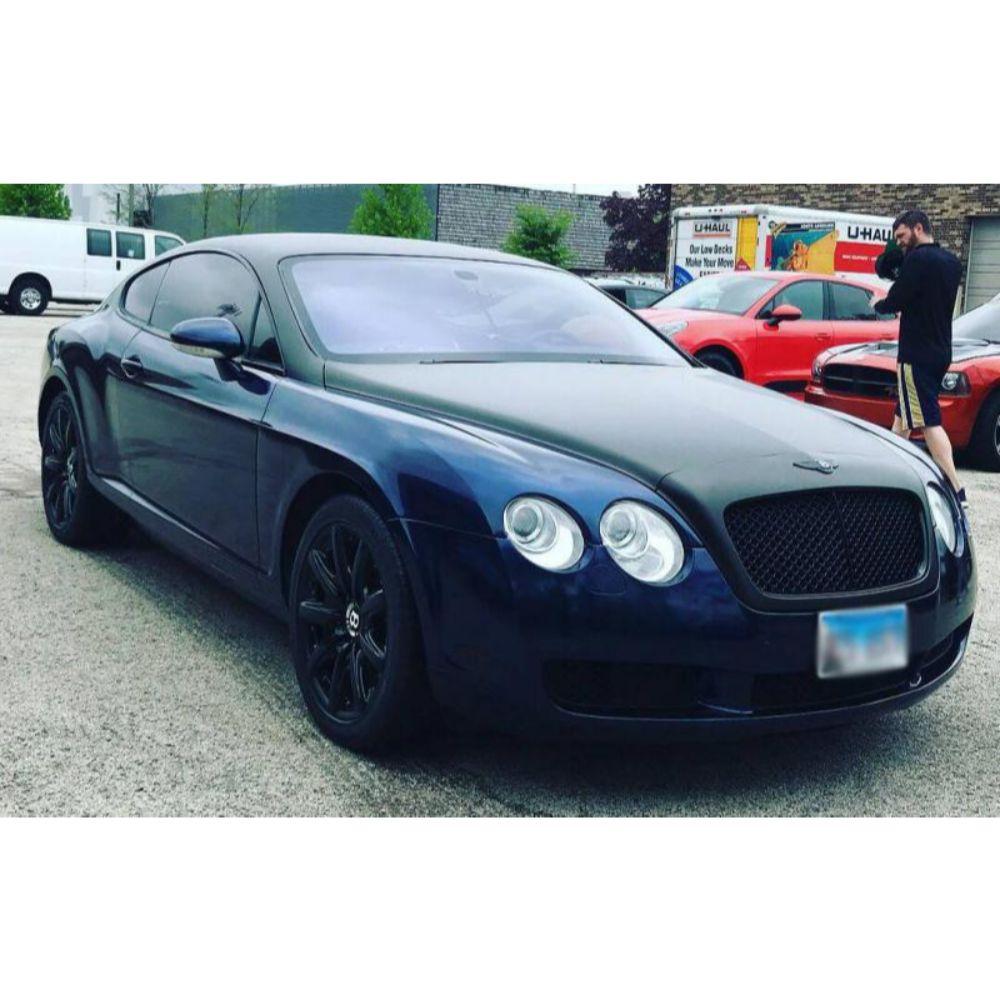
Blue-to-black colour shift
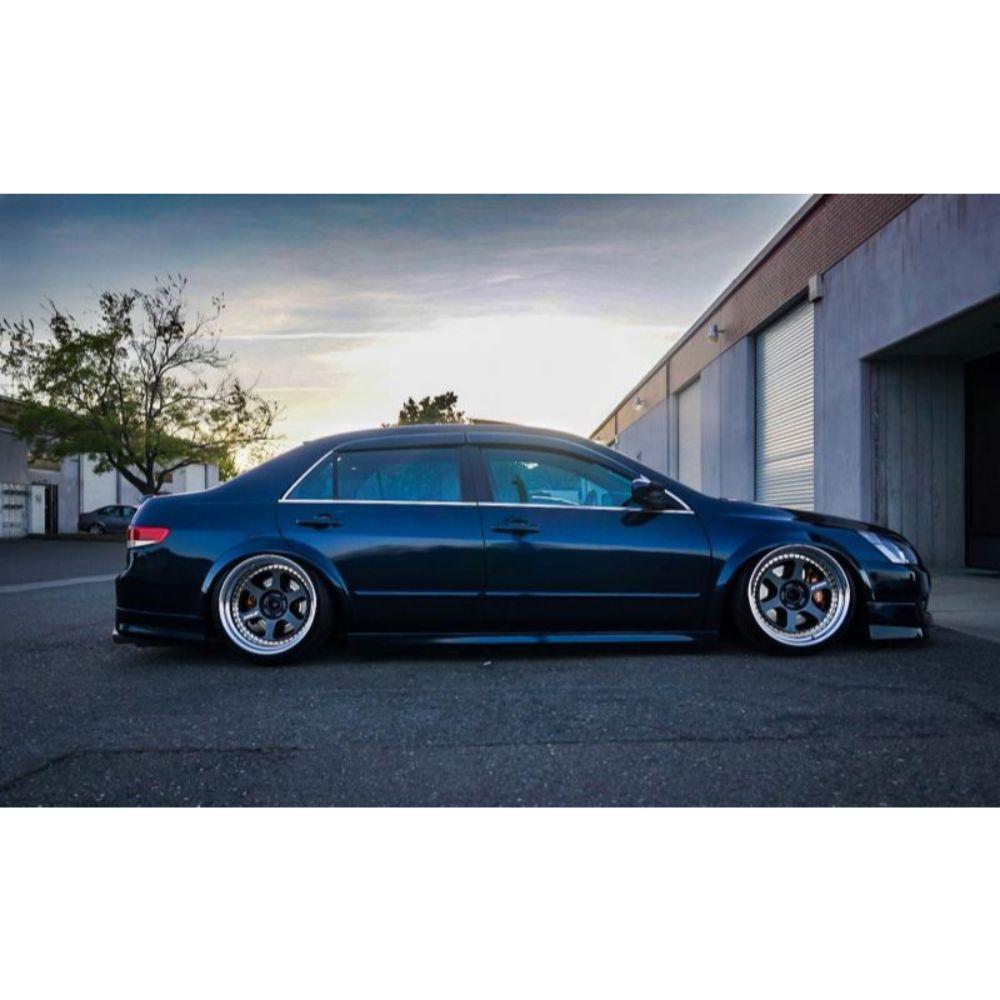
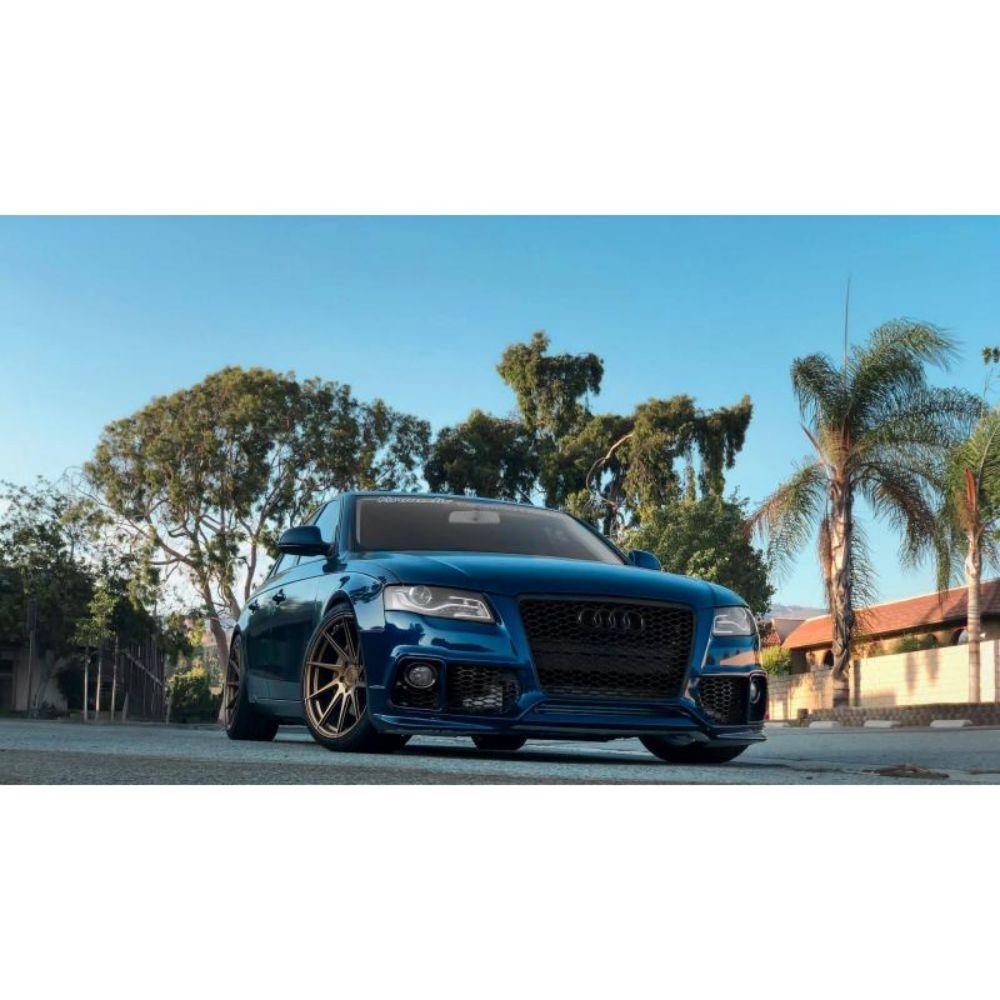
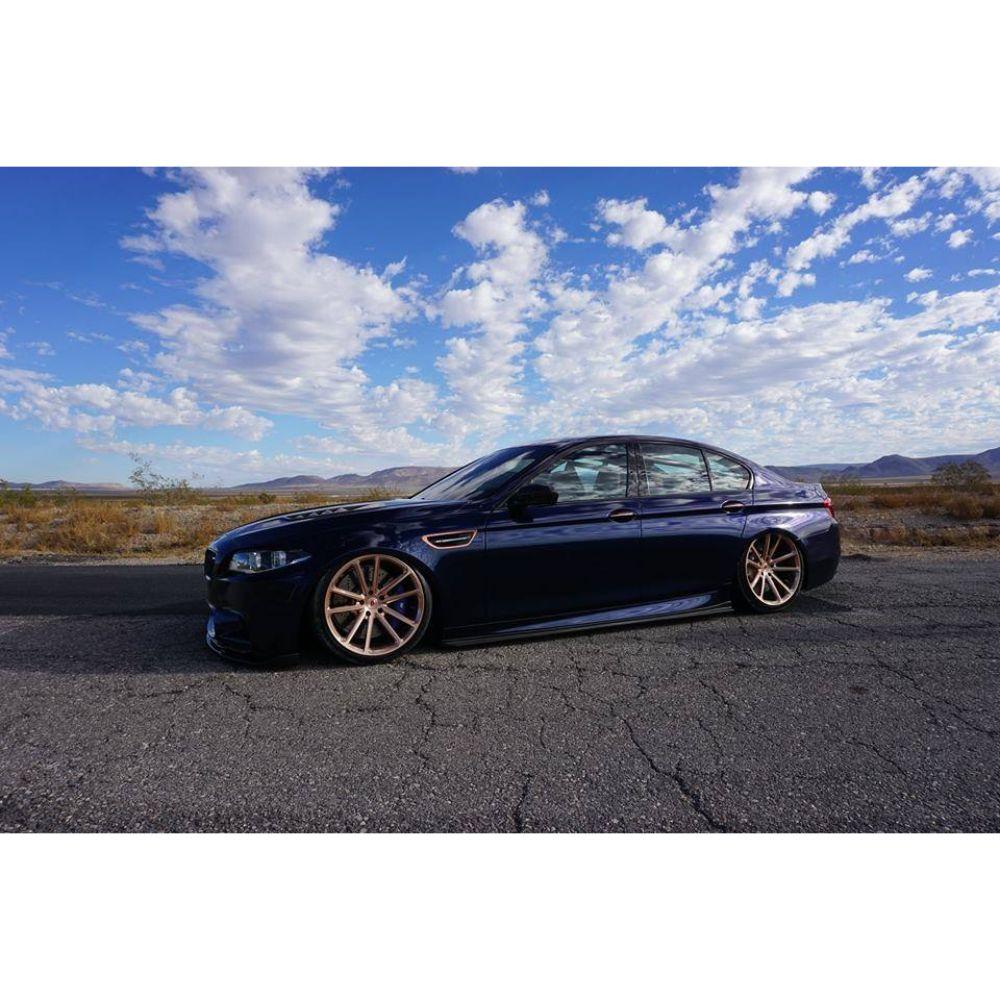
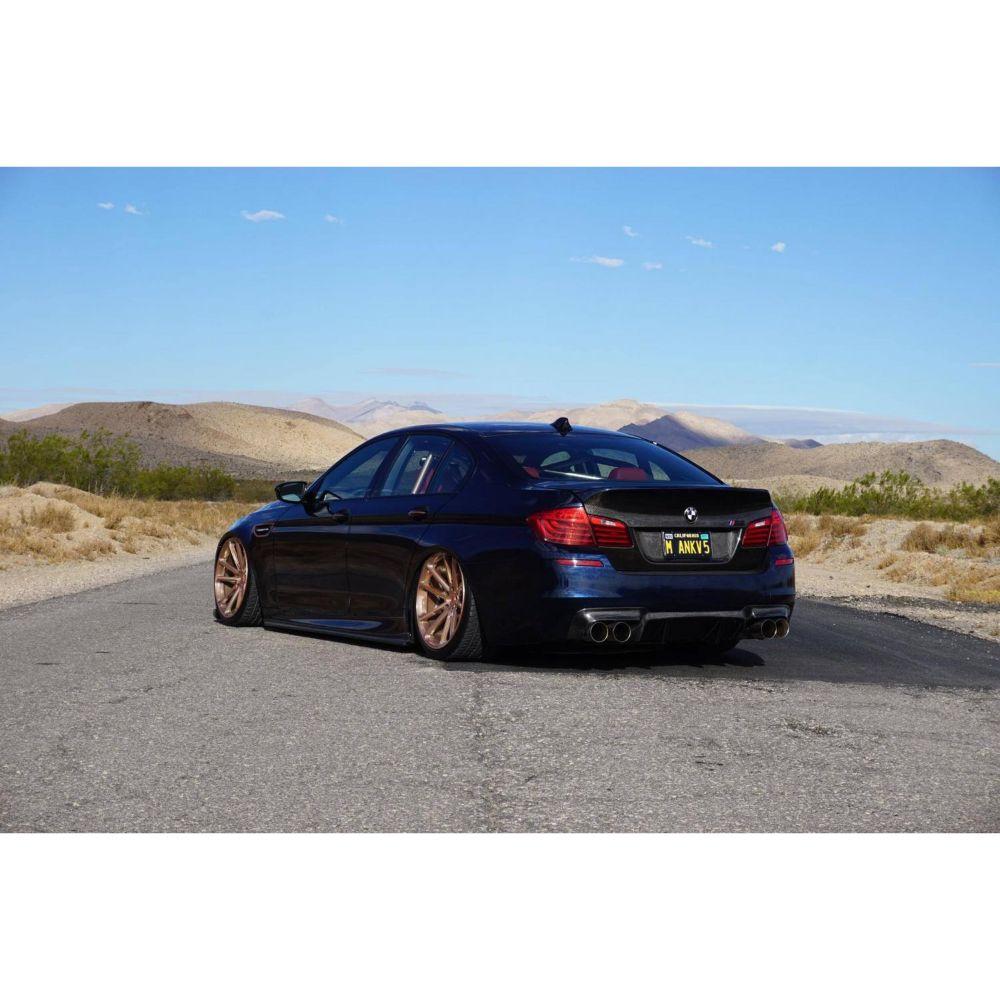
Iridescent pigmentation creates changing transitions between deep black, dark navy, indigo, cobalt and vivid blue as light and viewing angle change.
Shop More, Save More! Join Reward Program
Exclusive Programs Rewards Local Connect Share & Earn Worry-Free Delivery Pay Over Time
🥇 Have photos of this product? Share and earn...
Enter your destination to see the shipping services currently available for the selected product and quantity.

Pairs well with
⚠️ Warning This product can expose you to chemicals including Vinyl Chloride, which is known to the State of California to cause cancer, and Toluene, which is known to the State of California to cause birth defects or other reproductive harm. For more information, please visit www.P65Warnings.ca.gov.
If you have any questions, you are always welcome to contact us. We'll get back to you as soon as possible, within an hour during business days and up-to 48 hours on weekends. See Policies
Fulfilment Information
Our inventory is updated in real time. If an item can be added to your cart, it is in stock. Orders ship within 1–3 business days, depending on the selected shipping method at checkout.
Pickup Information
Curbside pickup is available at our Vaughan, Ontario location. Orders placed before 11 AM on a business day are eligible for free same-day pickup after email confirmation. Orders placed after 11 AM require paid same-day pickup service or will be ready the next business day.
Customer Support
At Instawraps, we offer prompt and expert support for orders, products, installation, and more. Whether you need assistance with shipping, returns, or custom requests, our team is ready to help. Contact us anytime via live chat, email, or phone.
Find quick answers to common questions about orders, shipping, returns, installation, and more in our FAQ section. For further assistance, feel free to reach out via live chat, email, or phone.
Create a dramatic colour-changing transformation with KPMF K75469 Blue Black Iridescent Cast VWS IV. This premium 85-micron double-cast vehicle wrap film combines deep black shadows, vivid blue iridescent highlights, high-gloss reflection and KPMF Airelease liner technology for professionally installed vehicle wraps and compatible decorative applications.
Digital images cannot reproduce the physical Blue Black iridescent effect precisely. Apparent blue intensity, black depth, indigo influence, colour transition and gloss vary with lighting, viewing angle, panel shape, surrounding colours, substrate colour and screen settings.
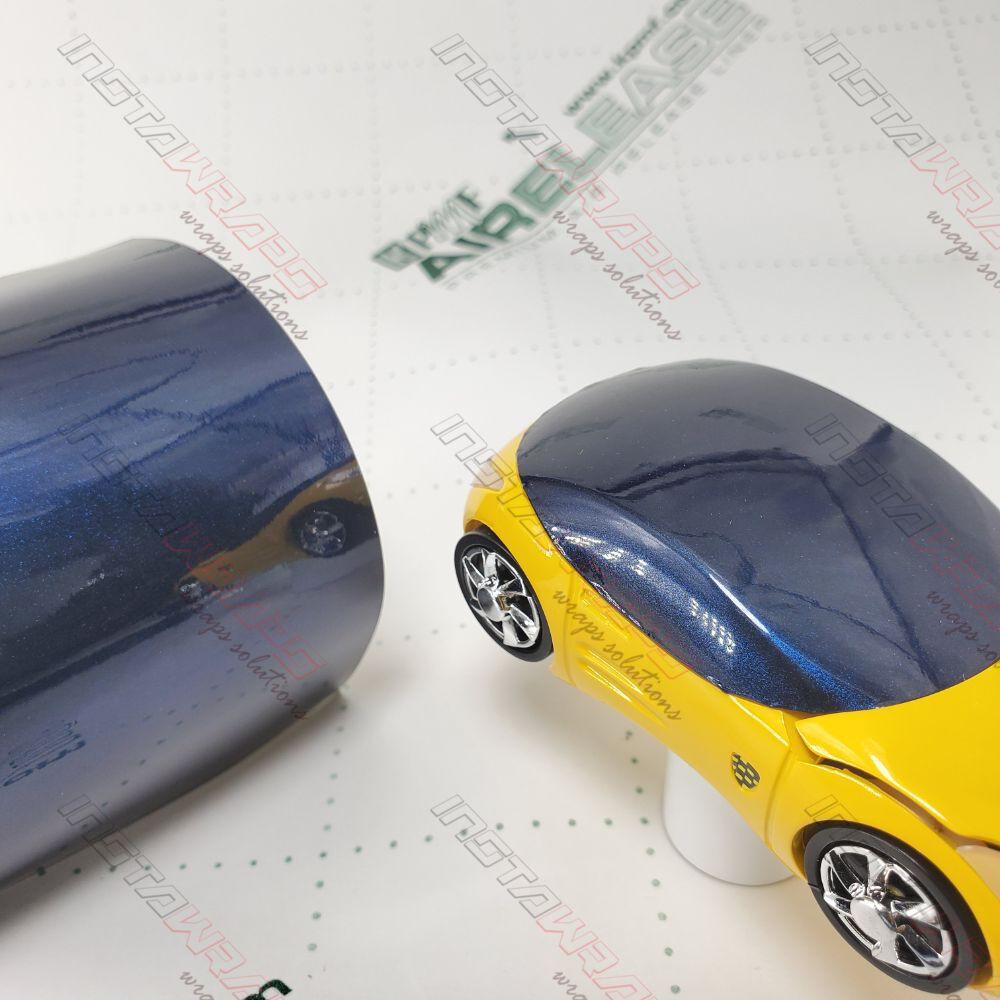
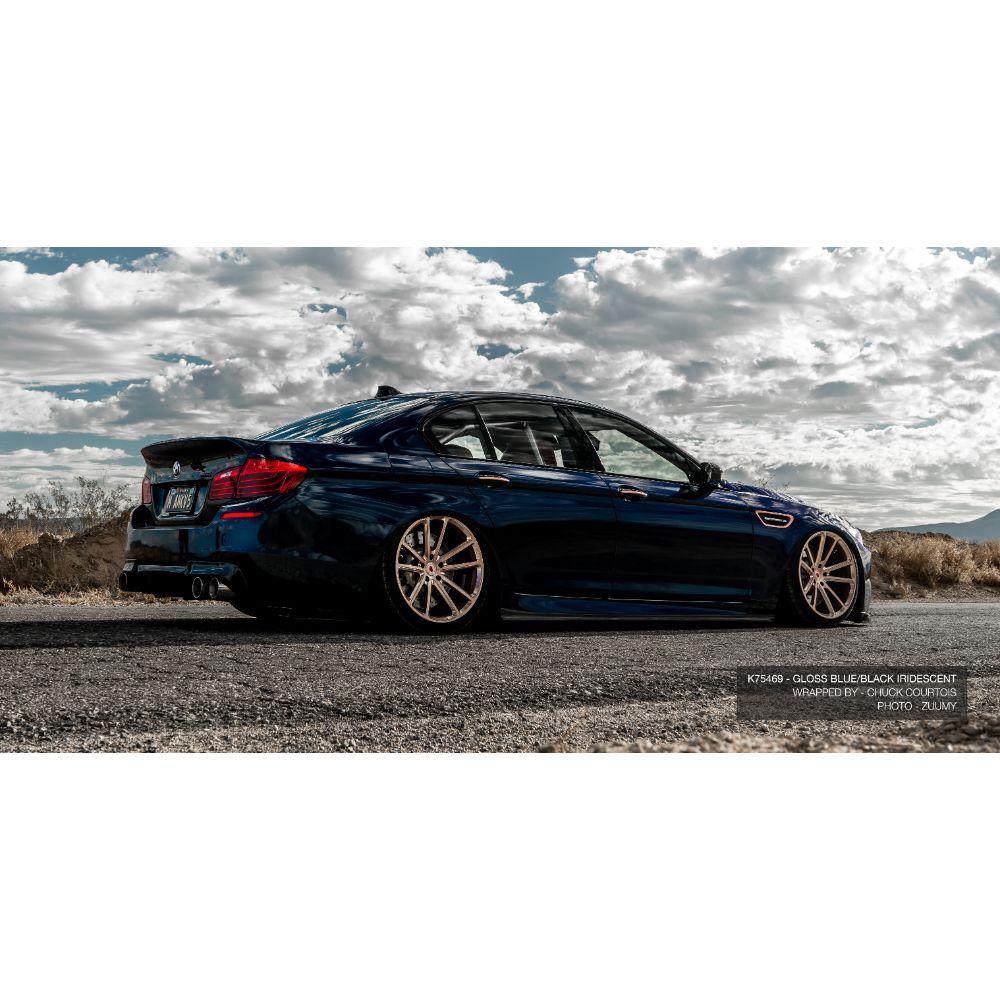
K75469 Blue Black Iridescent creates a dramatic colour-changing appearance that moves between near-black, midnight blue, deep navy, indigo and vivid blue. The gloss surface strengthens reflections while the iridescent pigmentation reveals different colour zones across curved panels, body lines and changing light.
In direct sunlight or strong directional lighting, Blue Black can reveal brighter cobalt, sapphire and electric-blue highlights. In shade, evening light or darker surroundings, the colour becomes deeper and may develop a more restrained black, navy or blue-black presence.
KPMF identifies K75469 as a dedicated blue-to-black gloss iridescent vehicle-wrap film. Its final appearance is influenced by the angle of observation, direction of the light, panel geometry, installation orientation and surrounding colours.
Blue Black pairs naturally with gloss black, carbon fibre, gunmetal, silver, chrome and dark bronze. White, turquoise, lime, red, orange, purple or gold accents can create stronger luxury, motorsport or custom-design contrast.
K75469 combines an 85-micron iridescent double-cast PVC face film, 25 g/m² clear semi-permanent acrylic adhesive and KPMF Airelease liner technology. The construction supports professional positioning, air evacuation, conformability, dimensional stability and controlled removal from qualifying substrates.
Iridescent pigmentation creates changing transitions between deep black, dark navy, indigo, cobalt and vivid blue as light and viewing angle change.
The 85-micron double-cast PVC construction is developed for vehicle wrapping, dimensional stability and suitable indoor or outdoor applications.
A gloss level above 85 GU creates strong reflections that intensify the black depth and changing blue highlights across vehicle contours.
The structured liner supports positioning and helps installers move trapped air toward an accessible film edge during professional dry application.
The 1524-millimetre width supports one-piece coverage across many hoods, roofs and side panels, helping reduce unnecessary seams.
KPMF lists durability below seven years for K75469, while the applicable Iridescent sheet lists up to seven years for Zone 1 vertical exposure.
Consistent roll direction, production-batch control and careful gloss-surface handling are important.
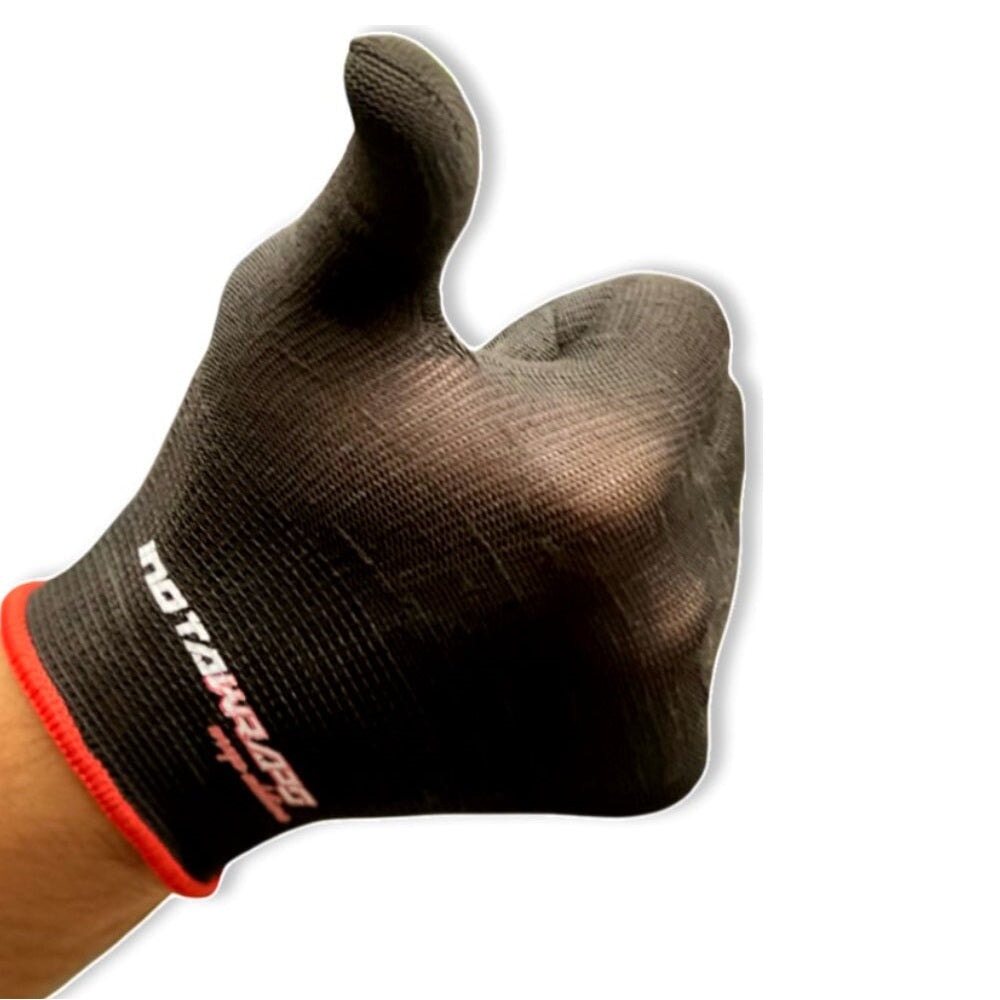
Keep adjacent panels oriented consistently and avoid combining different production batches on one vehicle or continuous graphic. The blue-to-black transition and gloss character may appear different when material is rotated or batches are mixed. Use clean gloves and film-safe tools. This decorative vehicle wrap vinyl is not paint protection film.
Our team can help with product selection, sizing, colour samples, compatible tools, order questions and general installation guidance. Choose the most convenient way to reach us.
*KPMF's current product record identifies K75469 Blue Black Iridescent Cast VWS IV as an 85 µm double-cast vehicle wrapping film with semi-permanent adhesive, an Airelease liner, a blue-to-black gloss iridescent effect, durability below seven years and controlled removability for up to three years from qualifying substrates. The applicable K75000 Iridescent technical sheet lists 25 g/m² clear semi-permanent solvent-based acrylic adhesive, gloss above 85 GU, a minimum application temperature of 18°C and up to seven years of Zone 1 vertical durability. The sheet lists three years horizontal in Zone 1, five years vertical and two years horizontal in Zone 2, three years vertical and one year horizontal in Zone 3, and more than two years for Florida or Arizona horizontal exposure. Actual performance depends on production batch, storage, substrate, preparation, installation, exposure, cleaning and maintenance. KPMF, VWS IV and Airelease are trademarks or trade names of Kay Premium Marking Films Ltd.
Current manufacturer documentation and the physical roll label govern.
A successful wrap begins long before the film touches the surface. Follow this practical guide to prepare, position, apply, trim and finish your vinyl with greater control and a cleaner, more professional result.
Vinyl wrap is designed to conform to smooth surfaces, but the film can only perform as well as the surface underneath it. Dirt, wax, oil, loose paint, rough repairs and hidden moisture may affect adhesion or become visible through the installed material.
Before beginning, inspect the panel, plan your material direction and decide where seams, relief cuts and finishing edges will be located. Measure twice, cut with enough working allowance and avoid pulling the film tighter than needed.
Working gradually gives you more control. It helps reduce trapped air, unnecessary stretching, distorted finishes and weak edges caused by rushing.
Review the complete process before starting. Each step supports the next, so skipping preparation or finishing work may affect the final appearance and long-term adhesion.
Wash, degrease, dry and inspect the panel so the adhesive can contact a smooth, stable and contaminant-free surface.
Measure the coverage area carefully and cut the film slightly oversized to leave enough material for positioning and edge finishing.
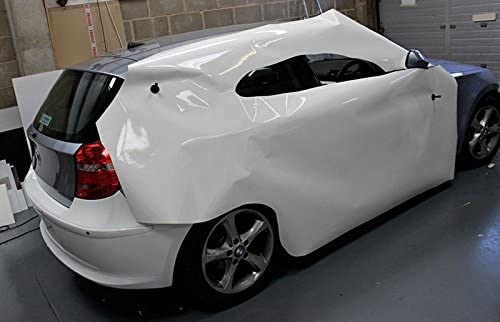
Anchor the film, expose the adhesive gradually and use overlapping squeegee strokes while working in manageable sections.
Use controlled heat to soften the vinyl for curves and irregular shapes, stretching only as much as the area requires.
Trim carefully, avoid cutting into the substrate and finish edges with firm pressure before tucking them into suitable seams.
Heat-set stretched areas, recesses, curves and edges according to the exact instructions for the film being installed.
Check every edge, seam and contour. Correct remaining bubbles carefully, then avoid washing or harsh exposure for approximately 24–48 hours while the adhesive develops its bond.
These expandable instructions keep the page easy to navigate while giving you the important details needed at every stage of the installation.
Adhesion begins with the condition of the panel. Do not apply film over wax, grease, dust, loose paint, rust, moisture or unstable repairs.
Post-heating helps stabilize areas that were stretched or formed under tension. The required temperature differs by product, finish, manufacturer and application.
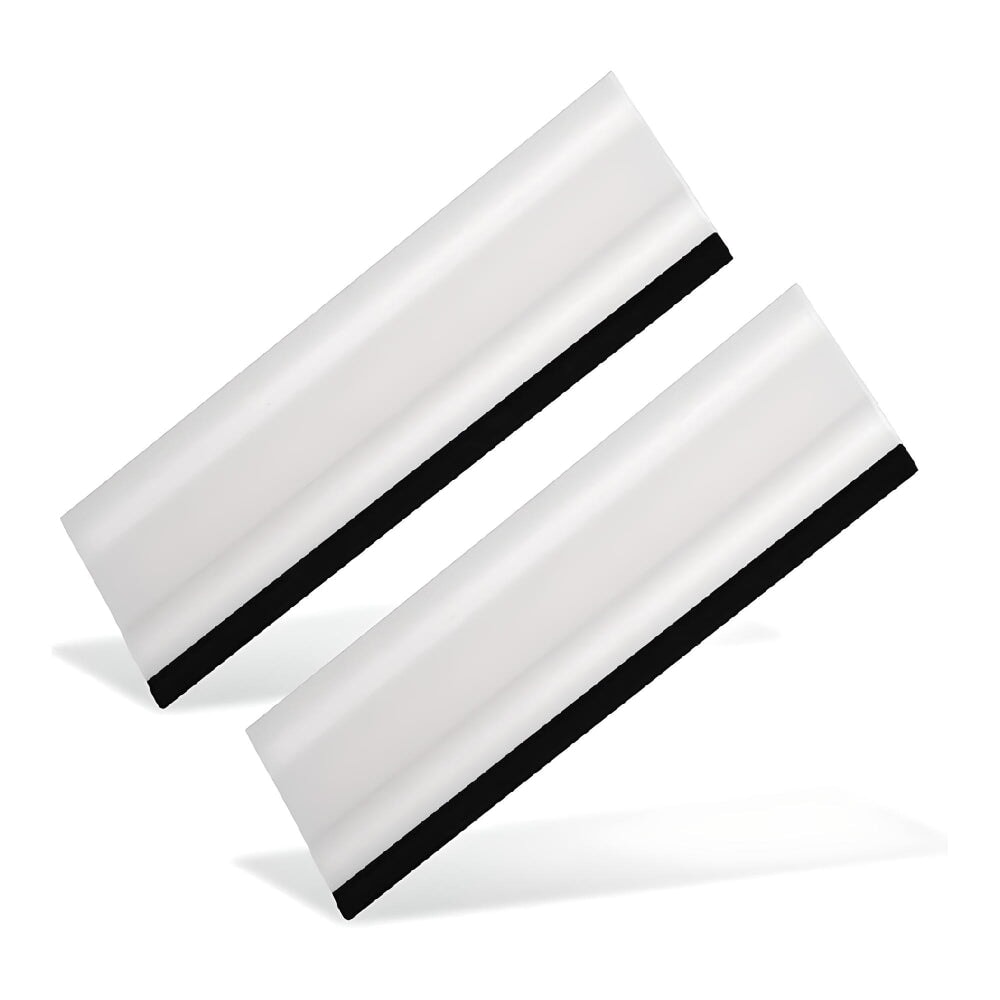
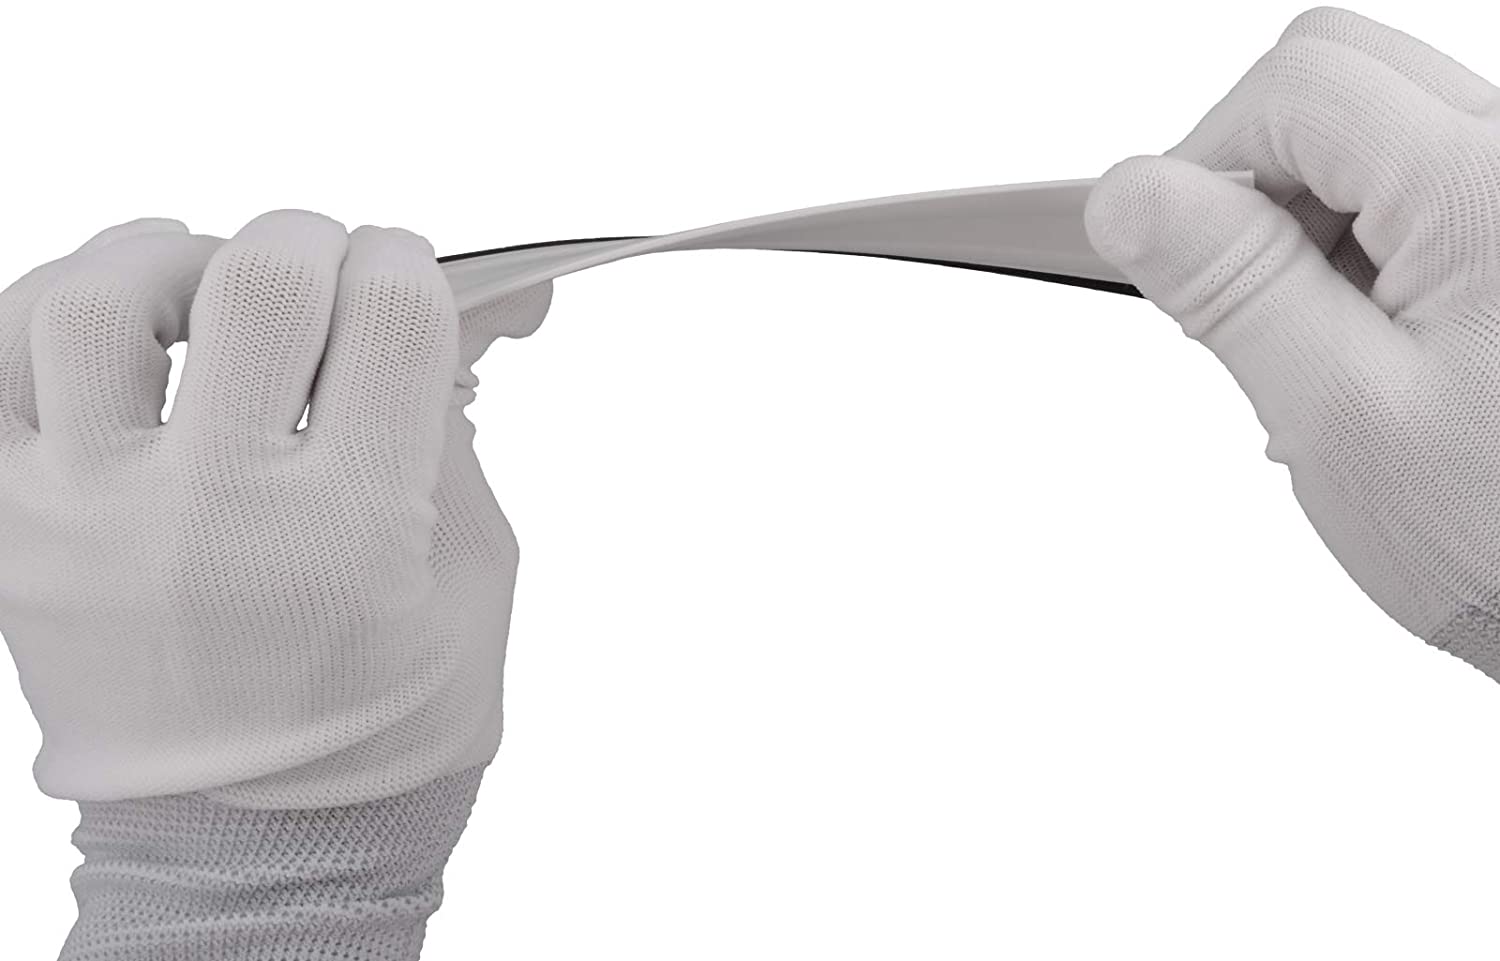
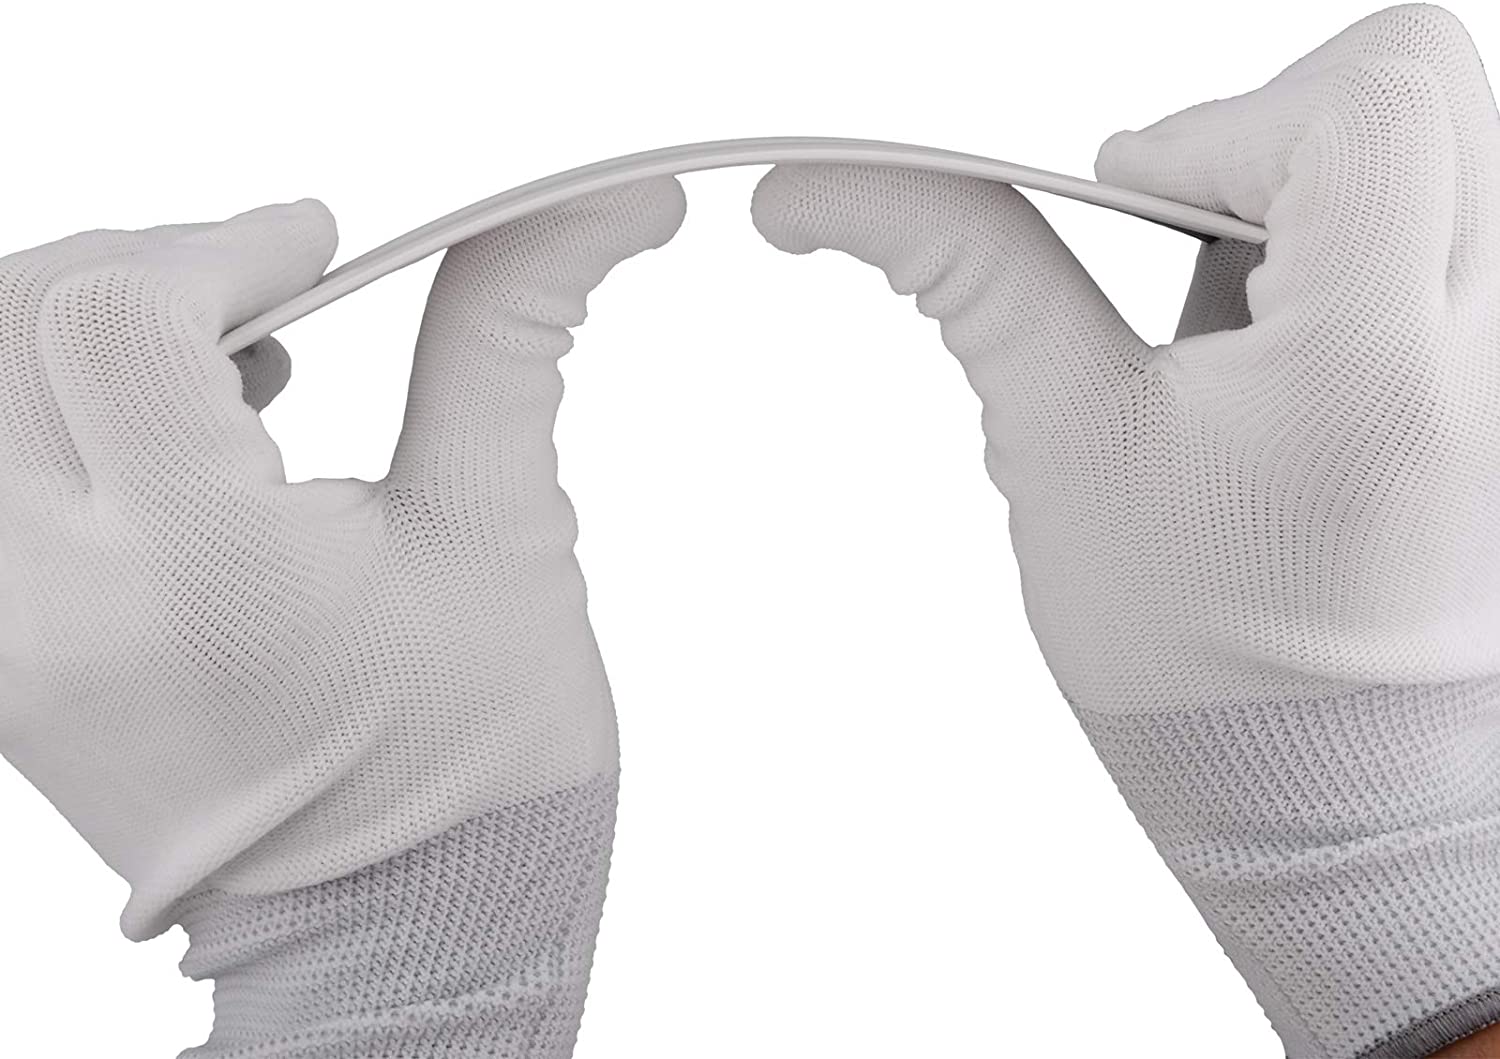
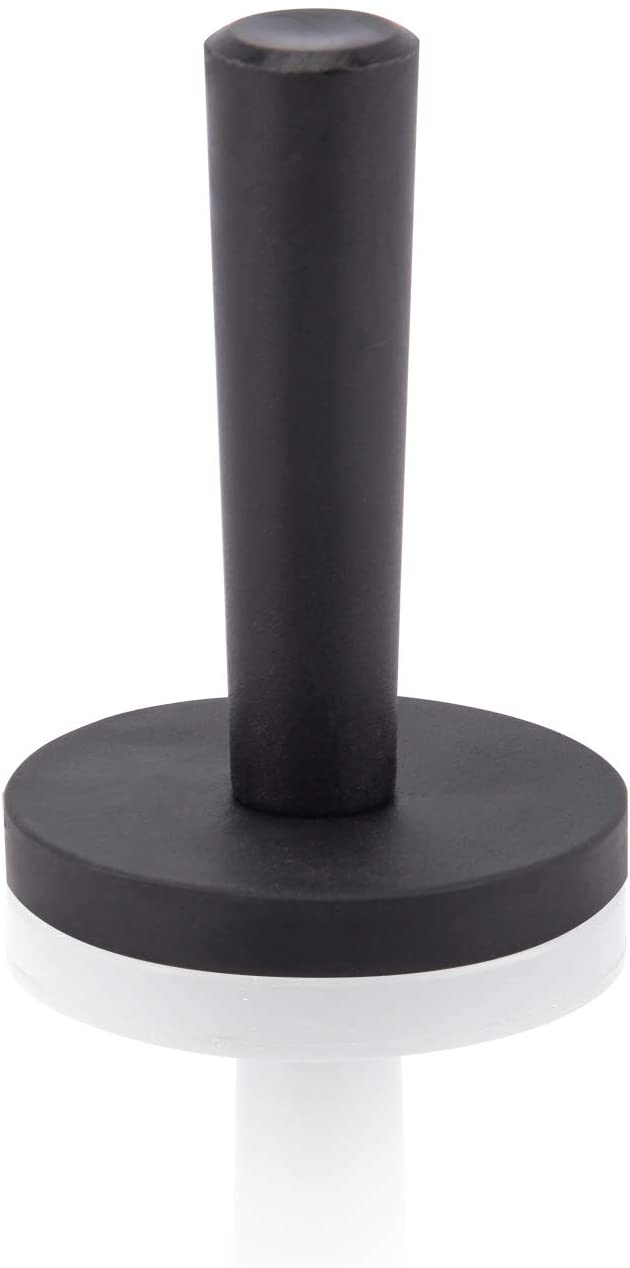
Clean, suitable tools improve control and help protect the film. Organize everything before starting so the installation does not need to stop midway.
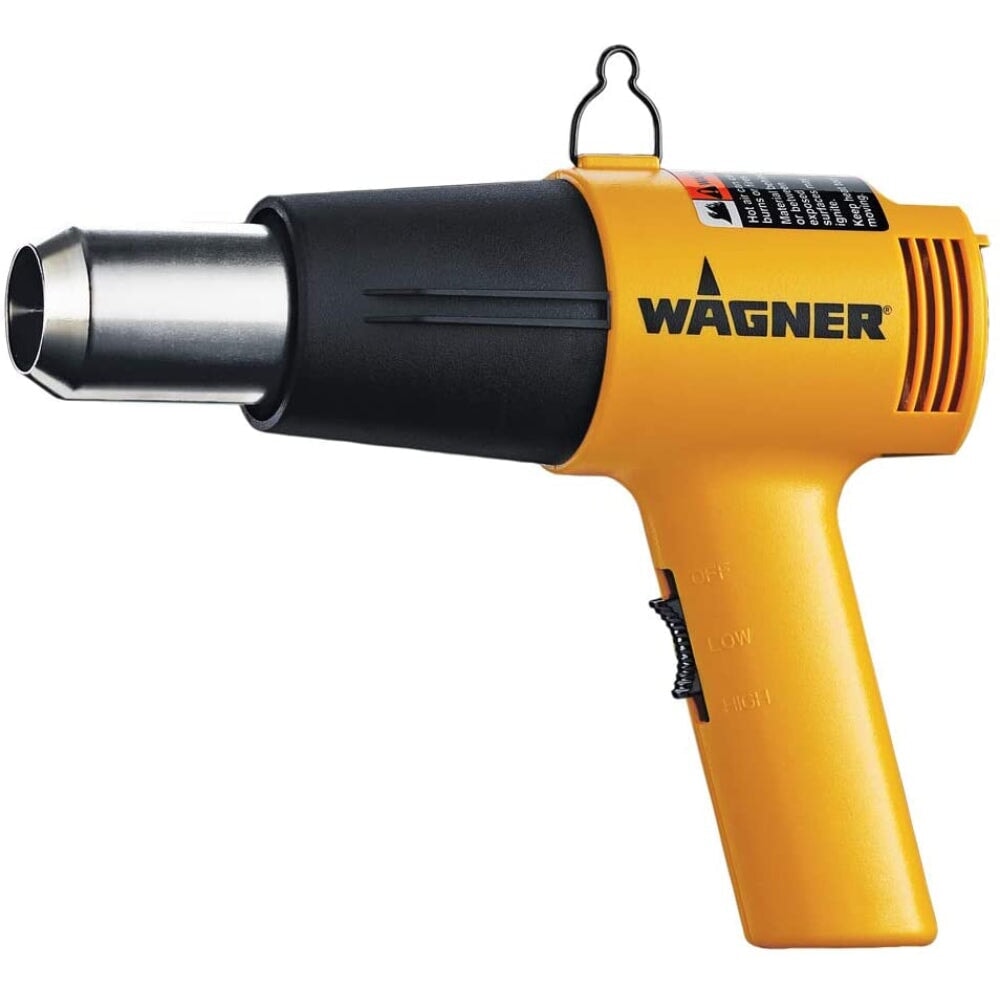
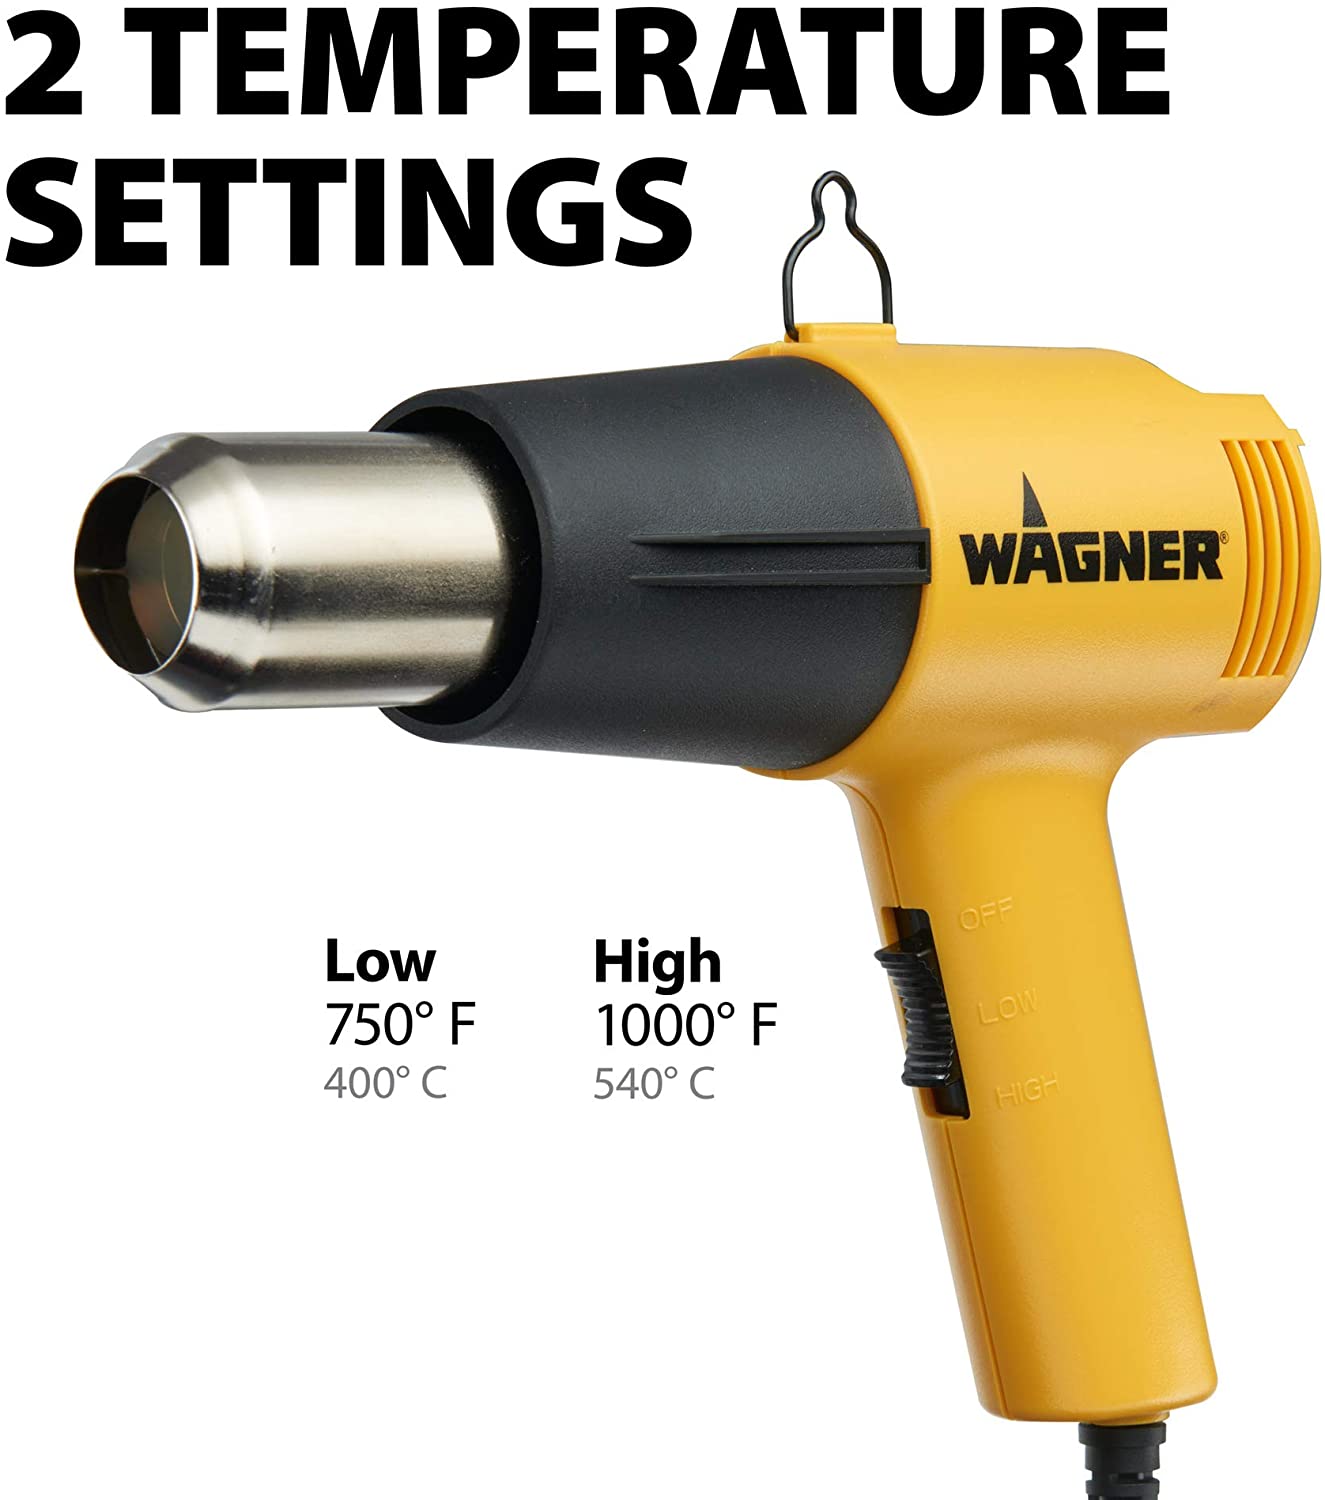
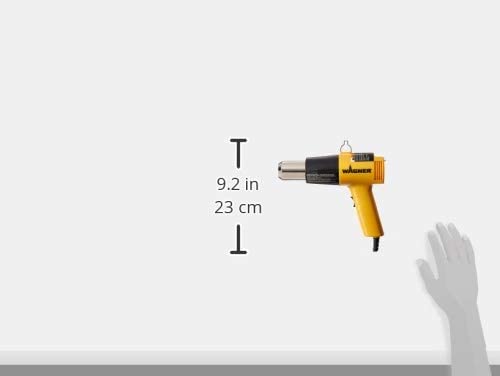
A heat gun provides more controlled heat. Excessive temperature may damage vinyl, distort the finish, affect adhesive performance or harm the substrate.
Knifeless tape is positioned underneath the vinyl before application. A thin internal filament is then pulled through the film, creating a guided cut without placing a knife blade directly against the painted surface.
Commonly used for curved cuts, flowing shapes, striping and intricate design work.
Commonly used for straight or gently curved cuts and clean finishing near panel edges.
Designed to span gaps or seams while supporting a controlled cut through the applied vinyl.
Our team can help with product selection, sizing, compatible application tools, order questions and general installation guidance. Choose the most convenient way to reach us.
This guide provides general educational information and does not replace the current technical bulletin, installation instructions, warranty terms or safety guidance issued by the film, tape, tool or chemical manufacturer. Product behavior, compatible surfaces, application temperature, post-heat temperature and finishing requirements vary. Test unfamiliar products and substrates before installation. Professional installation is recommended for full vehicles, complex curves and high-value surfaces. Knifeless is a trademark of 3M.
When a product is unavailable, it most likely means that it is in the production process. We will update our inventory as soon as we have it back in stock.
In the meantime, visit the product page on our website, select any out-of-stock size, and click the "Notify me" button to receive an alert with it's available again.
Great question. Please use our special Size Chart to match the amount of material needed.
Instawraps aims to fulfill all orders on the same day they are received. Orders placed before 11:00 AM EST are typically shipped the same day. Orders placed after 11:00 AM EST may be shipped the next business day.
For customers in Ontario, Canada, we offer a same-day local delivery option. Orders placed between 10:00 AM and 3:00 PM EST are dispatched within 1 hour and are expected to arrive before 5:00 PM EST. Order placed outside these hours or on non-business days will be dispatched the next next business day after 10:00 AM EST. Express shipping options are also available at checkout, with express orders received before 11:00 AM EST generally shipped the same day.
Yes, the cut-off time for same-day curbside pickup orders is 11:00 AM EST. Orders placed before this time will typically be ready for pickup by the end of the day.
If an order is placed after 11:00 AM EST and same-day pickup is needed, customers can pay a $25 fee at checkout for expedited same-day pickup. Otherwise, orders placed after the cut-off time will likely be ready the next business day.
Please note, curbside pickup is only available at our Ontario location.
We accept all major credit cards.
Canadian customers can also pay via E-transfer, and U.S. customers via Zelle.
Additionally, we offer a partial payment plan through Sezzle, which lets you split your purchase into four equal, interest-free payments. The first payment is due at checkout, with the remaining payments automatically deducted every two weeks.
Please send a message to an email >> support@instawraps.ca within 30 days of purchase. Or reply to the order confirmation, explain the reason for return request and provide all necessary info / photos, if applicable.