
 Wrap Vinyl
 Paint Protection Film
 Automotive Window Film
 Headlight Tint
 Print Films
 Supplies & Care
UPGRADE - SAME DAY PICKUP (instructions at the bottom)
Learn More
See it first
Essential Bundle for Car Wrap Projects
Pairs well with
⚠️ Warning This product can expose you to chemicals including Vinyl Chloride, which is known to the State of California to cause cancer, and Toluene, which is known to the State of California to cause birth defects or other reproductive harm. For more information, please visit www.P65Warnings.ca.gov.


Why 100,000+ Customers trust Instawraps
If you have any questions, you are always welcome to contact us. We'll get back to you as soon as possible, within an hour during business days and up-to 48 hours on weekends. See Policies
-
Customer Support
At Instawraps, we offer prompt and expert support for orders, products, installation, and more. Whether you need assistance with shipping, returns, or custom requests, our team is ready to help. Contact us anytime via live chat, email, or phone.
-
FAQ’s
Find quick answers to common questions about orders, shipping, returns, installation, and more in our FAQ section. For further assistance, feel free to reach out via live chat, email, or phone.
-
Contact Us
Email - support@instawraps.ca
Call - 1.866.258.6908
Product Details
Product Description
Enhance Your Curbside Pickup to Same-Day Pickup Service
Please include your initial order ID in the note section prior of placing your order.
You have the option to upgrade your curbside pickup order to same-day pickup service, provided it has not yet been collected.
To proceed, simply add this item to your cart and make sure it is the only item in your cart. Please avoid adding any additional items at this point.
Go to your cart, confirm our terms and proceed to checkout.
When checking out, start filling up your personal / business info; enter billing address and payment information.
Complete checkout!
To ensure timely fulfillment, please complete your checkout by 3:00 PM EST. This will allow us adequate time to prepare your order for same-day pickup.
Orders can be collected during our standard pickup hours: Monday to Friday, from 10:00 AM to 12:00 PM and 1:00 PM to 4:00 PM.
Please note that all standard pickup policies, including those related to cancellations and returns, apply to this upgrade.
3M Print Film Features
3M™ Print Wrap IJ180mCv3-10 Film
3M™ Controltac™ Graphic Film with Comply™ v3 Adhesive IJ180Cv3 is a versatile, conformable 2 mil film with slideable, repositionable, and medium/higher tack. It features Comply™ v3 Adhesive for fast, easy, and bubble-free installation. Use this long term, removable, inkjet printable film for signs, fleet graphics, full vehicle wraps, and watercraft.
Key Features:
Ideal for vehicle wraps and fleet graphics including corrugations and rivets. Smooth or lightly textured wall graphics
Features Comply™ Cv3 air release system for fast, easy, and bubble-free installation
Conformable film for ease of wrapping complex curves and contours
Slideable, repositionable graphic film with medium/higher tack
Turbocharge your performance with a wrap film that installs faster and looks even better. Ideal film for wraps with superior slideability, low initial tack, and an excellent liner release. Perfect choice for Fleet Graphics, Labels, Opaque Signage, Smooth Wall Graphics, Transit Graphics, Vehicle Wraps, Watercraft Graphics and Window Graphics.
SPECIFICATIONS:
Adhesive Color: Gray
Adhesive Features: Air-Release, Comply™ v3, Controltac™, Repositionable, Slideable
Adhesive Type: Pressure-Activated
Color: White
Durability: 7 yr
Film Type: Cast, Opaque
Liner Type: Polyethylene-coated Paper
Print Compatibility: Eco-Solvent, Latex, Solvent, UV Curable
Removability: Removable
Series: IJ180, Print Wrap
Thickness: 2 mil
RESOURCES:
Bulletins
3M™ Controltac™ Graphic Film IJ180/ IJ180C/IJ180Cv3 Product Bulletin
Bulletin listing 3M solutions for interior and exterior floor and sidewalk graphics projects
Data Sheets
Product Article Letter IJ180Cv3-10
Flammability Test Report IJ180Cv3-10
Product Selection Guides
Application Guide
Graphics Vinyl Wrap Application Guide
1. Prepare the Surface
- Clean Thoroughly: Start with a clean surface. Use a mild soap or an automotive-grade cleaner to remove any dirt, wax, or grease from the area you’re wrapping.
- Degrease: Once cleaned, some installers may use an isopropyl alcohol solution to remove any remaining oils or residues. Let the surface dry completely.
- Check for Imperfections: Look for scratches, dents, or bumps. Vinyl conforms best to smooth surfaces, so fill or sand any imperfections for optimal results.
- Avoid Dust & Static: For printed graphics, ensure the surface is free of dust and static to prevent contamination.
- Check for Curling Edges: If using laminated graphics, inspect for any curling before application.
2. Measure and Align the Graphics
- Measure Carefully: Measure the area you're wrapping and add a few extra inches on each side for adjustments.
- Align the Graphics: If the graphic has a specific orientation, use reference points or masking tape guides to ensure proper alignment before peeling the backing paper.
- Pre-Cut When Necessary: Trim the vinyl slightly larger than needed. Trimming is easier than stretching.
- Consider Multi-Panel Graphics: For multi-panel designs, align from the center outward, ensuring perfect panel alignment.
3. Apply the Vinyl
- Peel and Stick: Start by peeling back a portion of the backing paper to expose the adhesive. Stick one edge of the vinyl to the surface.
- Use a Squeegee: Slowly apply the vinyl in sections, smoothing out air bubbles or wrinkles as you go.
- Work in Small Sections: Only peel back as much as you can handle at a time to avoid premature adhesion.
- Consider the Wet Application Method: If necessary, use a fine mist of water with a drop of dish soap to allow repositioning.
4. Heat and Stretch (For Curved Surfaces & Overlapping Panels)
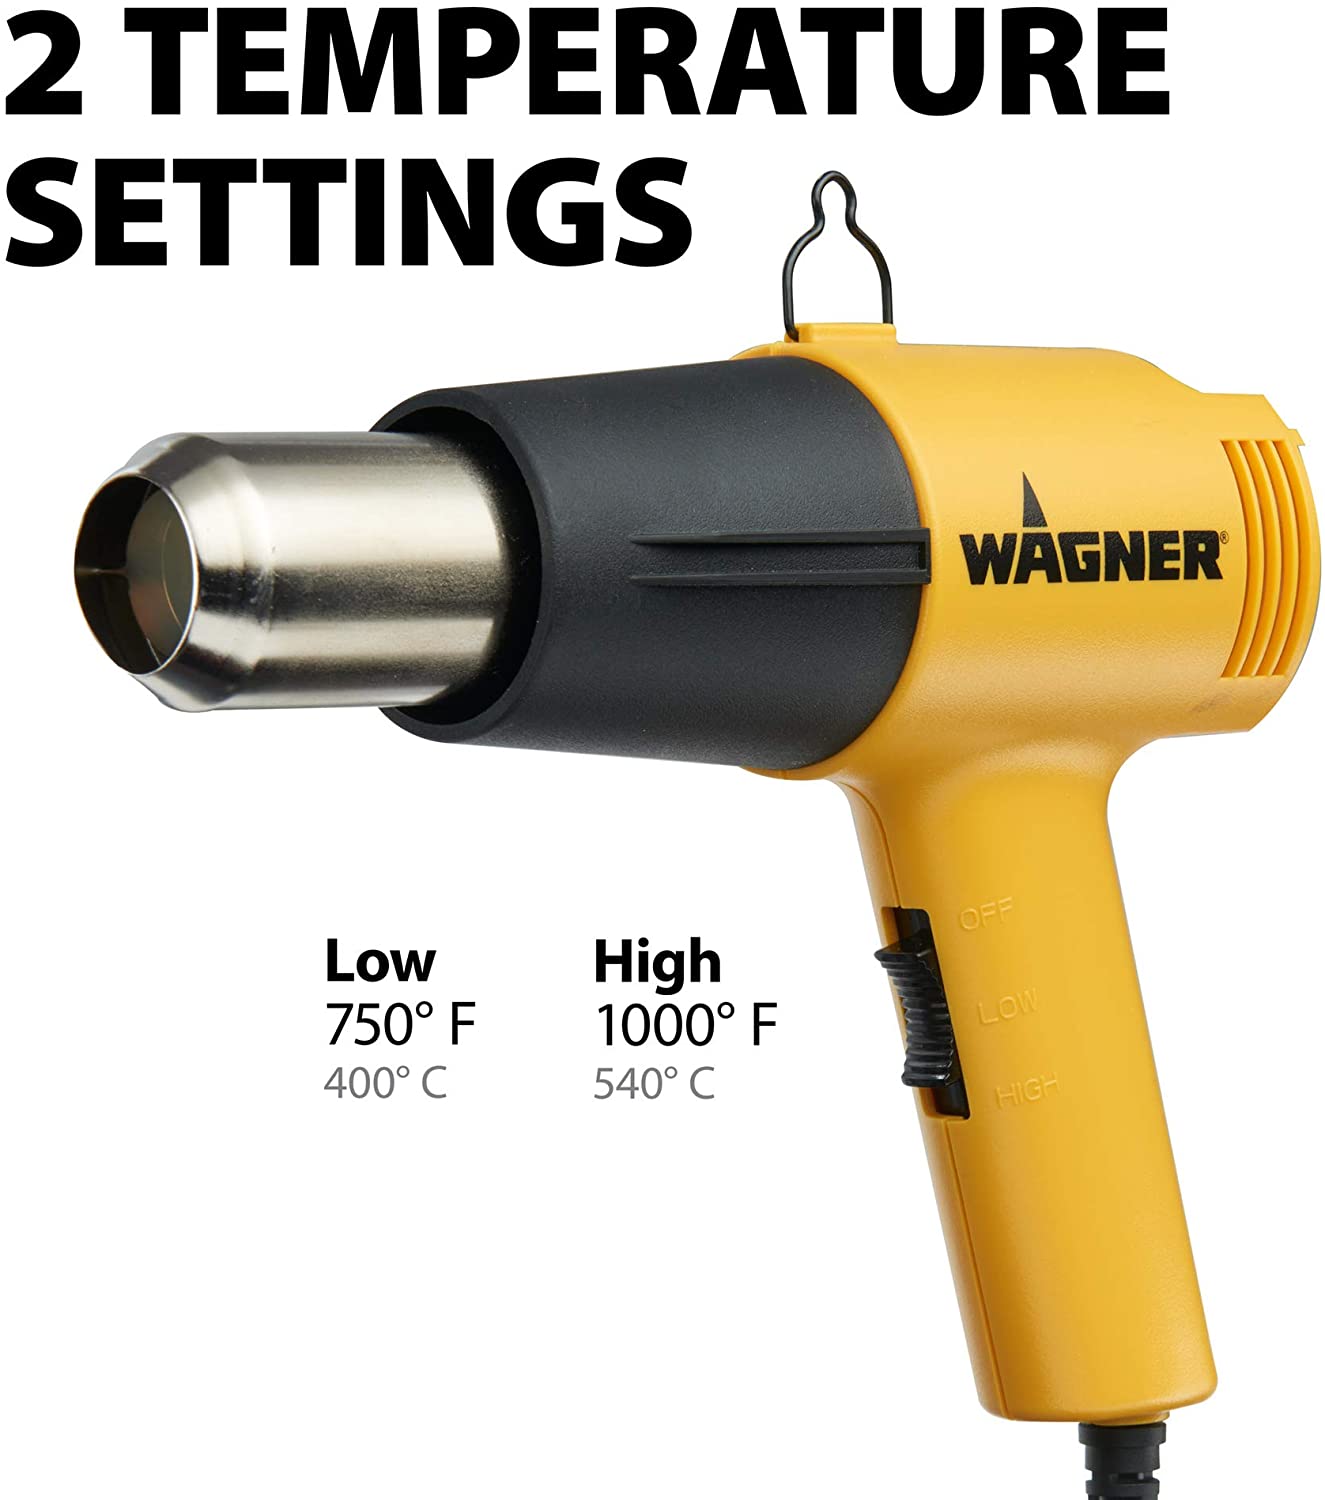
- Use Controlled Heat: For curved or irregular surfaces, use a heat gun on low to medium heat to make the vinyl more pliable.
- Stretch with Caution: Gently stretch the vinyl over curves while applying pressure. Avoid overstretching to prevent warping.
- Prevent Ink Distortion: Avoid excessive heat on printed graphics to maintain color integrity.
- Overlap Panels Correctly: For tiled graphics, ensure a slight overlap between panels to prevent visible seams.
5. Trim Excess Vinyl & Overlapping Panels
- Careful Trimming: Use a sharp utility knife to trim excess vinyl, pressing lightly to avoid cutting the surface beneath.
- Double-Cutting for Seamless Panels: When trimming overlapping graphics, use Knifeless Tape to create precise, seamless joins.
- Trim for Window Graphics: For perforated or window graphics, carefully trim edges to avoid damaging the design.
- Seal the Edges: Press down firmly along the edges for a clean, long-lasting seal. Tuck edges into seams where possible.
6. Post-Heating & Adhesion (Important for Laminated Graphics)
- Heat Set if Needed: Once applied, use a heat gun to post-heat the vinyl, ensuring proper adhesion, especially on curves and edges.
- Monitor Temperature: The ideal post-heating temperature is 200-250°F (93-121°C), but always check the vinyl manufacturer’s recommendations.
- Avoid Excessive Heat on Laminates: Overheating laminated graphics can cause curling or lifting at the edges.
- Secure High-Stress Areas: Use edge seal tape on corners and seams to prevent premature peeling.
7. Final Inspection & Finishing Touches
- Check for Air Bubbles: If small bubbles appear, prick with a pin and smooth with a squeegee.
- Inspect Alignment: Ensure all graphic elements are aligned correctly and free from misplacement.
- Allow to Set: Avoid washing or exposing the wrap to harsh conditions for 24-48 hours to let the adhesive bond completely.
- Extended Cure Time for Printed Graphics: For best results, avoid high-pressure washing for at least 72 hours.
Handy Tools & Supplies for Graphics Vinyl Wrap Application
1. Essential Tools
- Squeegee with Felt Edge: Prevents scratches and smooths vinyl during application.
- Utility Knife: A sharp, replaceable blade ensures precise trimming.
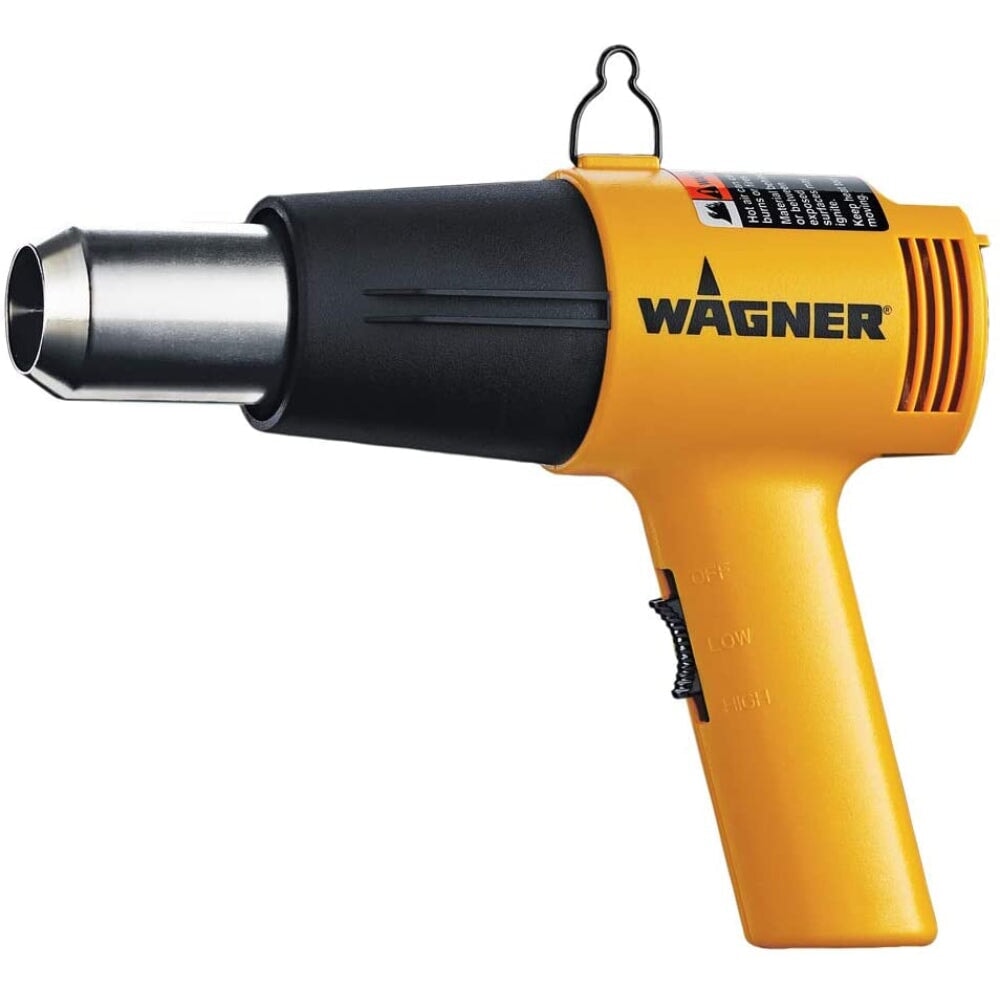
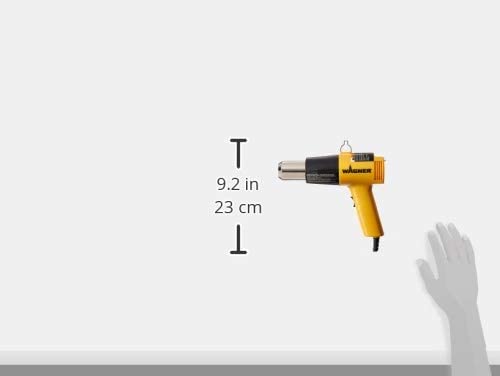
- Heat Gun: Softens vinyl for curved surfaces and complex shapes.
- Measuring Tape/Ruler: Ensures accurate measurements before cutting.
- Infrared Thermometer (Optional): Helps monitor surface temperature during post-heating.
2. Cleaning & Preparation Supplies
- Isopropyl Alcohol (70%+): Removes oils and residues for better adhesion.
- Lint-Free Cloths/Microfiber Towels: Wipes surfaces without leaving fibers.
- Automotive-Grade Degreaser: Removes wax or polish for a clean base.
3. Tools for Air Bubbles & Wrinkles
- Air Release Pen: Pops trapped bubbles without damaging the vinyl.
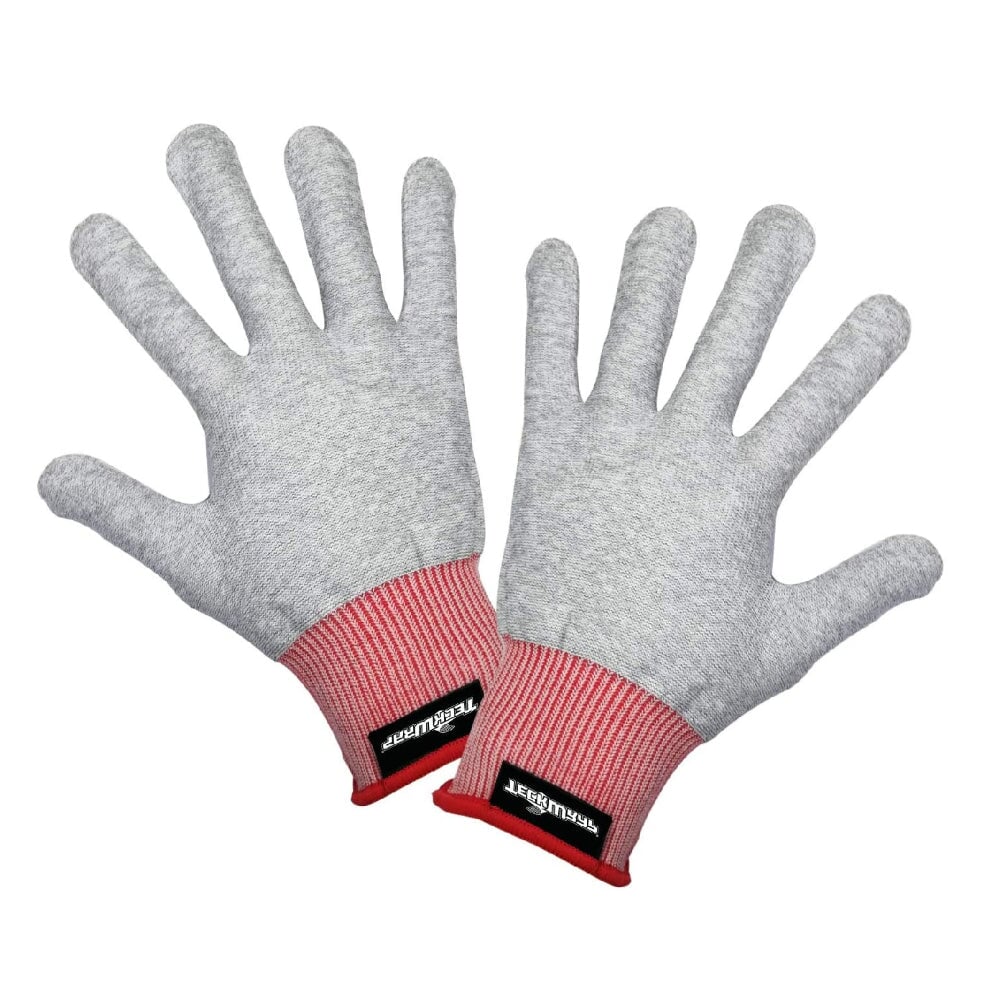
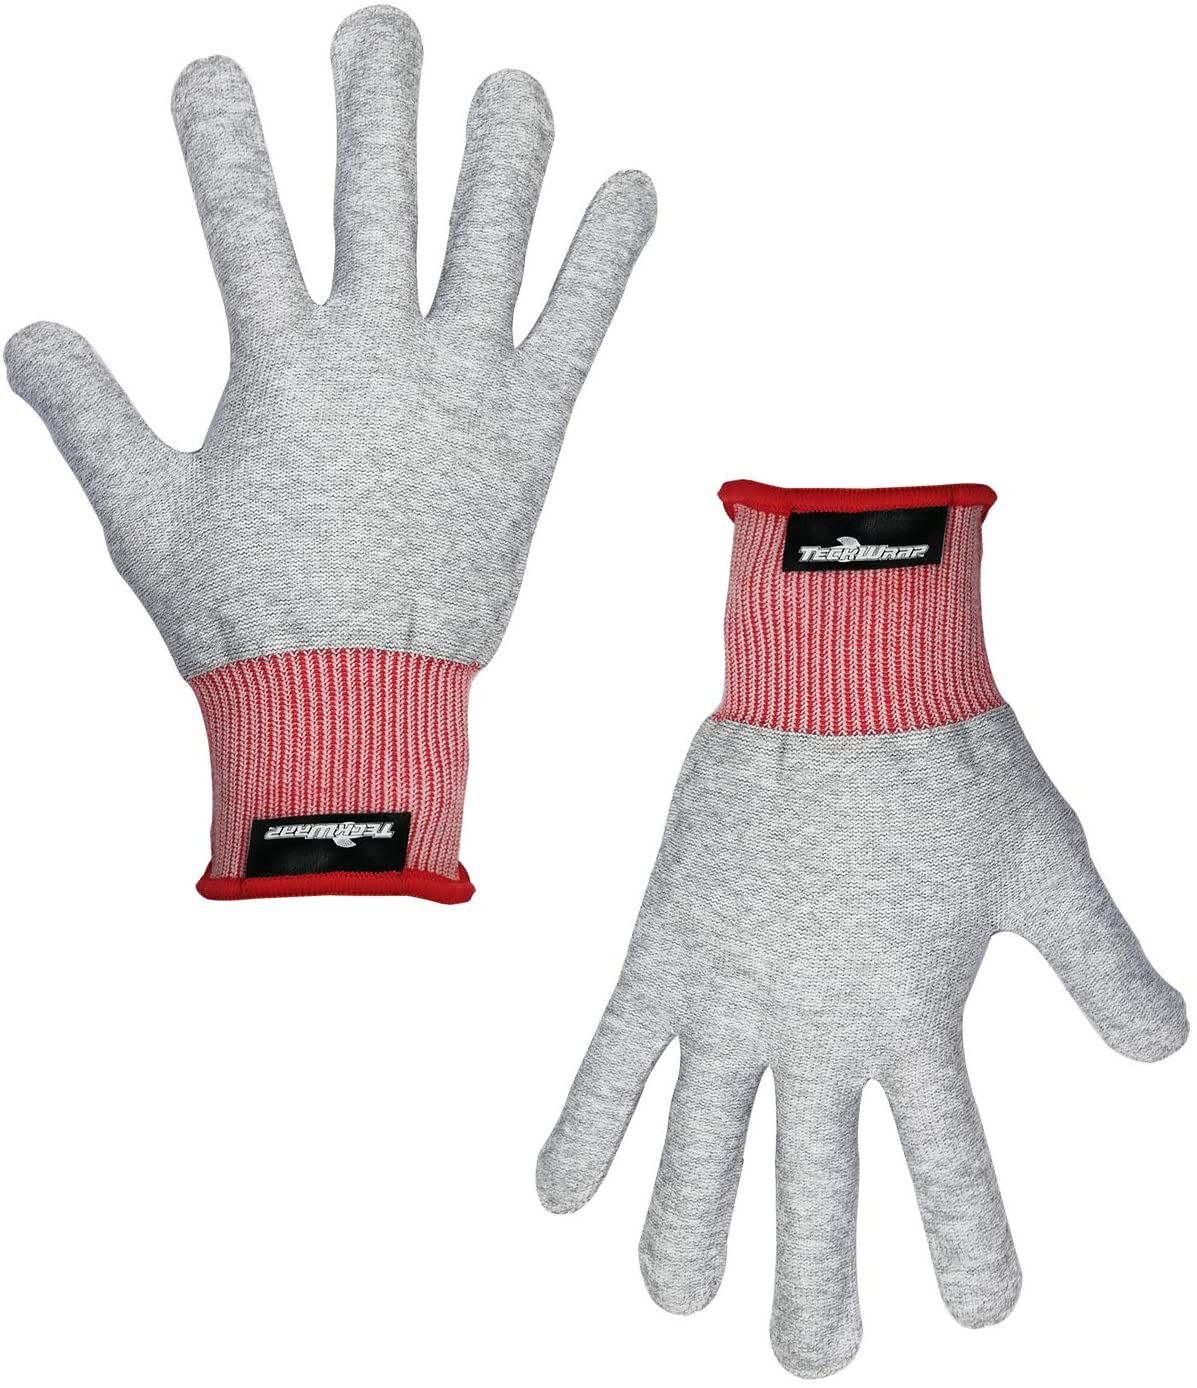
- Soft Wrap Glove: Protects vinyl and prevents fingerprints and scratches.
4. Application Helpers for Graphics Alignment
- Masking Tape: Helps align graphics before application.
- Low-Tack Application Tape: Assists in transferring detailed cut graphics.
- Wrap Magnets: Holds vinyl in place for better control.
5. Post-Installation Tools
- Edge Seal Tape: Secures edges, preventing peeling over time.
- Vinyl-Safe Finishing Spray: Protects wrap from dust and light scratches.
Knifeless Tape: A Must-Have for Clean, Blade-Free Cuts
What is Knifeless Tape?
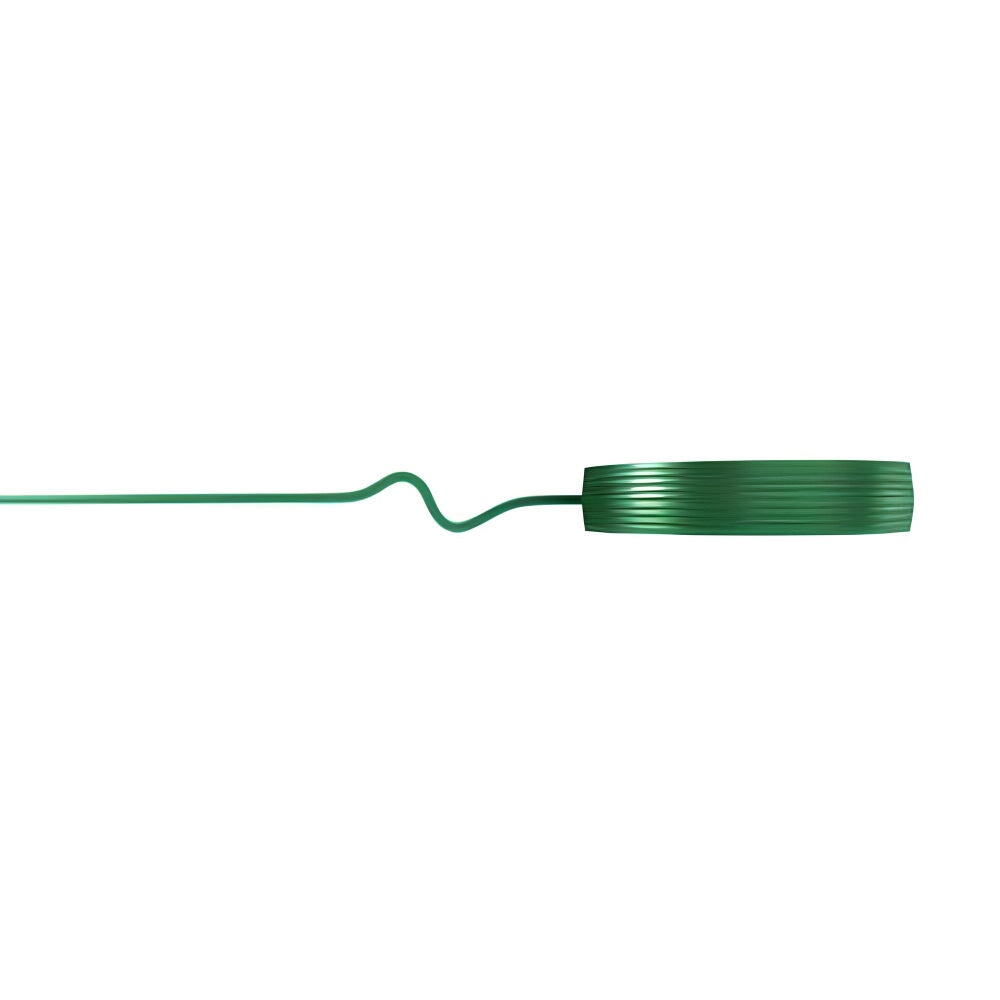
Knifeless tape allows you to create precise cuts without using a knife directly on the surface.
It has a thin filament inside, acting as a cutting guide.
Benefits of Knifeless Tape
- Safe & Scratch-Free: Prevents damage to the underlying paint.
- Perfect for Curves & Designs: Allows for custom shapes & stripes.
- Professional Finish: Creates seamless, clean edges.
How to Use Knifeless Tape
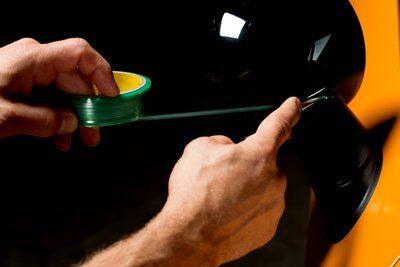
- Apply the tape where you want to cut the vinyl.
- Lay the vinyl over the tape and smooth it down.
- Pull the filament to cut through the vinyl.
- Remove the tape and press down the edges for a clean finish.
Types of Knifeless Tape
- Design Line: Best for curves and intricate patterns.
- Finish Line: Ideal for straight cuts on panel edges.
- Bridge Line: Holds vinyl across gaps like door seams.
Conclusion
Using the right tools and techniques ensures a smooth, professional graphics vinyl wrap application. Proper alignment, Knifeless Tape for seamless panel transitions, and edge-seal protection are key to achieving a durable and visually striking result.
Transparency is the Key
What material is used for the Printed Vinyl Wrap Series?
Our Custom Ride Series wraps are printed on industry-leading 3M IJ180mCv3-10 or Avery Dennison MPI 1105 EA RS vinyl, according to your preferences. These premium-grade materials provide superior durability, conformability, and removability for a flawless, long-lasting installation.
Can I see how the wrap will look before purchasing?
Yes! We offer a 3D Mockup Preview to give you a realistic visual of how the design will look on your specific vehicle. Simply select your vehicle type and your desired finish and a preview photo will be auto selected to demonstrate the initial look of the finished product before finalizing your purchase.
Is this wrap easy to install, or do I need a professional installer?
Our wraps are designed for both DIY installers and professionals. They feature air-release technology for bubble-free application, making installation easier. However, for best results, we recommend professional installation, especially for complex vehicle shapes.
How long does the wrap last, and is it removable?
With proper installation and care, our wraps can last 5+ years on vertical surfaces. They are fully removable without damaging the original paint, making them a great option for temporary or long-term customization.
Do you ship worldwide, and how long does delivery take?
Yes, we offer worldwide shipping. Processing time for production is 1-3 business days, but most orders ship within 1-2 business days. Handling & Delivery times depend on your location and selected shipping method.