
 Wrap Vinyl | All Products
 Paint Protection Film
 Automotive Window Film
 Headlight Tint
 Print Films | All Products
 Tools, Supplies & Care | All Products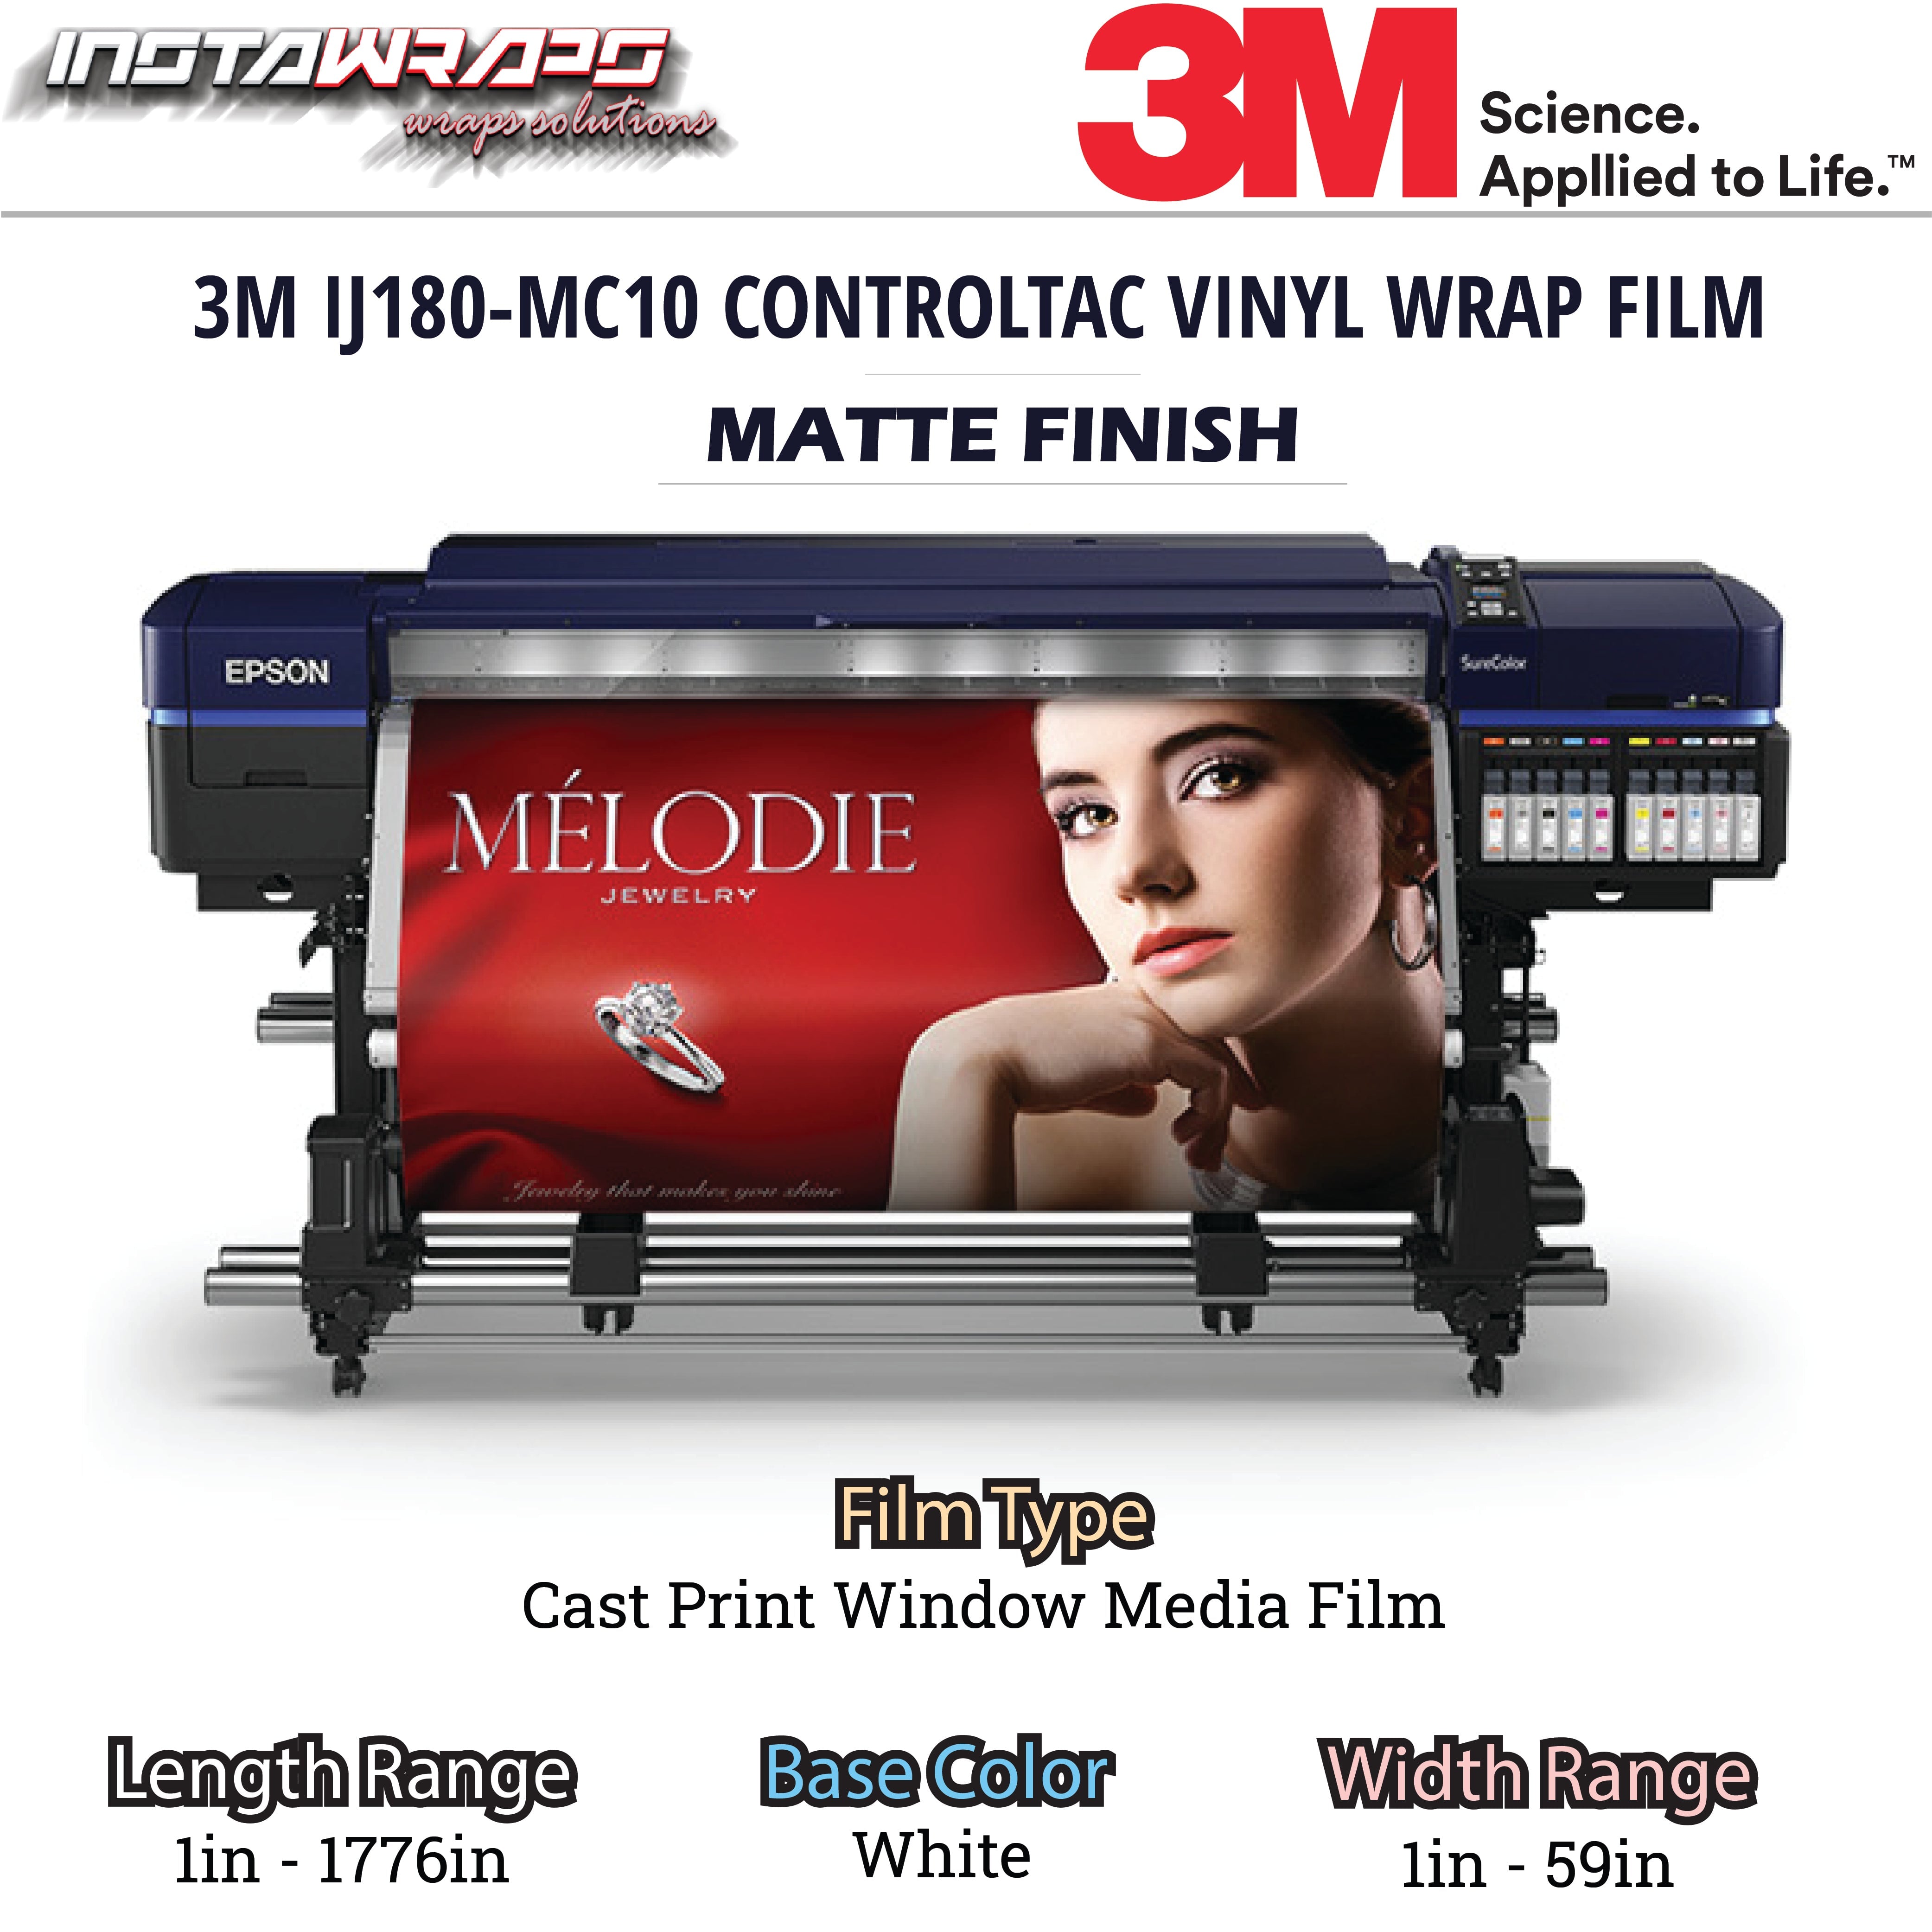
🥇 Have photos of this product? Share and earn...
UPLOAD YOUR OWN DESIGN - 3M PRINT FILM / IJ180-MC10 / MATTE FINISH
Upload File
Select Length (ft)
3M IJ180mC-10
Matte Finish
Estimate Shipping
Enter your destination to see the shipping services currently available for the selected product and quantity.
Essential Bundle for Car Wrap Projects
Pairs well with
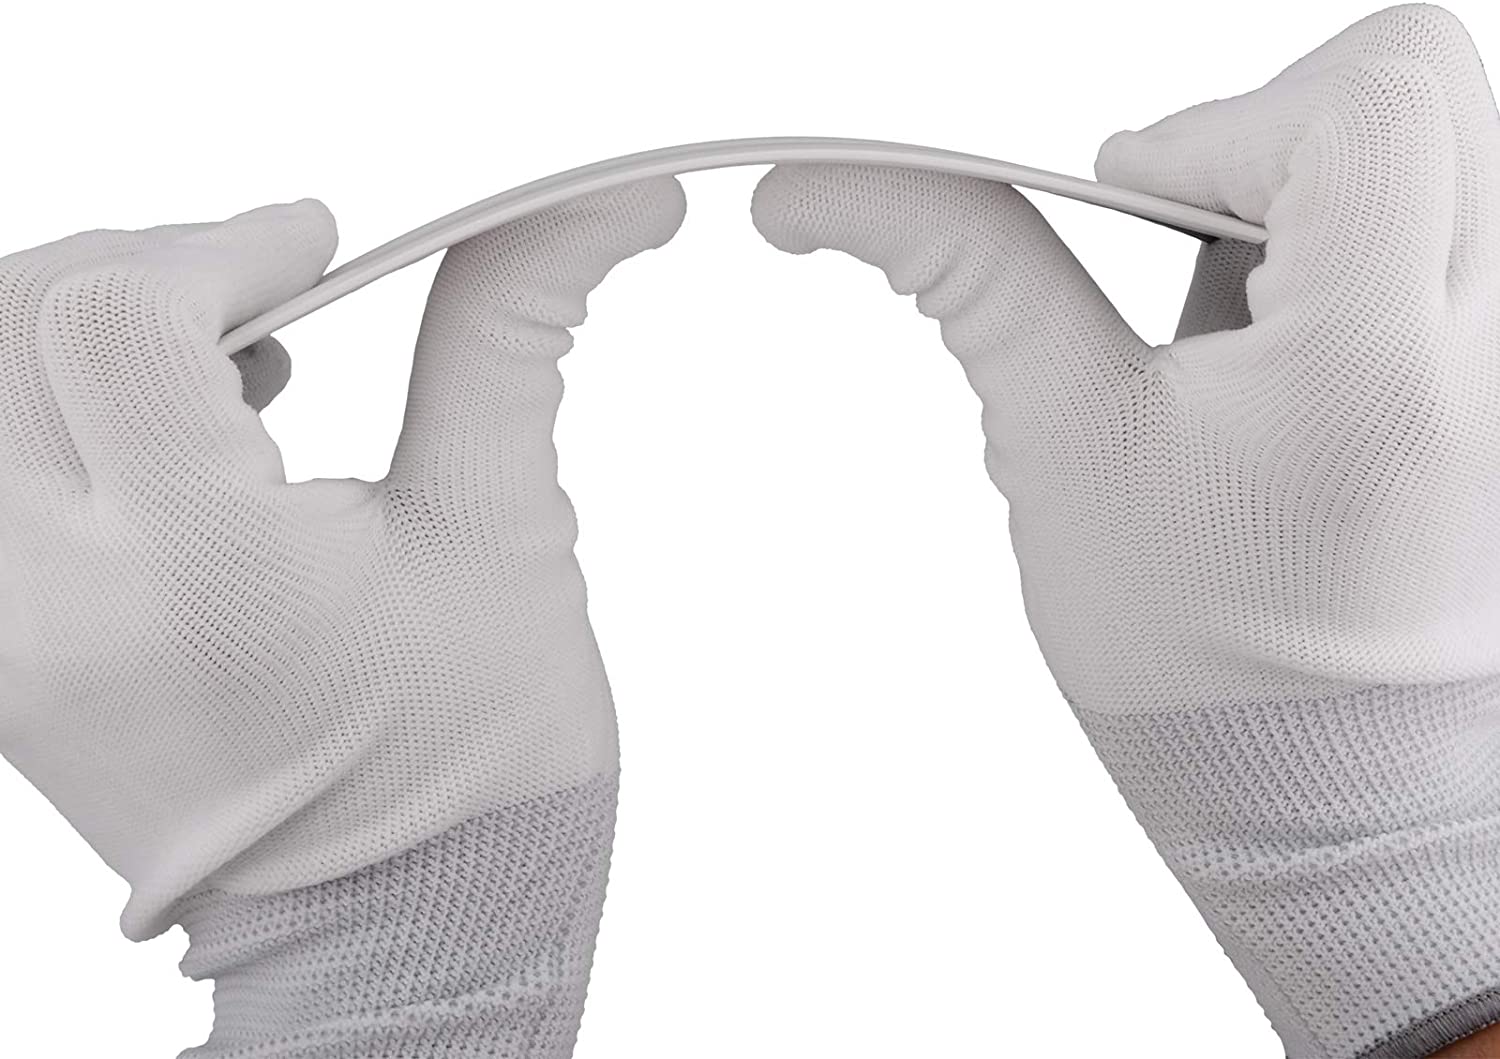
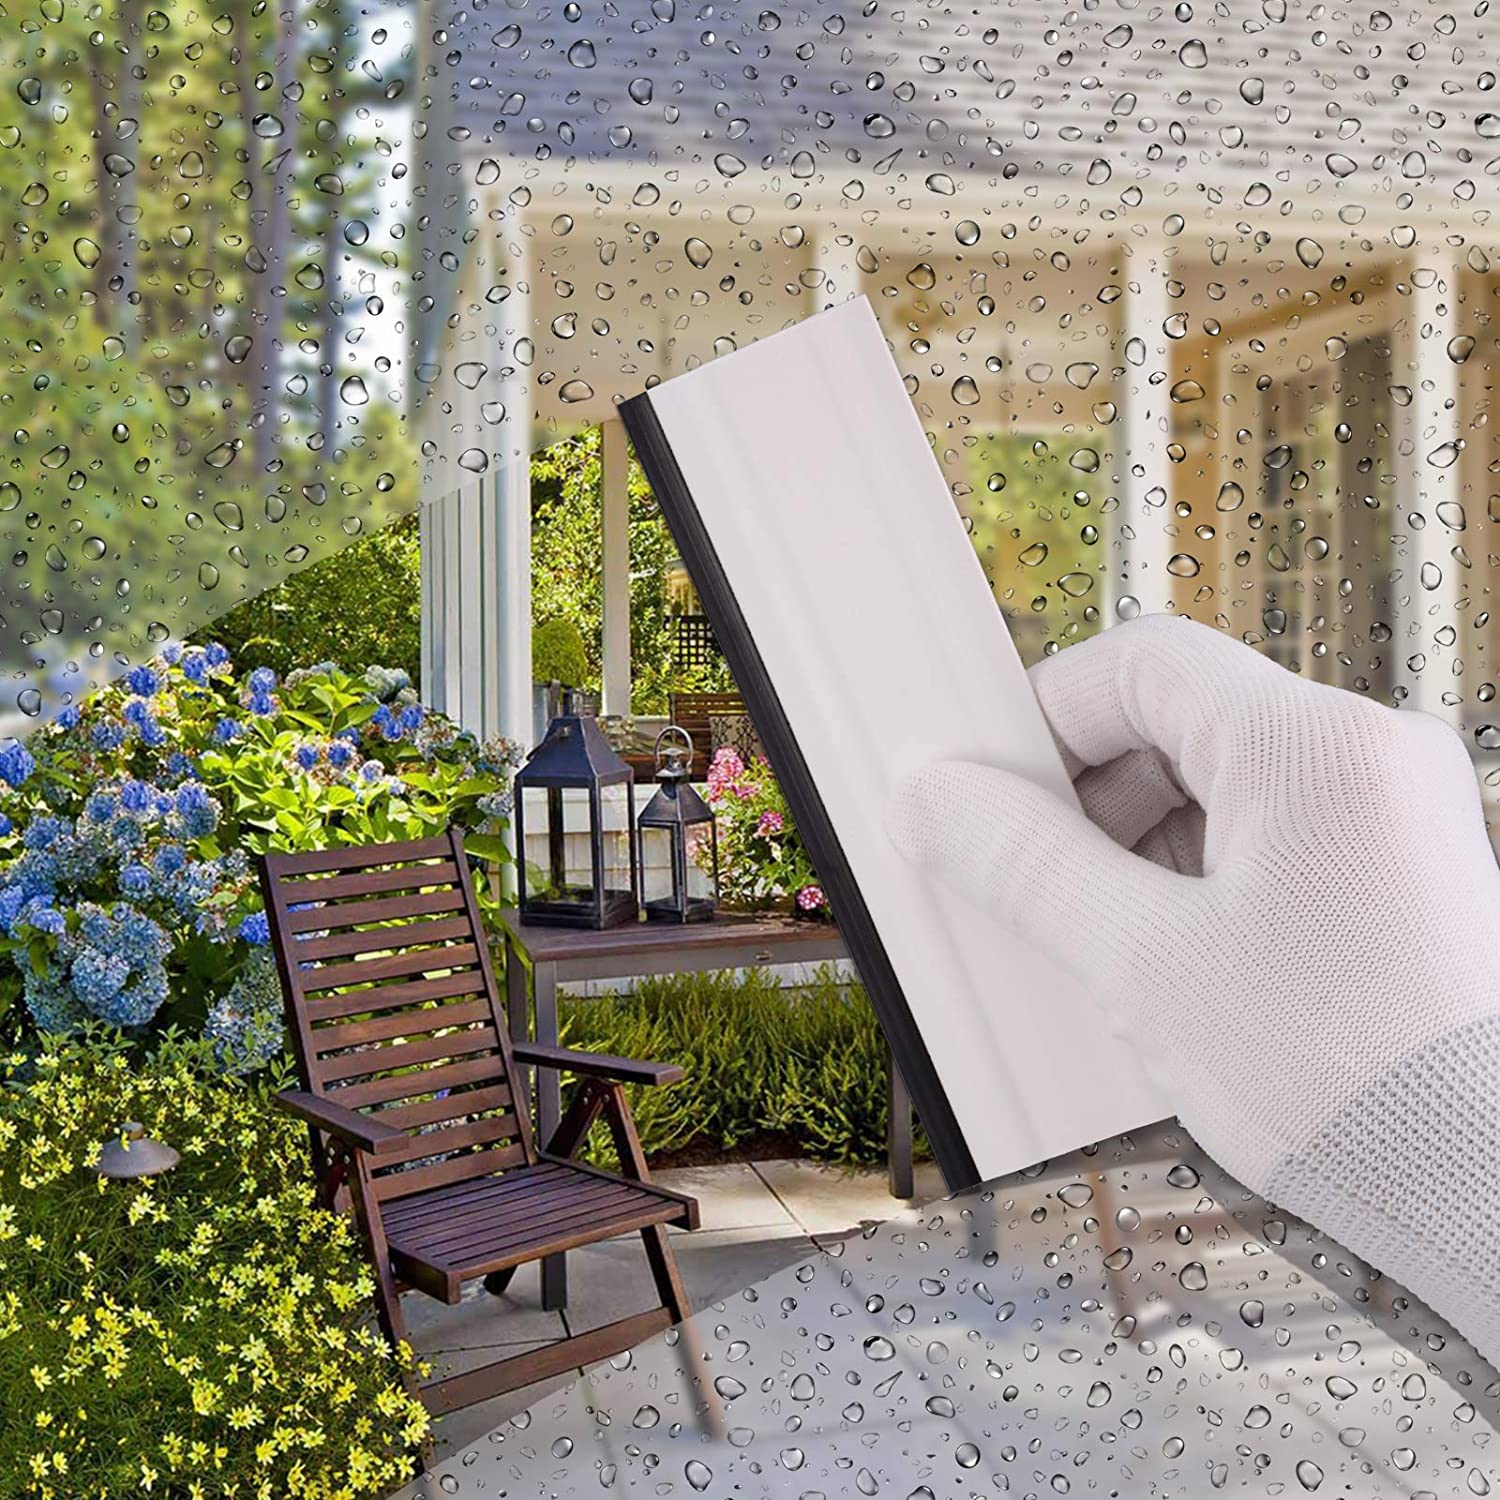
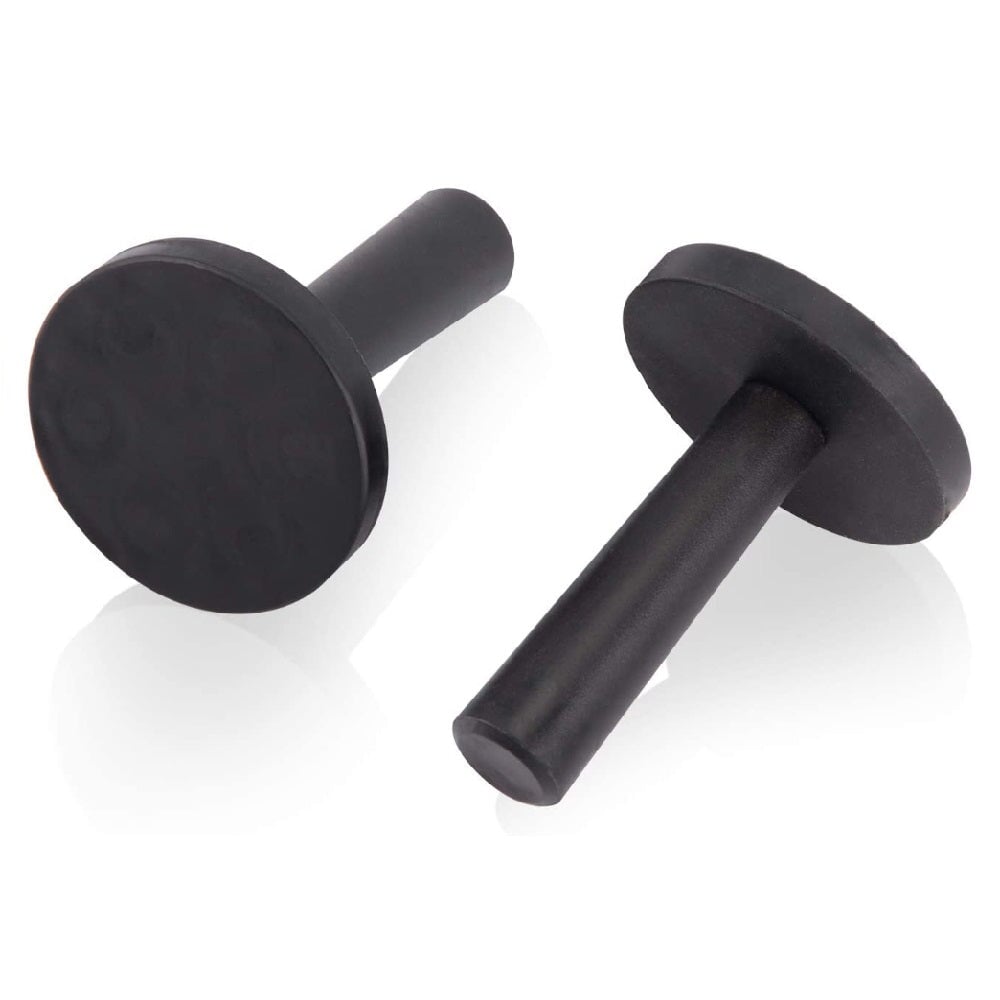
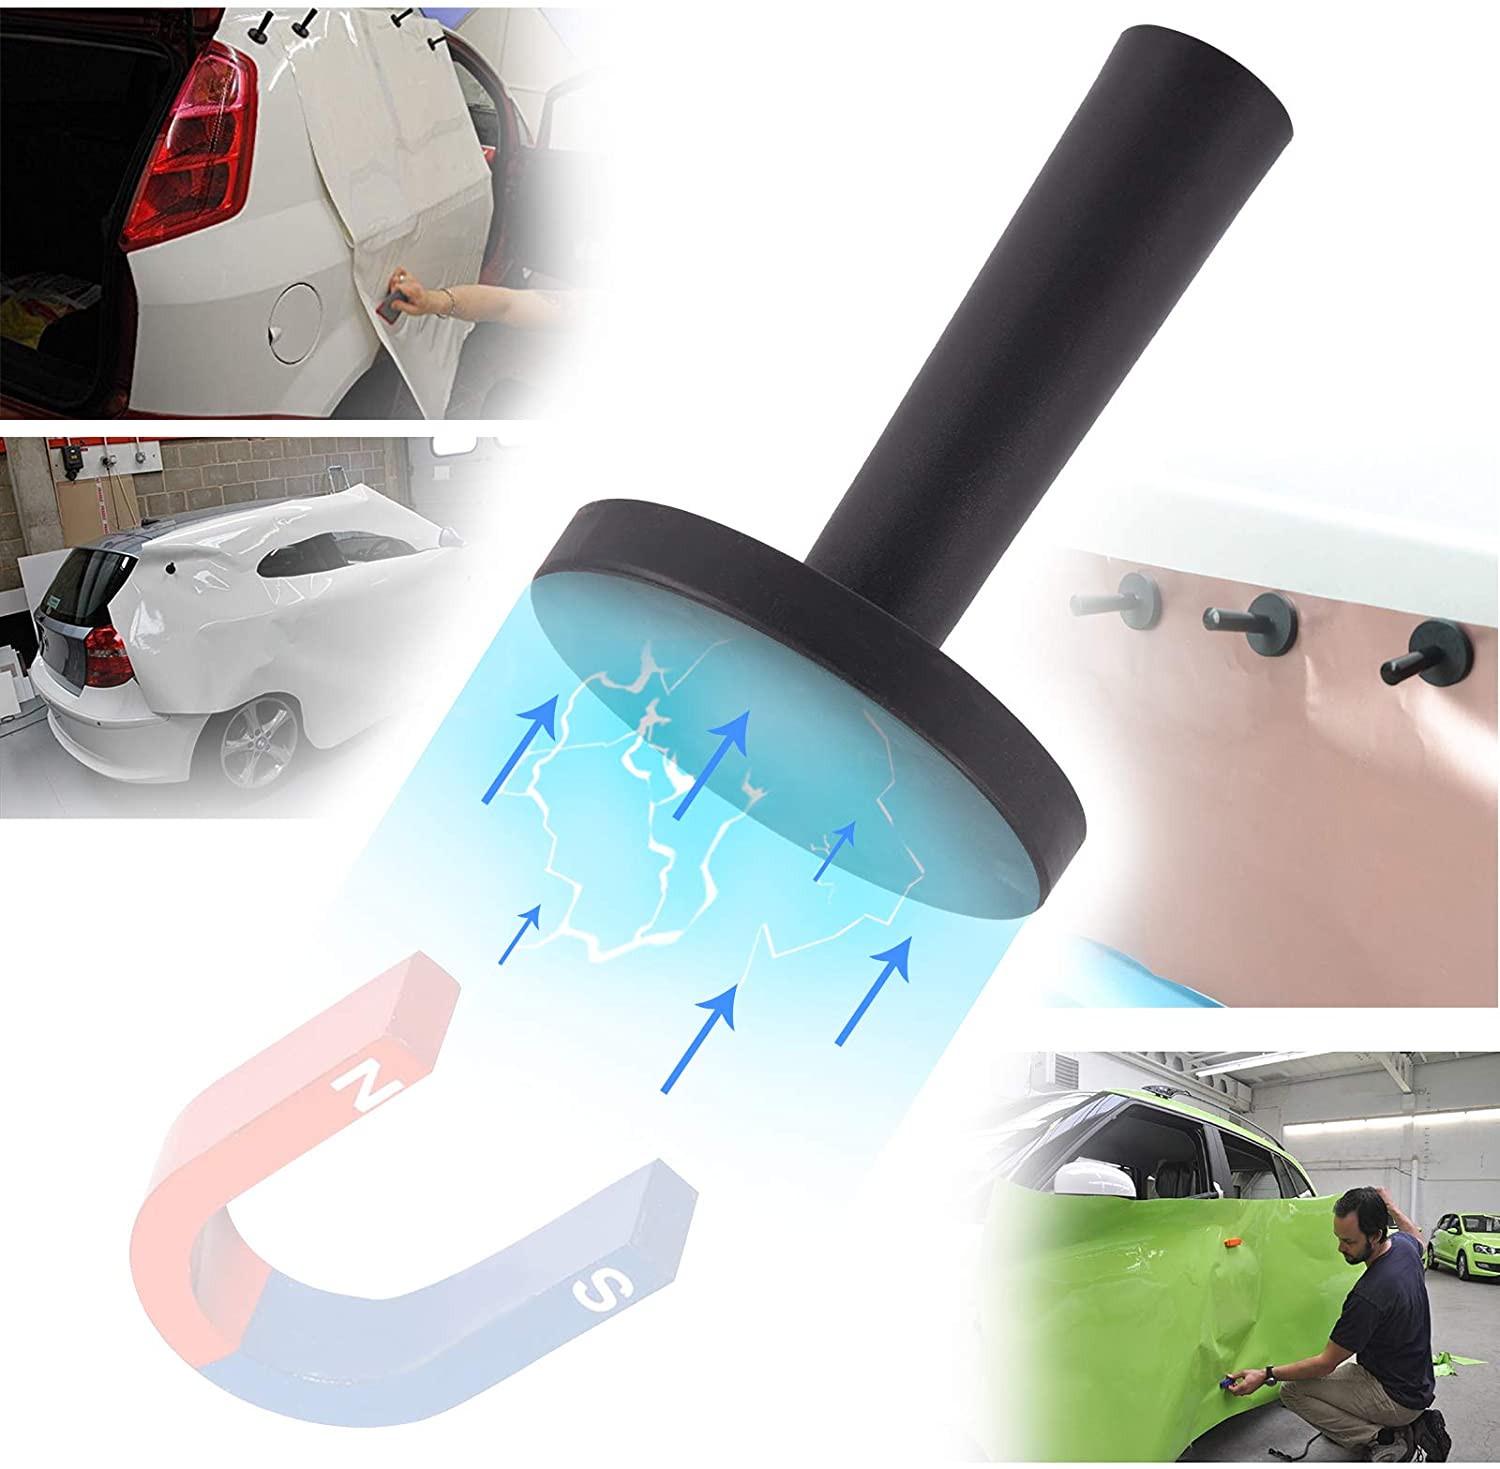
Why 1,000,000+ Customers trust Instawraps
If you have any questions, you are always welcome to contact us. We'll get back to you as soon as possible, within an hour during business days and up-to 48 hours on weekends. See Policies
-
Fulfilment Information
Our inventory is updated in real time. If an item can be added to your cart, it is in stock. Orders ship within 1–3 business days, depending on the selected shipping method at checkout.
-
Pickup Information
Curbside pickup is available at our Vaughan, Ontario location. Orders placed before 11 AM on a business day are eligible for free same-day pickup after email confirmation. Orders placed after 11 AM require paid same-day pickup service or will be ready the next business day.
-
Customer Support
At Instawraps, we offer prompt and expert support for orders, products, installation, and more. Whether you need assistance with shipping, returns, or custom requests, our team is ready to help. Contact us anytime via live chat, email, or phone.
-
Find quick answers to common questions about orders, shipping, returns, installation, and more in our FAQ section. For further assistance, feel free to reach out via live chat, email, or phone.
Product Details
Product Description
INSTAWRAPS EXCLUSIVE CUSTOM PRINT
Enjoy Learning More, And Being More..
 |
 |
In the past few years, Instawraps developed exclusive skills and techniques in custom vinyl wrap printing. Start now to create your own custom vinyl wrap designs. We'll print those designs on our specialty wrap vinyl for you. Our service is for you to use if you don't have the equipment to print custom car wraps yourself or can't complete your numerous projects.
If you have any questions, or if you need assistance, please do not hesitate to contact our customer service department:
Toll Free: 1.866.258.6908
Application Guide
Graphics Vinyl Wrap Application Guide
1. Prepare the Surface
- Clean Thoroughly: Start with a clean surface. Use a mild soap or an automotive-grade cleaner to remove any dirt, wax, or grease from the area you’re wrapping.
- Degrease: Once cleaned, some installers may use an isopropyl alcohol solution to remove any remaining oils or residues. Let the surface dry completely.
- Check for Imperfections: Look for scratches, dents, or bumps. Vinyl conforms best to smooth surfaces, so fill or sand any imperfections for optimal results.
- Avoid Dust & Static: For printed graphics, ensure the surface is free of dust and static to prevent contamination.
- Check for Curling Edges: If using laminated graphics, inspect for any curling before application.
2. Measure and Align the Graphics
- Measure Carefully: Measure the area you're wrapping and add a few extra inches on each side for adjustments.
- Align the Graphics: If the graphic has a specific orientation, use reference points or masking tape guides to ensure proper alignment before peeling the backing paper.
- Pre-Cut When Necessary: Trim the vinyl slightly larger than needed. Trimming is easier than stretching.
- Consider Multi-Panel Graphics: For multi-panel designs, align from the center outward, ensuring perfect panel alignment.
3. Apply the Vinyl
- Peel and Stick: Start by peeling back a portion of the backing paper to expose the adhesive. Stick one edge of the vinyl to the surface.
- Use a Squeegee: Slowly apply the vinyl in sections, smoothing out air bubbles or wrinkles as you go.
- Work in Small Sections: Only peel back as much as you can handle at a time to avoid premature adhesion.
- Consider the Wet Application Method: If necessary, use a fine mist of water with a drop of dish soap to allow repositioning.
4. Heat and Stretch (For Curved Surfaces & Overlapping Panels)
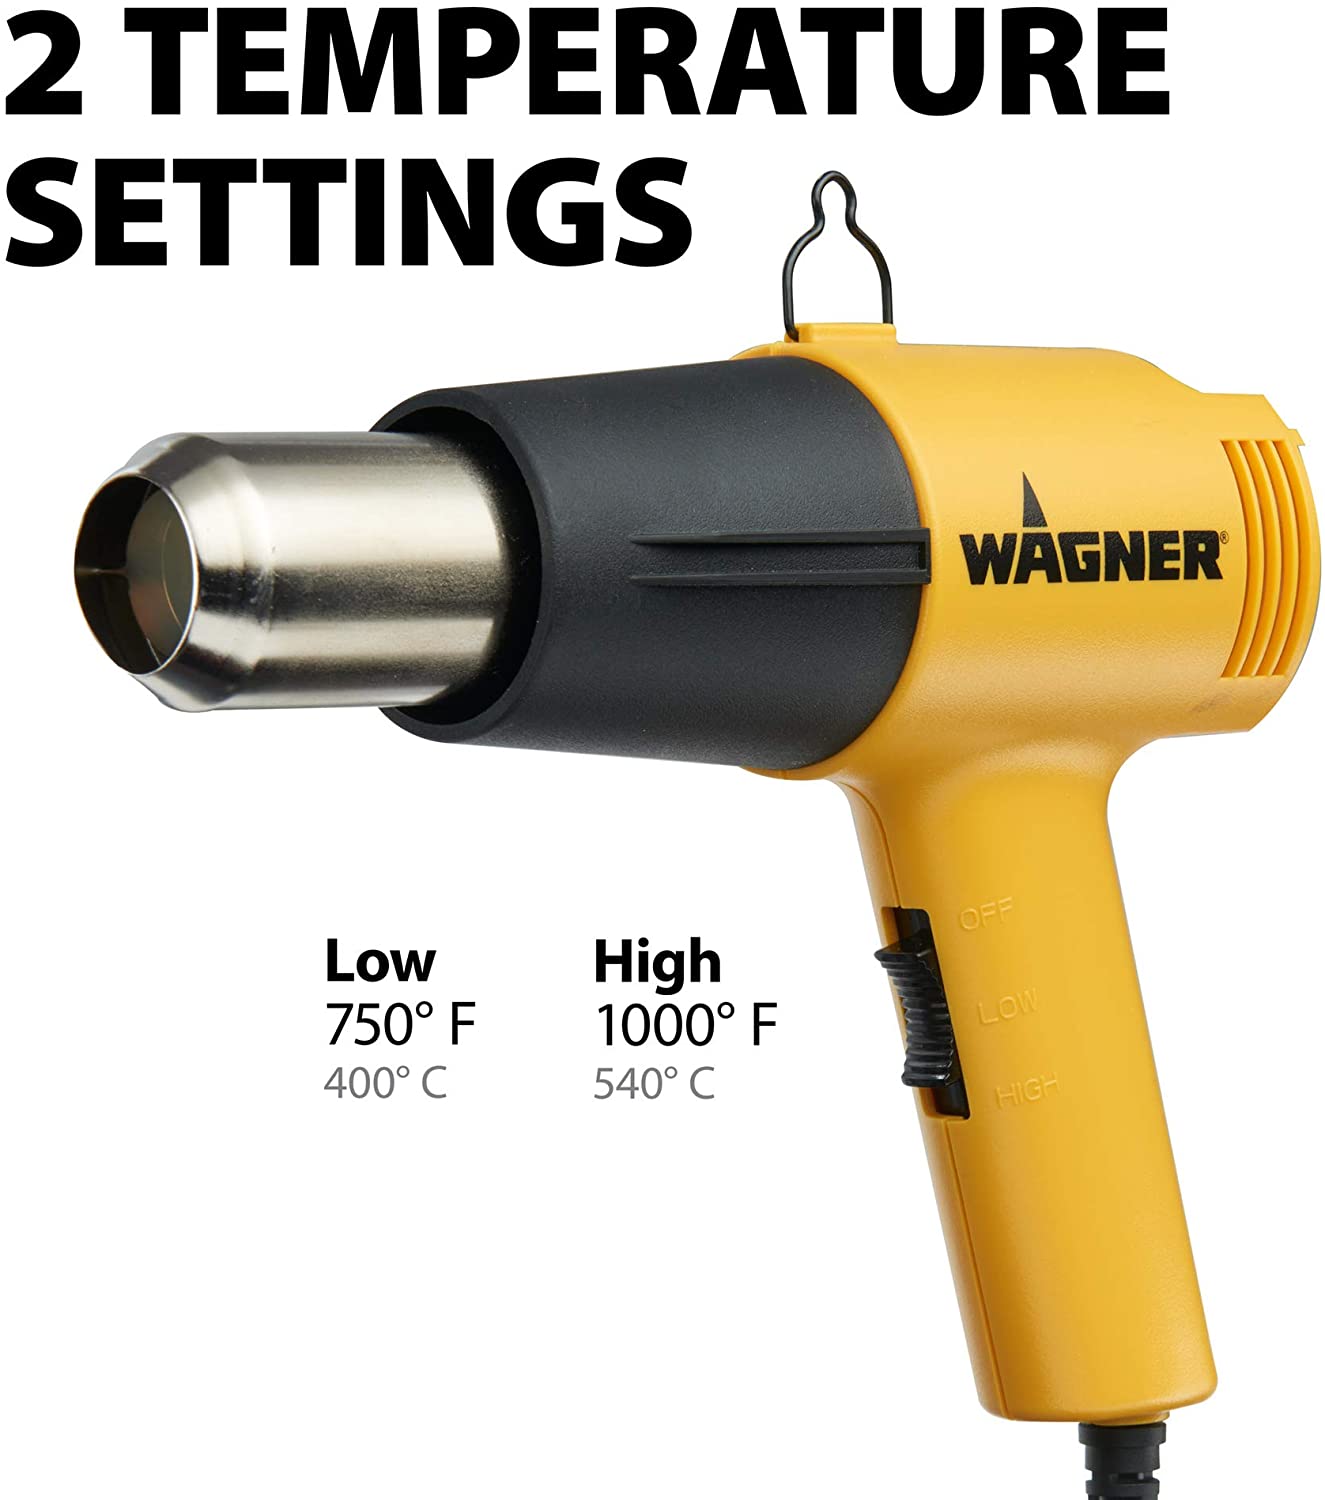
- Use Controlled Heat: For curved or irregular surfaces, use a heat gun on low to medium heat to make the vinyl more pliable.
- Stretch with Caution: Gently stretch the vinyl over curves while applying pressure. Avoid overstretching to prevent warping.
- Prevent Ink Distortion: Avoid excessive heat on printed graphics to maintain color integrity.
- Overlap Panels Correctly: For tiled graphics, ensure a slight overlap between panels to prevent visible seams.
5. Trim Excess Vinyl & Overlapping Panels
- Careful Trimming: Use a sharp utility knife to trim excess vinyl, pressing lightly to avoid cutting the surface beneath.
- Double-Cutting for Seamless Panels: When trimming overlapping graphics, use Knifeless Tape to create precise, seamless joins.
- Trim for Window Graphics: For perforated or window graphics, carefully trim edges to avoid damaging the design.
- Seal the Edges: Press down firmly along the edges for a clean, long-lasting seal. Tuck edges into seams where possible.
6. Post-Heating & Adhesion (Important for Laminated Graphics)
- Heat Set if Needed: Once applied, use a heat gun to post-heat the vinyl, ensuring proper adhesion, especially on curves and edges.
- Monitor Temperature: The ideal post-heating temperature is 200-250°F (93-121°C), but always check the vinyl manufacturer’s recommendations.
- Avoid Excessive Heat on Laminates: Overheating laminated graphics can cause curling or lifting at the edges.
- Secure High-Stress Areas: Use edge seal tape on corners and seams to prevent premature peeling.
7. Final Inspection & Finishing Touches
- Check for Air Bubbles: If small bubbles appear, prick with a pin and smooth with a squeegee.
- Inspect Alignment: Ensure all graphic elements are aligned correctly and free from misplacement.
- Allow to Set: Avoid washing or exposing the wrap to harsh conditions for 24-48 hours to let the adhesive bond completely.
- Extended Cure Time for Printed Graphics: For best results, avoid high-pressure washing for at least 72 hours.
Handy Tools & Supplies for Graphics Vinyl Wrap Application
1. Essential Tools
- Squeegee with Felt Edge: Prevents scratches and smooths vinyl during application.
- Utility Knife: A sharp, replaceable blade ensures precise trimming.
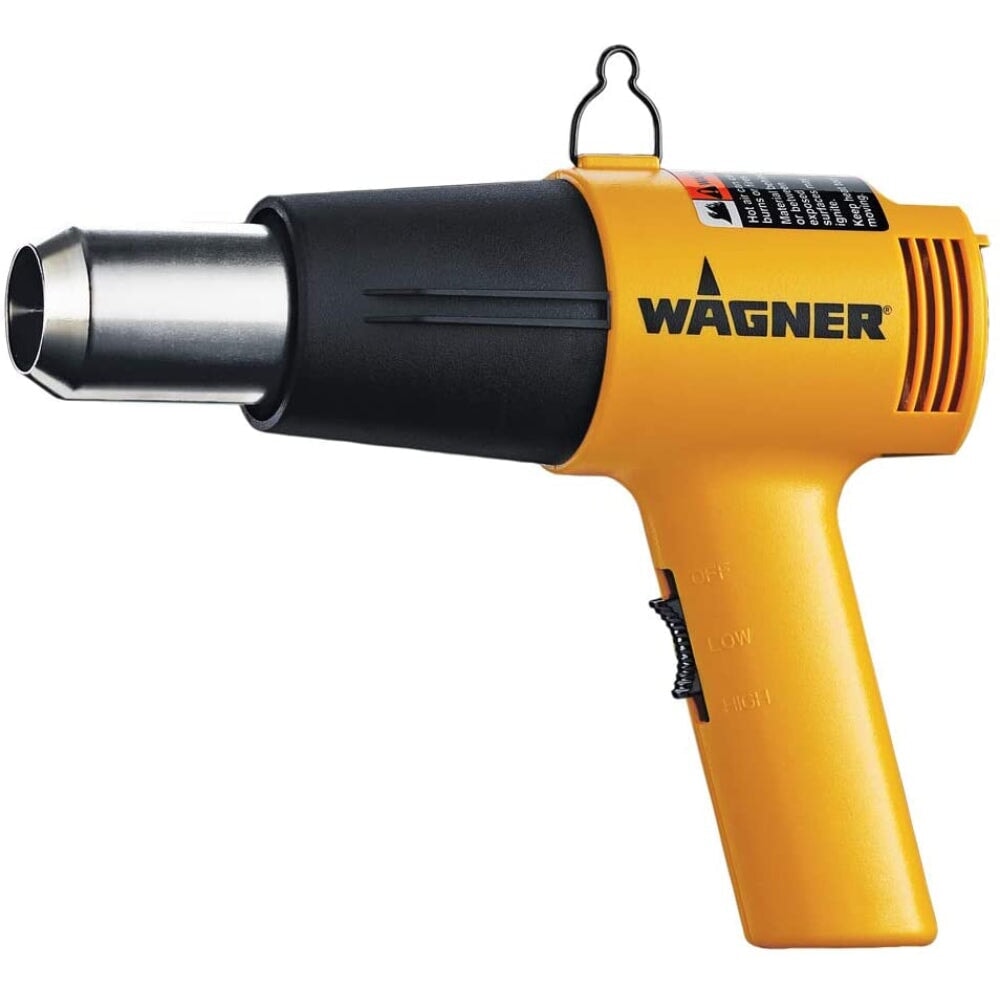
- Heat Gun: Softens vinyl for curved surfaces and complex shapes.
- Measuring Tape/Ruler: Ensures accurate measurements before cutting.
- Infrared Thermometer (Optional): Helps monitor surface temperature during post-heating.
2. Cleaning & Preparation Supplies
- Isopropyl Alcohol (70%+): Removes oils and residues for better adhesion.
- Lint-Free Cloths/Microfiber Towels: Wipes surfaces without leaving fibers.
- Automotive-Grade Degreaser: Removes wax or polish for a clean base.
3. Tools for Air Bubbles & Wrinkles
- Air Release Pen: Pops trapped bubbles without damaging the vinyl.
- Soft Wrap Glove: Protects vinyl and prevents fingerprints and scratches.
4. Application Helpers for Graphics Alignment
- Masking Tape: Helps align graphics before application.
- Low-Tack Application Tape: Assists in transferring detailed cut graphics.
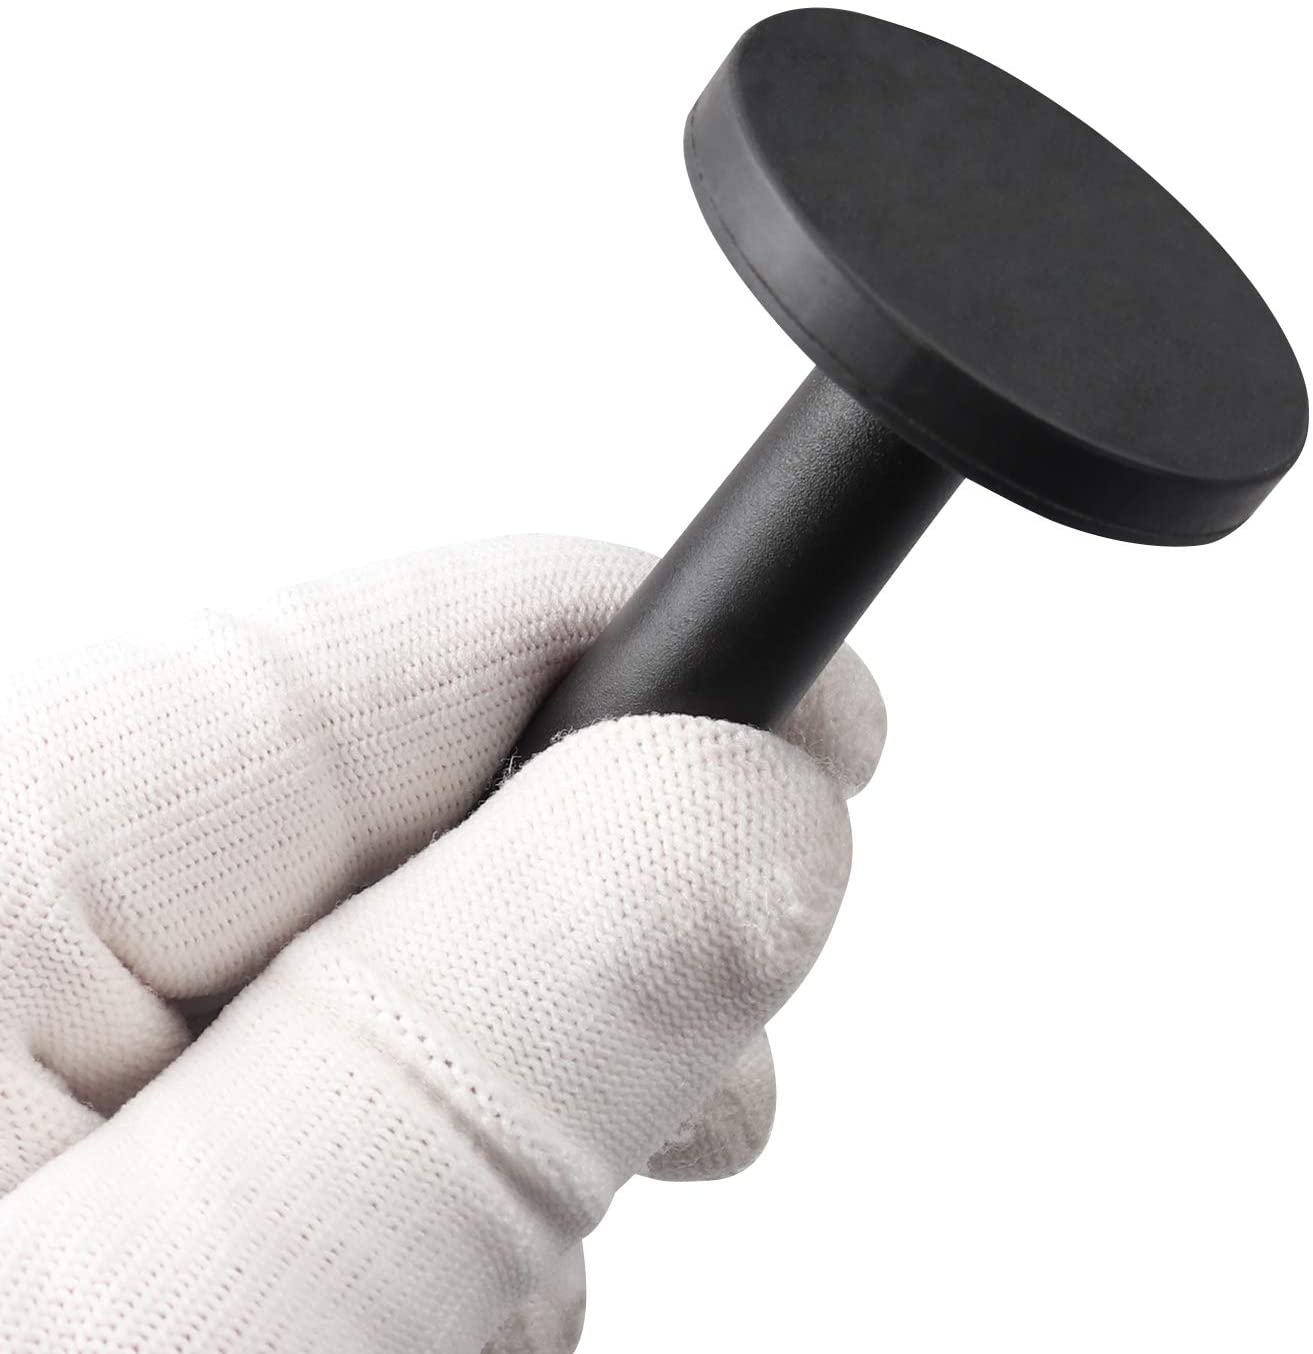
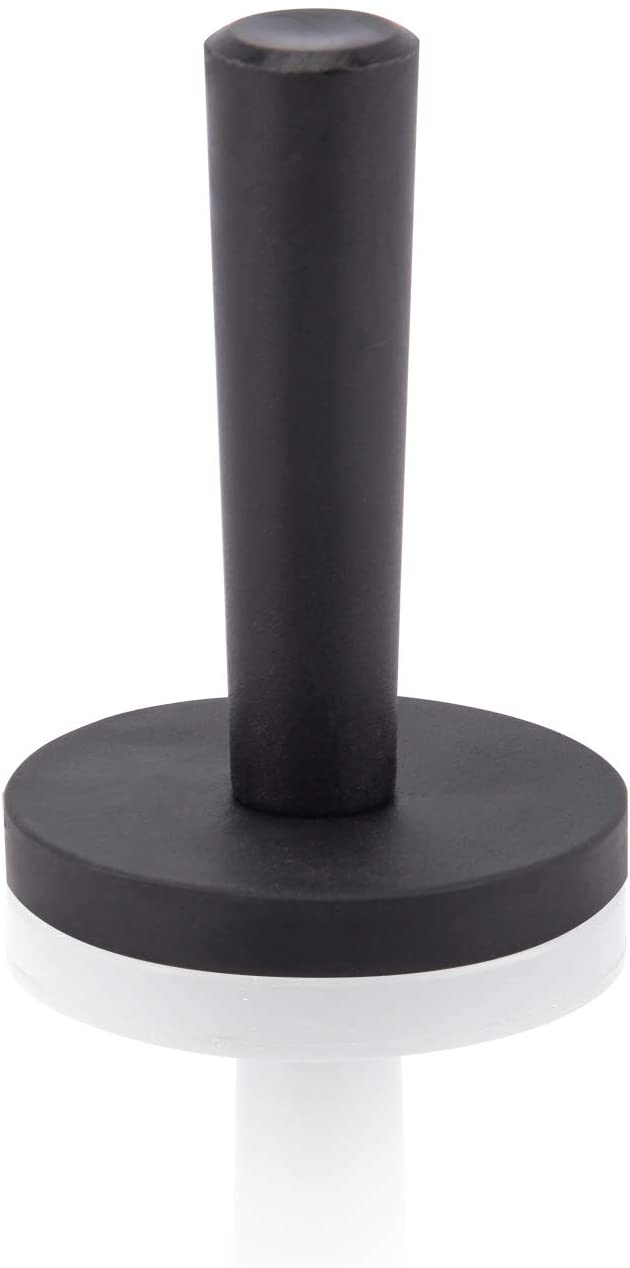
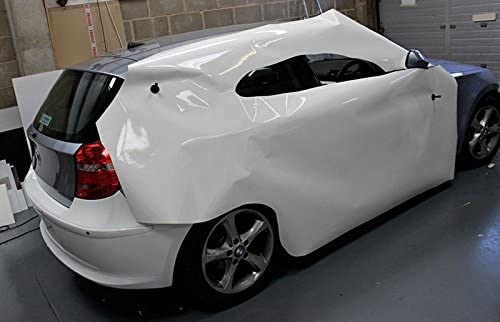
- Wrap Magnets: Holds vinyl in place for better control.
5. Post-Installation Tools
- Edge Seal Tape: Secures edges, preventing peeling over time.
- Vinyl-Safe Finishing Spray: Protects wrap from dust and light scratches.
Knifeless Tape: A Must-Have for Clean, Blade-Free Cuts
What is Knifeless Tape?
Knifeless tape allows you to create precise cuts without using a knife directly on the surface.
It has a thin filament inside, acting as a cutting guide.
Benefits of Knifeless Tape
- Safe & Scratch-Free: Prevents damage to the underlying paint.
- Perfect for Curves & Designs: Allows for custom shapes & stripes.
- Professional Finish: Creates seamless, clean edges.
How to Use Knifeless Tape
- Apply the tape where you want to cut the vinyl.
- Lay the vinyl over the tape and smooth it down.
- Pull the filament to cut through the vinyl.
- Remove the tape and press down the edges for a clean finish.
Types of Knifeless Tape
- Design Line: Best for curves and intricate patterns.
- Finish Line: Ideal for straight cuts on panel edges.
- Bridge Line: Holds vinyl across gaps like door seams.
Conclusion
Using the right tools and techniques ensures a smooth, professional graphics vinyl wrap application. Proper alignment, Knifeless Tape for seamless panel transitions, and edge-seal protection are key to achieving a durable and visually striking result.
3M IJ180mC-10 Print Film Features
Placing Your Order
1. Select the Appropriate Width Option
Begin by choosing the correct "Up to..." width option based on the total width of your artboard. For example, if your artboard width is between 1 inch and 11 inches, select the "Up to 11 inches" option. If your width falls between 11.1 inches and 23 inches, choose the "Up to 23 inches," and continue accordingly based on your measurements.
2. Choose Whether You Require a Contour Cut
Decide if you need any part of your print to be cut out by selecting 'Yes' or 'No' for the Contour Cut option. If you select 'Yes,' please follow the guidelines provided on the Contour Cut tab to ensure proper setup.
3. Upload Your File
Upload your artwork file and make sure it follows the specifications listed on the File Upload tab. If you are unsure about the file requirements or need assistance, our team is available to support you.
4. Enter the Print Length
In the Quantity section, input the required print length in feet. To calculate the correct length, divide the total artboard length in inches by 12. For example, if your artboard measures 71 inches, divide 71 by 12 to get approximately 5.91—round up and select 6. If your artboard is 123 inches, divide by 12 to get 10.25—round up and select 11.
5. Add to Cart and Complete Your Order
Once all required fields are filled out, add your item to the cart and proceed to checkout.
6. Contact Us for Assistance
If you have any questions or require additional guidance, feel free to contact us. Our team is always ready to help ensure a smooth and successful order process.
File Upload Structure
Instawraps does not assume responsibility for the quality or accuracy of files uploaded by customers. To ensure the best possible print results, we strongly recommend following the guidelines outlined below when preparing your artwork.
File Size and Upload Limits
The maximum file size for uploads is 5 GB. If your file exceeds this limit, please contact our team for assistance. Submitting files that do not meet the required specifications may lead to suboptimal results, including blurred, pixelated, or distorted prints.
Artwork Dimensions
The recommended dimensions for your graphic should range from 1 inch to 59 inches in width for most print media films, with the exception of perforated vinyl, which supports up to 53 inches in width. The maximum length for most print media films and overlaminates is 1776 inches (148 feet). For perforated vinyl and certain overlaminates, the maximum length is 75 feet. Satin, Matte, and Gloss finishes also allow lengths up to 148 feet.
Resolution and Color Mode
A resolution of 100 DPI at a 100% scale ratio is considered suitable for large-format printing. To ensure accurate color reproduction, all artwork must be created in CMYK mode without an embedded color profile. Files submitted in RGB or other color spaces will be converted to CMYK, which may affect the final color output.
Text and Vector File Requirements
For vector-based files, it is essential to convert all text to outlines, curves, or paths to prevent font issues during the printing process. Your artboard must be set precisely to the actual dimensions of your artwork. Any whitespace intended as part of your design should be included within the artboard boundaries.
Accepted File Formats
The following file formats are accepted for upload: PDF, PSD/PSB, TIFF, JPEG, PNG, AI, EPS, and SVG. Each format provides unique advantages depending on the design requirements. Files should be submitted ready for print as provided, except for necessary scaling adjustments due to file size limitations. If any scaling is required, this must be clearly indicated in the order notes prior to placing your order.
Multiple File Submissions
When submitting multiple files that share the same specifications, including print media type, size, finish, and contour settings, these files should be organized and submitted together as a single compressed Zip folder.
File Compliance and Responsibility
Instawraps reserves the right to reject any files that do not meet these preparation standards. However, please note that we do not verify or guarantee compliance with these guidelines. Responsibility for ensuring that the uploaded files meet the stated requirements remains solely with the customer.
Need Assistance?
If you have any questions or require further clarification, we encourage you to contact our team. We are here to support you and ensure your order is processed smoothly and successfully.
Contour Cut Guidelines
Adhering to the following guidelines ensures the proper assignment of your CutContour lines, which are essential for cutting and will not appear in the printed result if set correctly. Failure to comply with these guidelines may result in processing delays and additional costs.
Types of Cuts
The Kiss Cut method cuts through the vinyl layer while leaving the backing paper intact, allowing the sticker to be peeled off easily from the backing. The Die Cut (also known as Through Cut) goes through both the vinyl and the backing paper, producing individual stickers fully separated from the backing material.
File Preparation and Format Requirements
All files should be submitted in AI, EPS, SVG, or PDF format and must feature vector-based contour lines. It is critical that contour lines are designated as a Spot Color, clearly named according to the cut type—either KissCut or DieCut. Both types can be used within the same file if required.
Proper designation of contour lines is essential for cutting accuracy and helps avoid confusion or production issues. For smoother processing, we recommend grouping each type of CutContour line into its own dedicated layer within the file. This organization helps expedite the production process.
The contour lines and the print image must be contained within the same file. To maintain production standards, all contour paths must remain at least 2 inches away from the edge of the selected width and length. Please do not include any additional cutting marks, as these are unnecessary and may interfere with the cutting process.
CutContour Line Settings and Visibility
The opacity of all CutContour lines must be set to 100%. Do not hide the CutContour layer or disable the print option, as this can lead to missed or incorrect cuts during production.
PNG Files and Color Considerations
Although PNG files with transparent backgrounds are acceptable, they are not recommended for contour cutting purposes. PNG files operate in RGB color space and will be converted to CMYK for printing. Instawraps does not assume responsibility for any color inaccuracies or shifts that may occur as a result of this conversion process.
If you have any questions or need further assistance with file preparation, please feel free to contact us. Our team is here to ensure your order is completed accurately and efficiently.
Transparency is the Key
The product is showing out of stock. When will it be back in stock?
When a product is unavailable, it most likely means that it is in the production process. We will update our inventory as soon as we have it back in stock.
In the meantime, visit the product page on our website, select any out-of-stock size, and click the "Notify me" button to receive an alert with it's available again.
How many feet of material would I need to wrap my car?
Great question. Please use our special Size Chart to match the amount of material needed.
When will my order be fulfilled?
Instawraps aims to fulfill all orders on the same day they are received. Orders placed before 11:00 AM EST are typically shipped the same day. Orders placed after 11:00 AM EST may be shipped the next business day.
For customers in Ontario, Canada, we offer a same-day local delivery option. Orders placed between 10:00 AM and 3:00 PM EST are dispatched within 1 hour and are expected to arrive before 5:00 PM EST. Order placed outside these hours or on non-business days will be dispatched the next next business day after 10:00 AM EST. Express shipping options are also available at checkout, with express orders received before 11:00 AM EST generally shipped the same day.
Is there a cut-off time for same day curbside pickup orders?
Yes, the cut-off time for same-day curbside pickup orders is 11:00 AM EST. Orders placed before this time will typically be ready for pickup by the end of the day.
If an order is placed after 11:00 AM EST and same-day pickup is needed, customers can pay a $25 fee at checkout for expedited same-day pickup. Otherwise, orders placed after the cut-off time will likely be ready the next business day.
Please note, curbside pickup is only available at our Ontario location.
What payment methods do you accept?
We accept all major credit cards.
Canadian customers can also pay via E-transfer, and U.S. customers via Zelle.
Additionally, we offer a partial payment plan through Sezzle, which lets you split your purchase into four equal, interest-free payments. The first payment is due at checkout, with the remaining payments automatically deducted every two weeks.
How can I request to return an item?
Please send a message to an email >> support@instawraps.ca within 30 days of purchase. Or reply to the order confirmation, explain the reason for return request and provide all necessary info / photos, if applicable.